This post contains affiliate links and may earn commissions on recommended products. As an Amazon Associate, I earn from qualifying purchases.
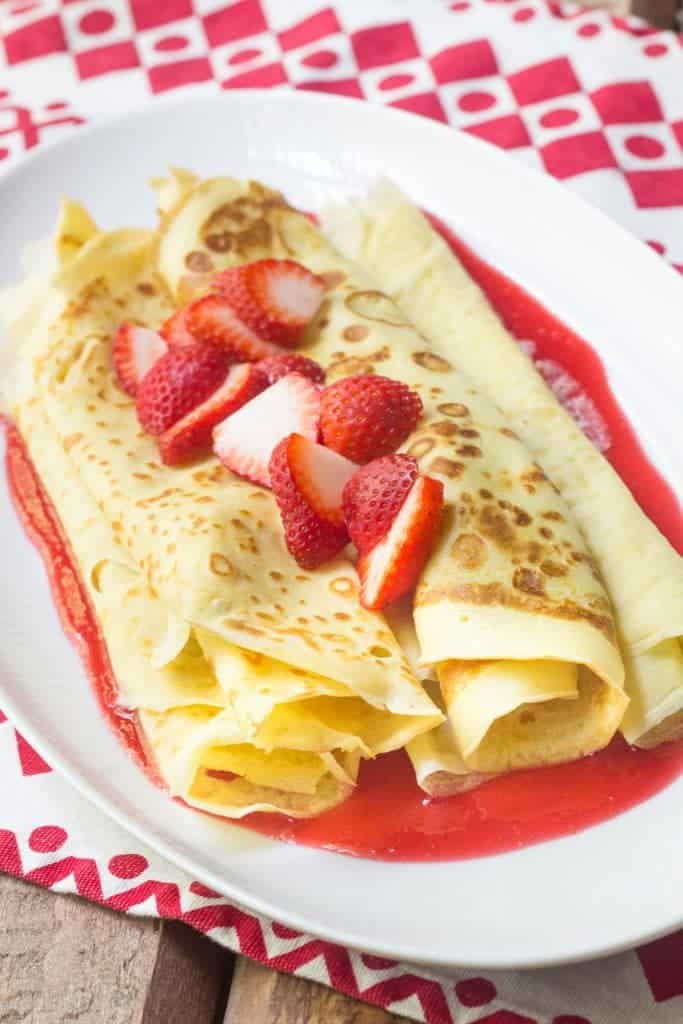
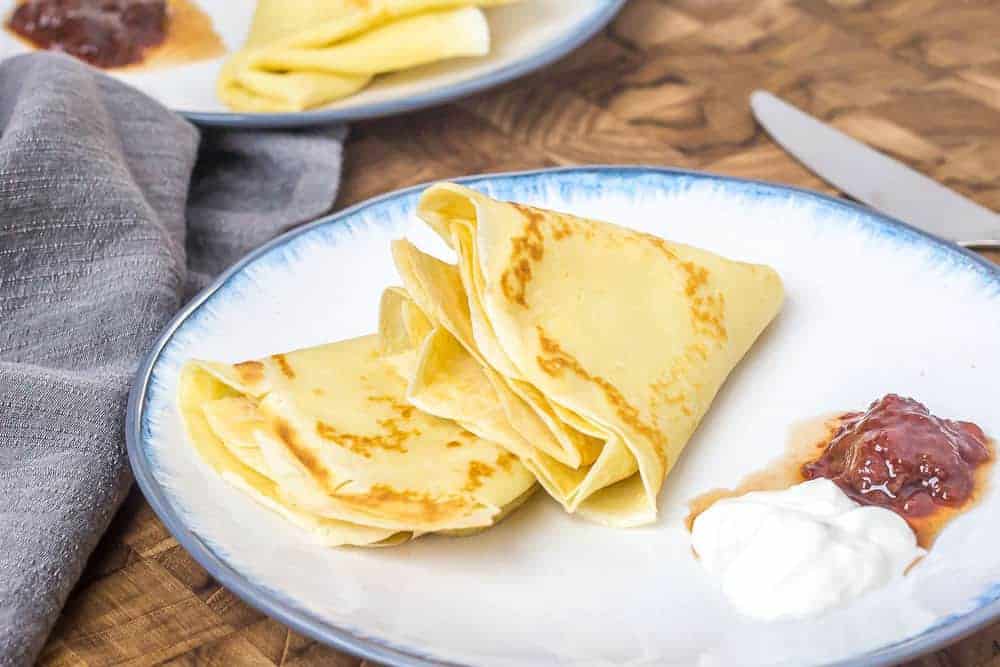
Russian crepes are light and airy thin pancakes. They’re delicious for breakfast or dinner, served with sweet or savory fillings.
I adore recipes that can double up for multiple meals.
Not just lunch and dinner, but breakfast and lunch, breakfast and dinner, and heck, breakfast and dessert.
There’s a reason why brunch and breakfast-for-dinner is always so popular, right?
Crepes, like French gluten free crepes, or these Russian pancakes, are a great option for any meal of the day.
Varieties of thin pancakes are served all over the world for good reason, after all!
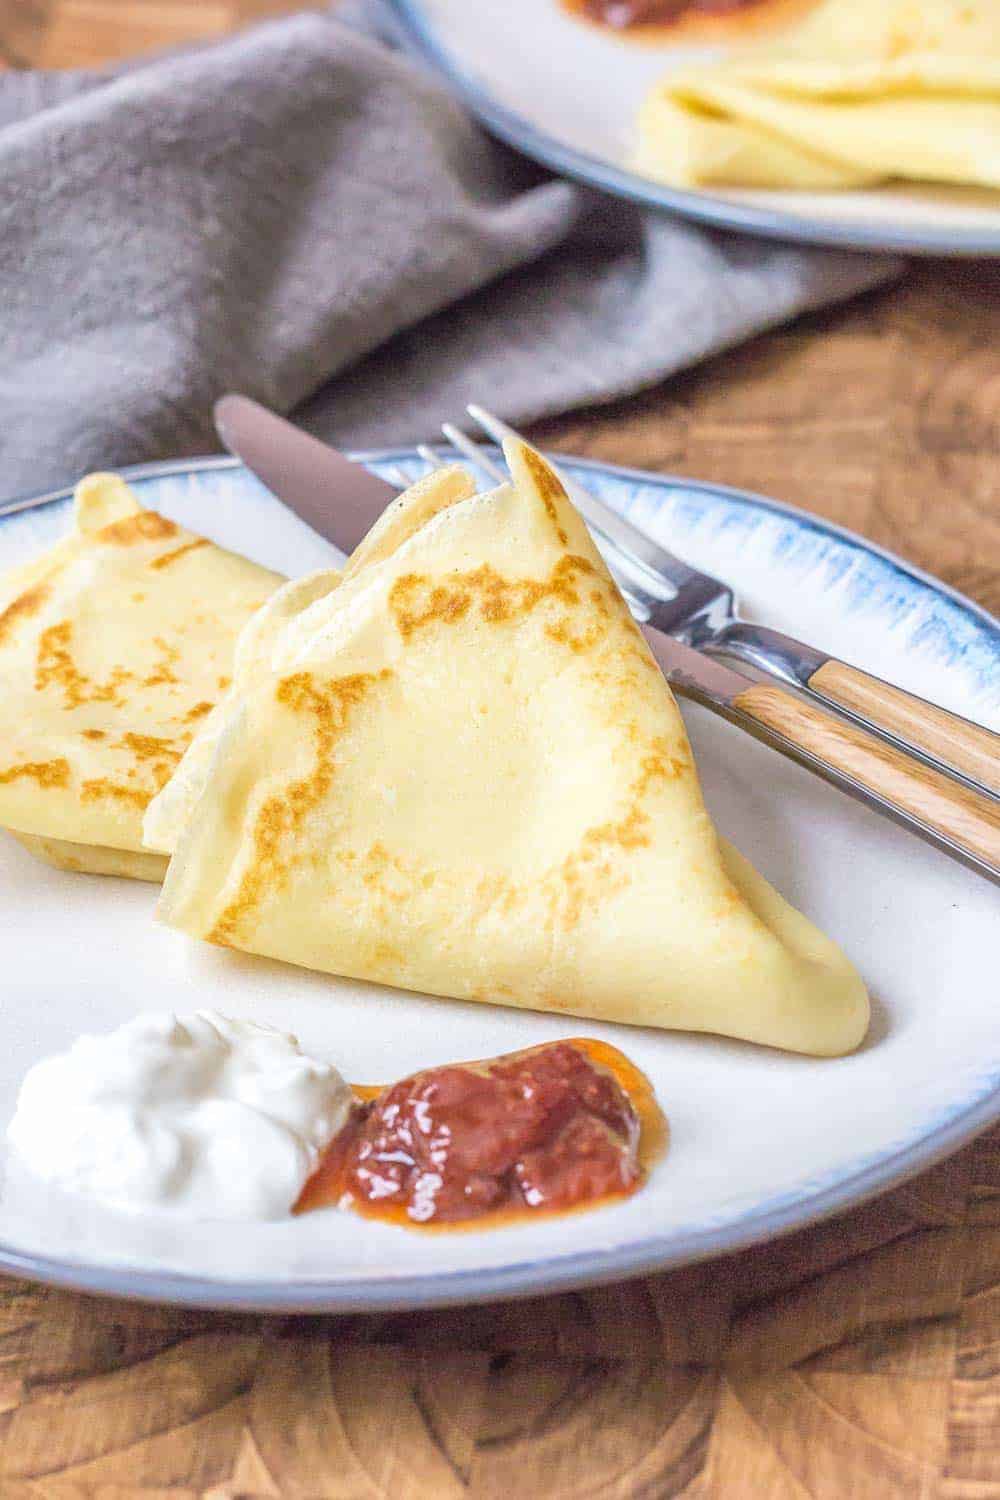
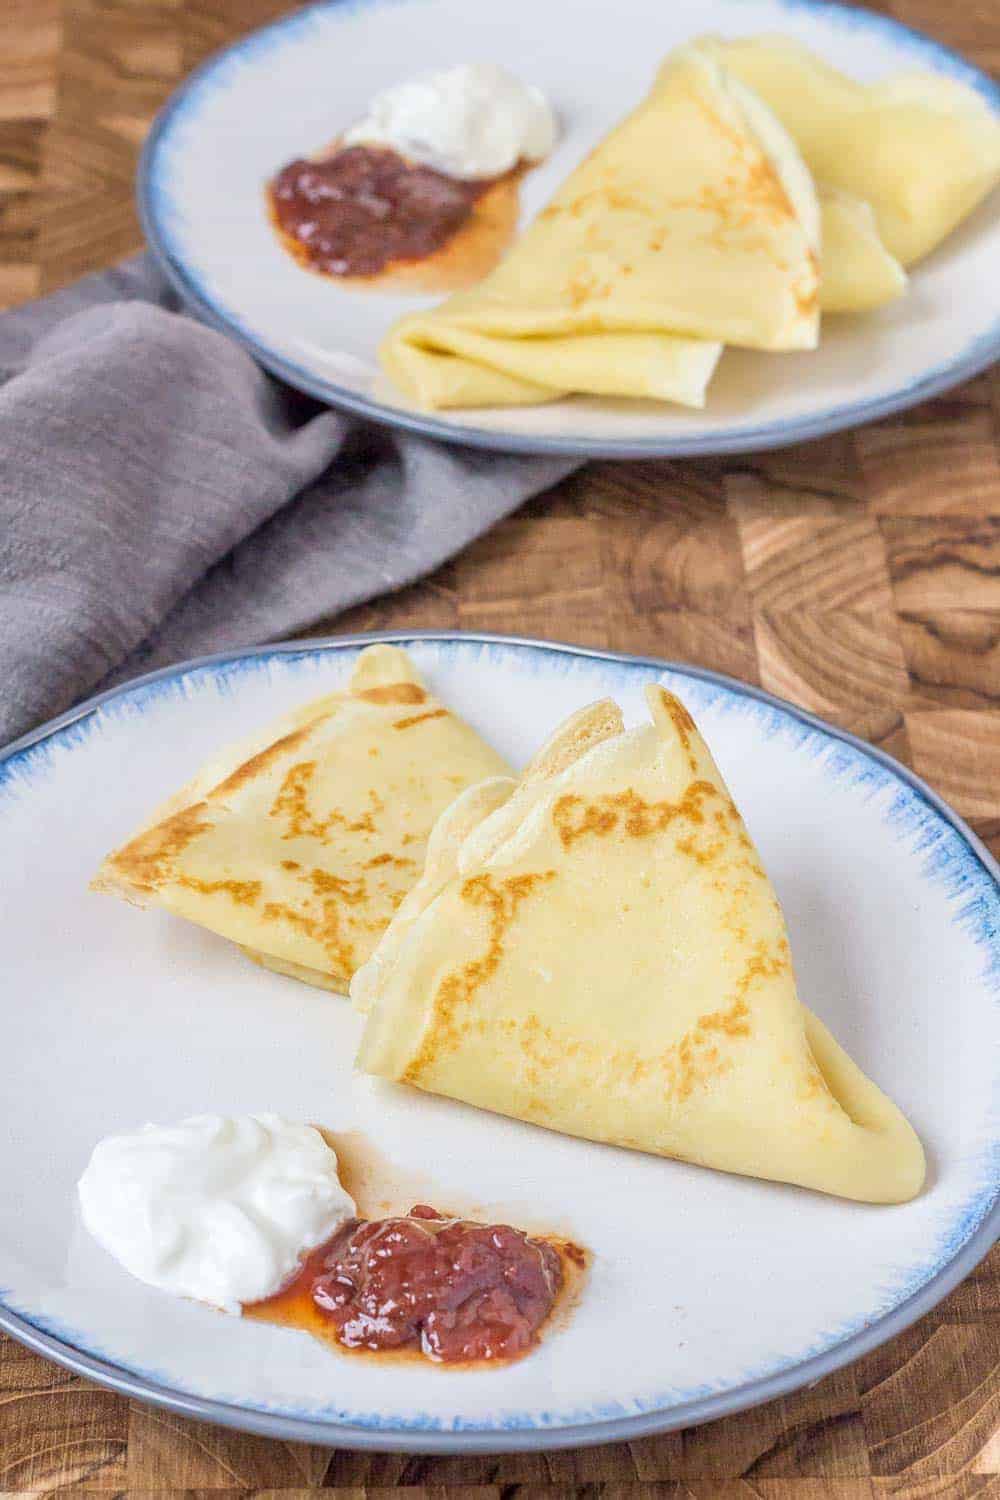
These easy Russian crepes have a simple batter that suits a wide variety of fillings. Serve them with sour cream and sweet jam for a traditional taste.
What’s the difference between Russian crepes and blini?
Russian crepes are also called blinchiki, which are derived from the traditional blini.
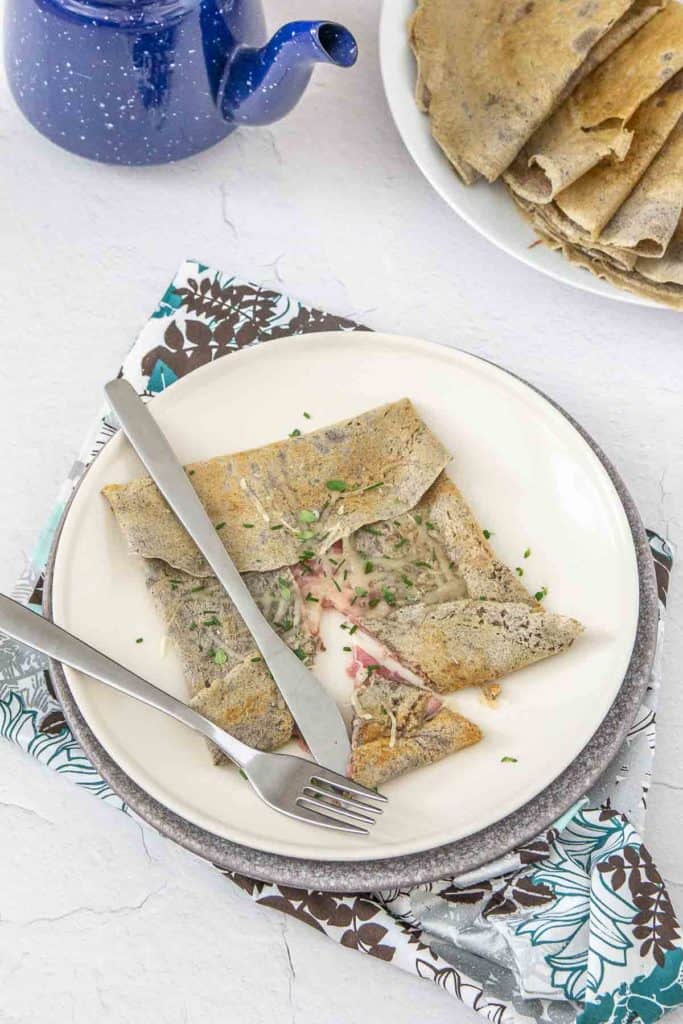
While some use the terms interchangeable, what you might think of as blini are thicker and made from a yeasted batter. They also often use buckwheat flour, similar to the traditional French crepe.
Blinchiki do not have yeast or other leavening, creating the flat, chewy texture.
Thick blini are made into smaller rounds and served with toppings rather than filled.
Ingredients for Russian crepes
You’ll need:
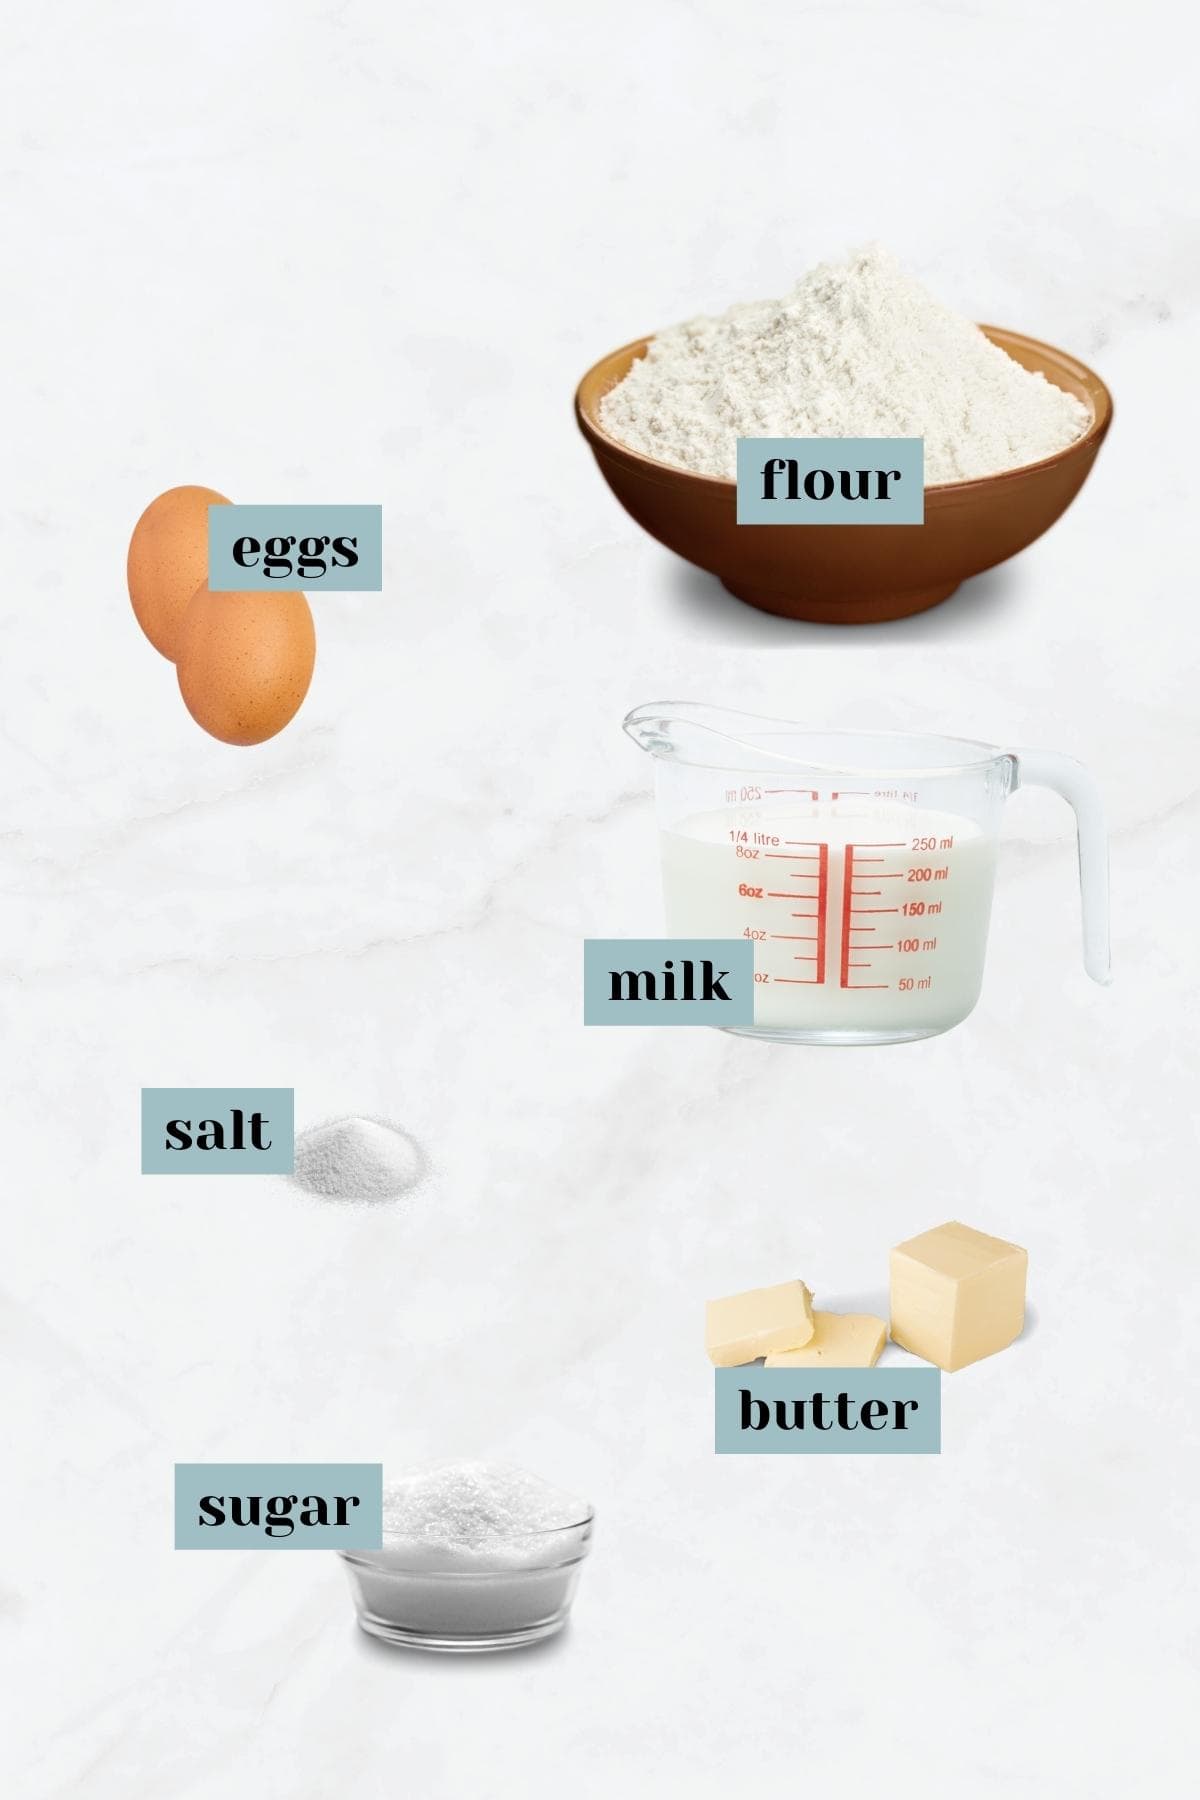
Flour – For these crepes I use all-purpose flour. You can swap in up to half of the flour with whole wheat.
Note that if you use wheat flour or buckwheat flour, you might need more milk to thin out the batter.
Milk – 2% milk works just fine in this recipe.
If you want to use a nondairy milk, make sure it is plain and unsweetened.
Eggs – Two standard large eggs.
Sugar – Just a small amount of sugar is added to the crepes. If you plan to use savory fillings, you can leave this sugar out.
Salt – A small amount of fine sea salt.
Butter- You can use salted or unsalted butter, depending on your preference. The butter needs to be melted and cooled to room temperature.
You’ll also need extra butter for the pan as you cook the crepes.
How to make this recipe
The batter for Russian pancakes is incredibly easy. You can make it ahead of time, even a day in advance, and keep in the refrigerator. Simply cook when you’re ready.
First, melt the butter and set it aside to cool. You don’t want the butter to be too hot when you add it, otherwise the eggs can curdle.
In a large bowl, whisk together the milk and the eggs until lightly frothy.
Add the flour a little bit at a time, whisking to incorporate. If you have a sifter you can use on the flour before adding it in, that’s even better!
Unlike pancake batter, you do not want any lumps.
Whisk in the sugar (if using) and salt, then the melted butter.
Set the batter aside for at least 15 minutes. This will allow the flour to absorb the liquid and help the gluten relax.
When you’re ready to cook, heat a nonstick skillet or crepe pan over medium heat.
If you like, melt a small amount of butter in the pan, swirling to coat the bottom.
Pour 1/4 cup of batter onto the pan. Hold the pan by the handle and tilt it to allow the batter to completely cover the bottom in a thin layer.
Let the crepe cook until bubbles form all over the top and the edges look dry. This will take just a few minutes.
Use a large spatula to get under the crepe and flip it. Cook for another 30 seconds to 1 minute.
Transfer to a plate and keep warm in the microwave or a low oven.
Repeat until all the batter is used, then serve with your favorite fillings or toppings!
Tips for making Russian crepes:
- A nonstick pan is essential. I like using a crepe pan, but any nonstick pan will do.
- Depending on the nonstick-ness of your pan, you might not need extra butter for the pan. My pan works best without the extra butter.
- Tilt the pan in a circle to help spread the batter, but go slowly or you’ll get tentacle crepes rather than ideal circles.
- If your pan is too hot, the crepe will start to cook before you can swirl the batter. Reduce the heat as needed.
- The first crepe is the tosser. It will help you get a feel for your pan and batter. Don’t worry about this one!
- You’ll know when to flip your crepe because the top will look dry and one of the thinner edges will slightly curl up.
- A large spatula with a sharp edge will work best for flipping.
Fillings for Russian crepes
These crepes can be made sweet or savory, depending on your preferences.
Try with sour cream and strawberry jam, or swap in cottage cheese for the sour cream. A drizzle of honey is fabulous!
You can also serve with smoked salmon, or creme fraiche and a bit of caviar.
Of course, when you’re making crepes you can’t really go wrong, in my opinion. Just load them up with your favorite toppings, and you’ll be set.
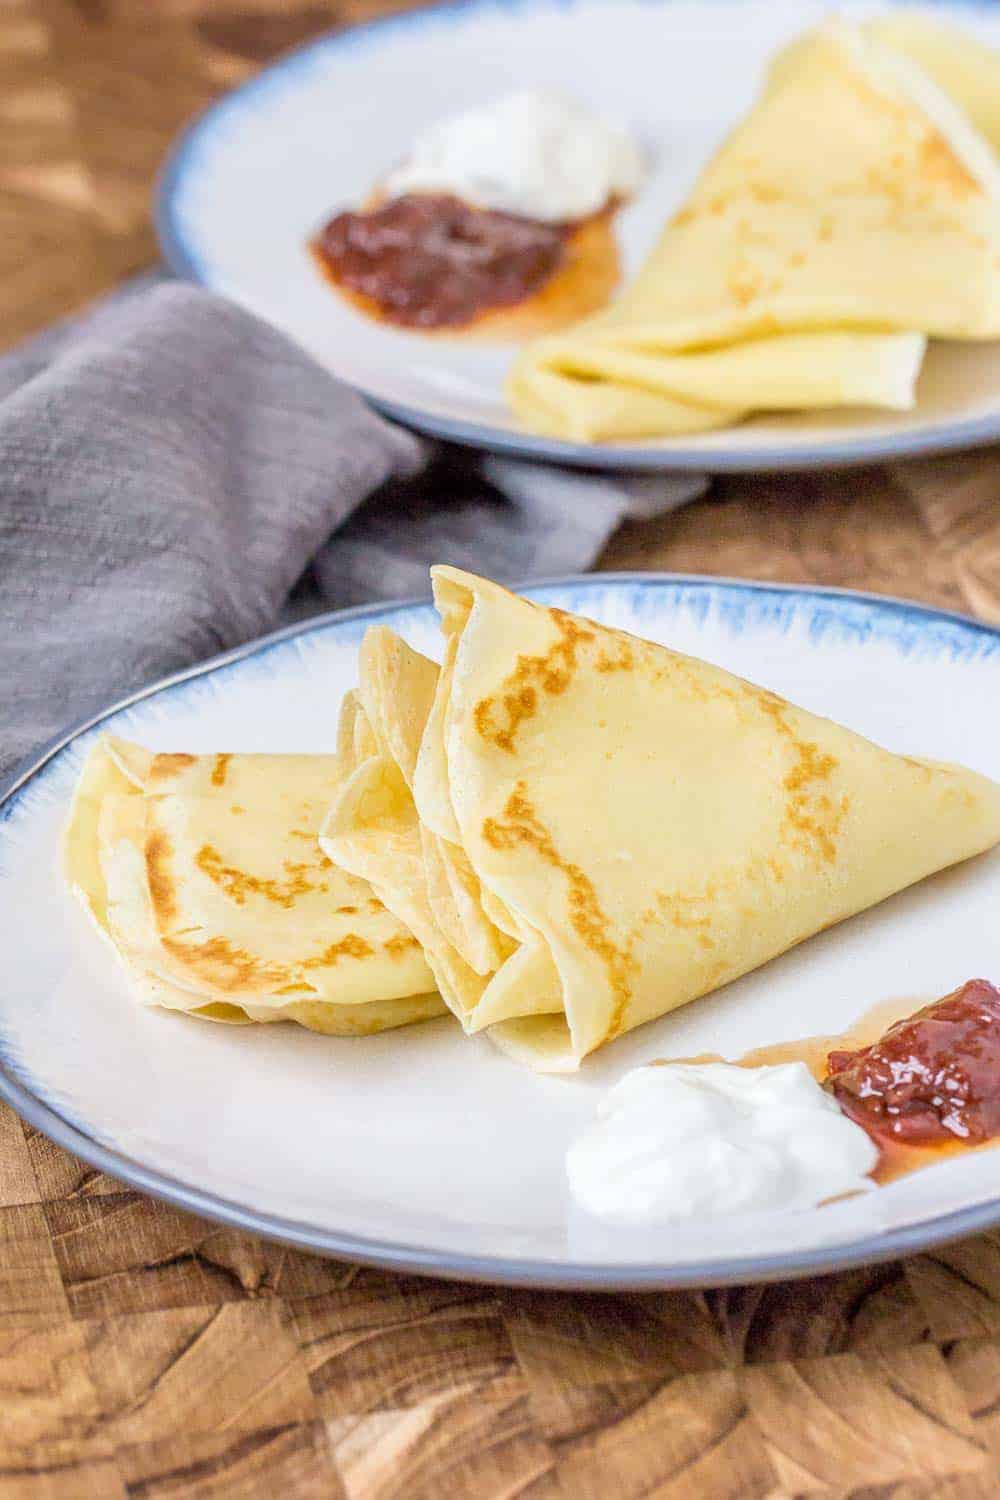
If you’re looking for something different for breakfast, dinner, or dessert, give these Russian pancakes a try!
Love this recipe? Please leave a 5-star review below!
It means so much when you enjoy my recipes, so let me know how it goes and leave a comment if you have any questions.

Russian Crepes
Ingredients
- 2 eggs
- 2 1/2 cups milk
- 2 cups all-purpose flour
- 1 tablespoon granulated sugar
- 1/2 teaspoon fine sea salt
- 2 tablespoons butter, melted, plus more for the pan
- Sour Cream, to serve
- Jam, to serve
Instructions
- In a large bowl, whisk together eggs and milk.
- Slowly stir in flour. You might not need all of the flour – you want your batter to be runnier than you would have for pancakes.
- Stir in sugar and salt, then add melted butter.
- Let rest for 15 minutes. Meanwhile, preheat your skillet or crepe pan over medium heat.
- Pour 1/4 cup of batter onto the pan and tilt to allow batter to completely cover the pan. Cook until edges start to dry and bubbles form, about 2-3 minutes, then carefully flip and cook the other side for about 30 seconds. Repeat until all batter is used.
- Serve with sour cream and jam, or your favorite toppings.
Recommended Products
Nutrition
Nutrition information is provided as a courtesy and is an estimate based on online calculators. Any nutritional information found on Stetted should be used as a general guideline only.

About Megan
I learned how to cook by exploring seasonal ingredients, and you can too! Meal time shouldn’t be stressful or complicated, and with fresh ingredients and easy methods, I’m here to help you enjoy the time spent in the kitchen. Read more…


