This post contains affiliate links and may earn commissions on recommended products. As an Amazon Associate, I earn from qualifying purchases.
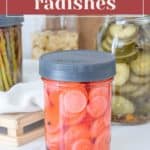
Tangy and spicy pickled radishes are perfect for sandwiches, tacos, soups, and more! This easy and quick pickle is a delicious way to enjoy fresh radishes.
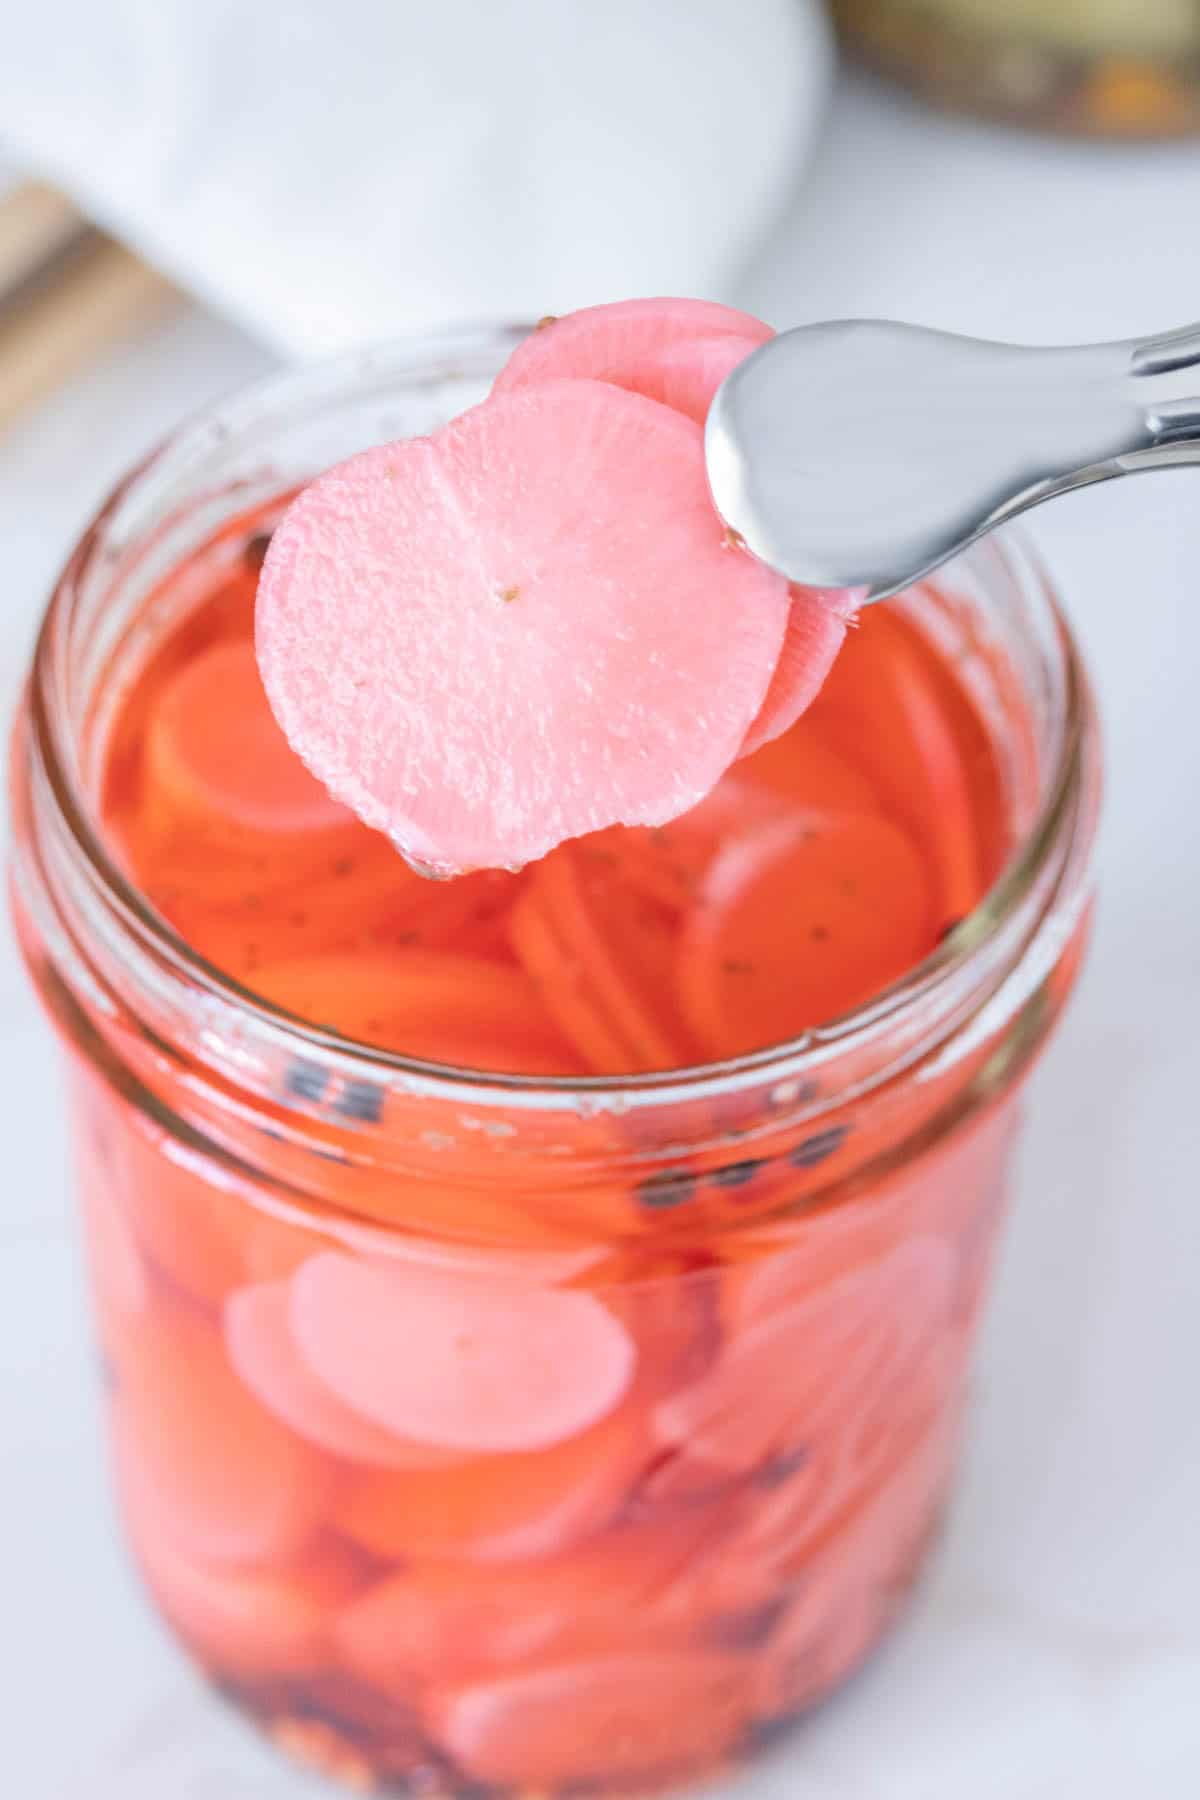
If you’re looking for a tangy snack with a crunch, pickled radishes might just be your new favorite treat.
These small, vibrant vegetables are pickled in a vinegar brine, giving them a sour-sweet taste that perfectly balances their natural spiciness.
I love to grab spring radishes and pickle them. Not only does it extend the flavor once the season has passed but it also keeps a delicious snack or topping on hand whenever I want.
These quick pickled radishes are perfect for adding a pop of color to salads and sandwiches, or as a crunchy accompaniment to charcuterie boards.
You can even serve as part of a pickle plate or relish tray, along with my pickled green beans or pickled beets!
Plus, pickled radishes are incredibly easy to make, so you can have a batch pickling in just a few minutes.
Ingredients for pickled radishes
Full list of ingredients including quantities is located in the recipe card.
You’ll need:
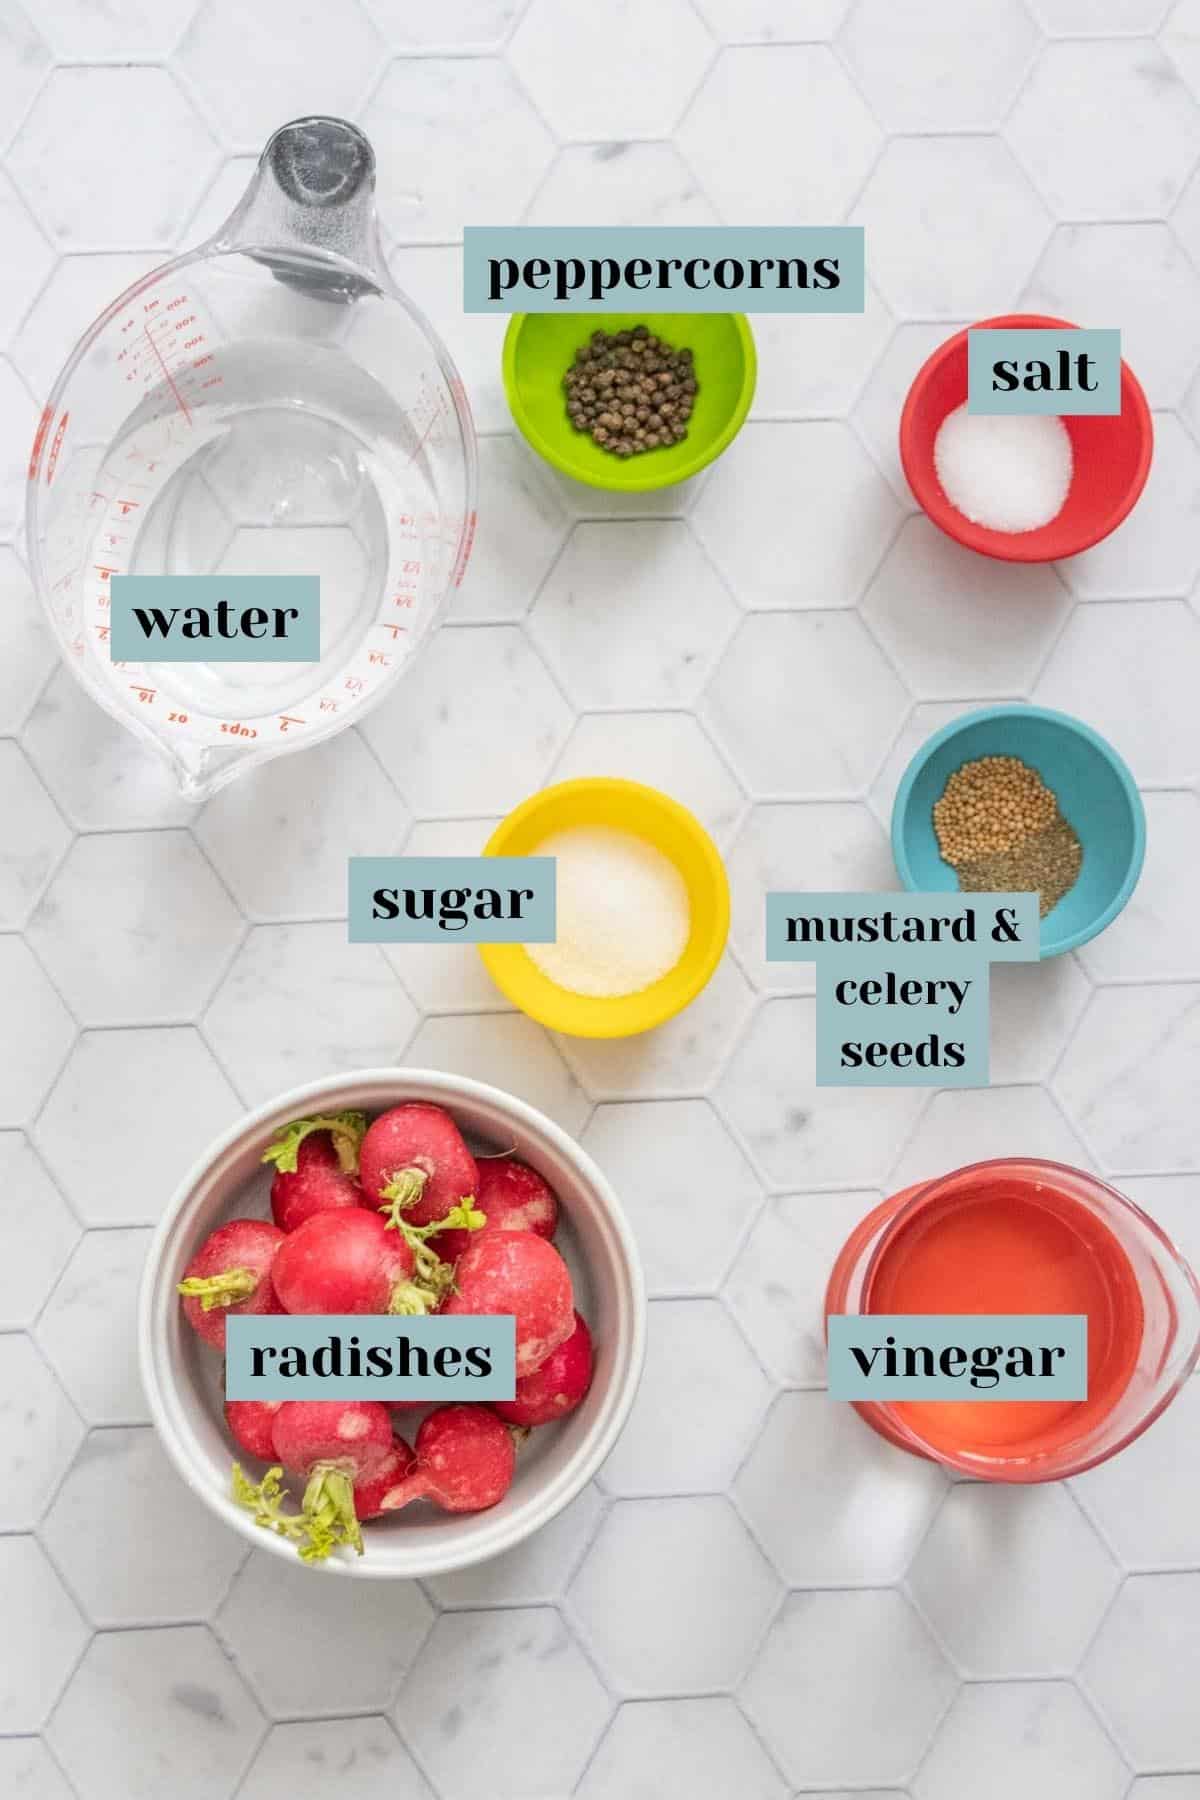
Radishes – Radishes can vary a lot in size and shape. For this recipe, I recommend about 8 ounces of radishes, which will make 1 pint of thinly sliced radishes. This is about the same size as 1 bunch of red radishes.
tip
Keep in mind that red radishes will turn the pickle brine and radishes pink. If you don’t want this hue, peel the red skin.
Vinegar – For the distinctive tartness of a pickle, we use vinegar. I use distilled white vinegar here.
Water – Use the water and vinegar in equal amounts for this recipe. If you want a stronger pickle flavor, use more vinegar and/or less water.
Using at least 50% vinegar in the brine solution is a must for a proper pickle.
In addition, pickles with less than 50% vinegar are not suitable for canning, so if you want to process your jars for pantry storage, do not lower the vinegar levels!
Sugar – For a sweetness to balance out the spice of the radishes, use a bit of granulated sugar.
Pickling salt – Pickling salt is a very fine salt that dissolves easily in liquids, making it perfect for brines. If you don’t have pickling salt, you can use fine sea salt.
Peppercorns – I use black peppercorns, just like the ones you’d put in a pepper mill. You can use white peppercorns for a less robust taste.
Mustard seed – I like to add a bit of mustard seed to many of my pickle recipes for aromatic flavor.
Celery seed – Celery seed is another common pickling ingredient. It has a somewhat citrusy and herbal taste.
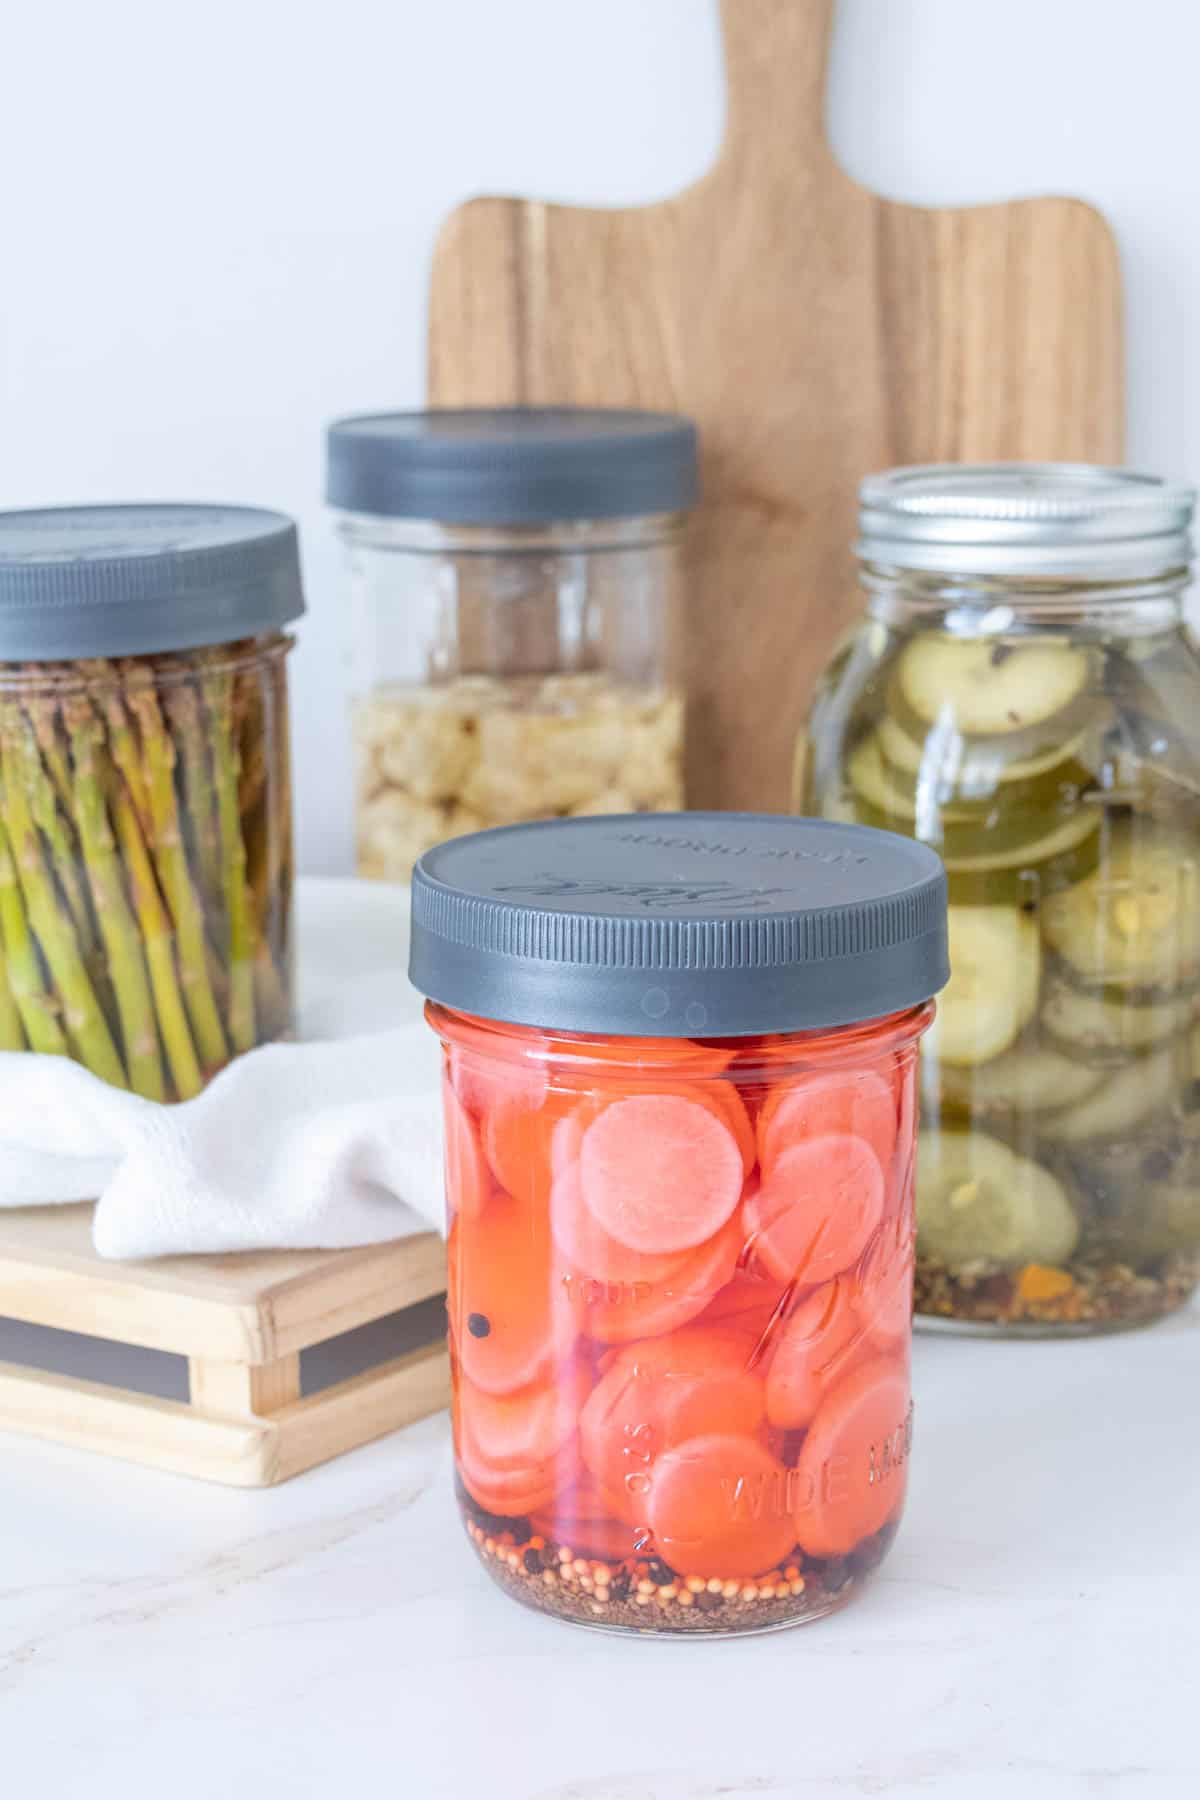
How to make this pickled radish recipe
Make sure you have clean canning jars or bowl ready to use.
Wash the radishes and trim the roots and stems.
Slice the radishes as desired, either into cubes, thin slices, or matchsticks. You can use a mandoline (make sure to use the guard!), or just cut by hand.
Add the radishes to your jar. I was able to get all of my radishes into 1 pint jar, but depending on the shape of your radishes, you might need to use different sized or more jars.
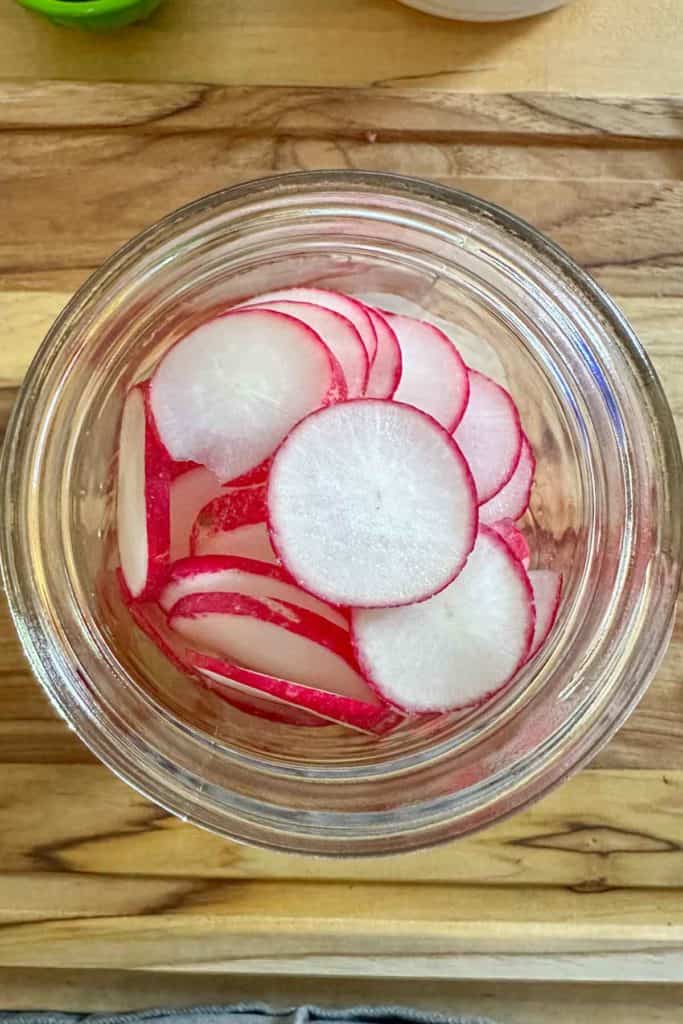
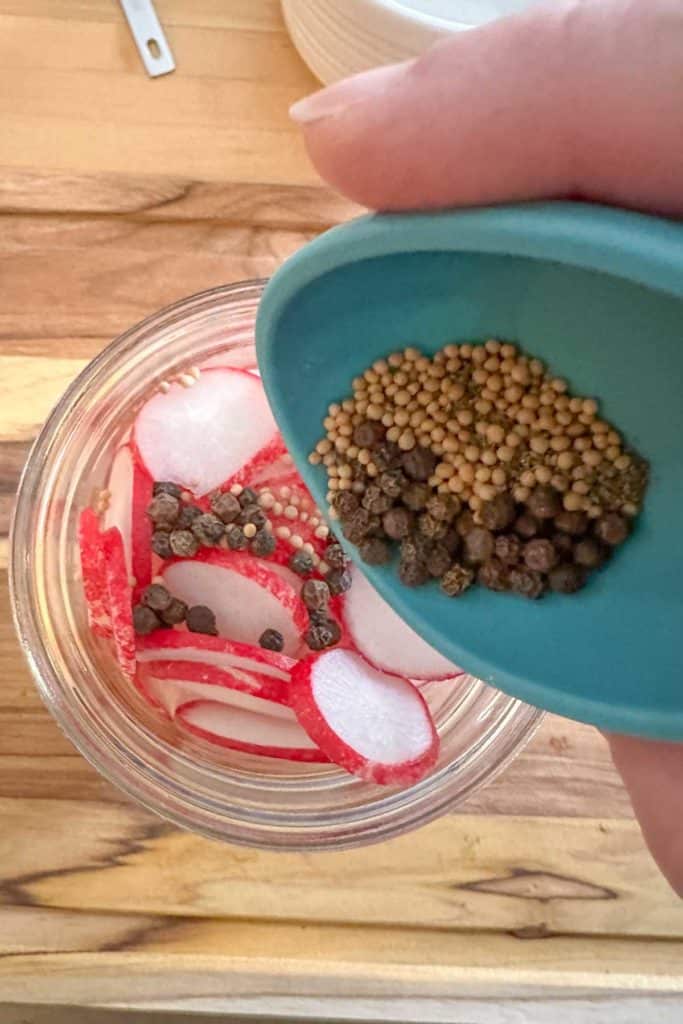
Add the peppercorns, mustard seed, and celery seed to the jar. Don’t worry about shaking or mixing; the spices will be distributed when you pour in the brine.
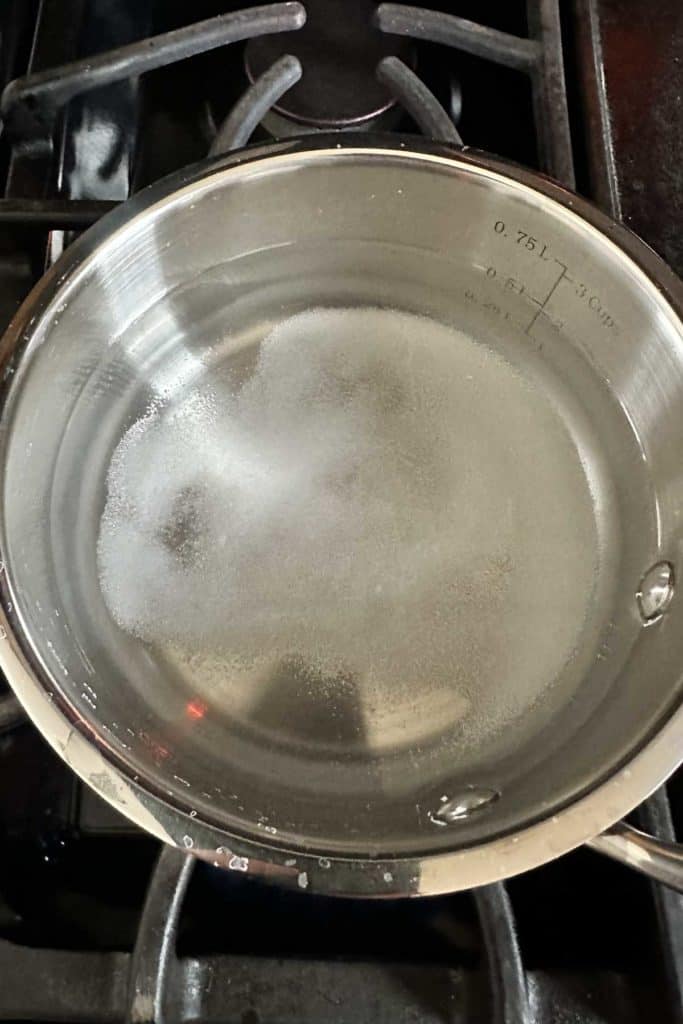
In a small saucepan, combine the vinegar, water, sugar, and pickling salt. Heat over medium-high, stirring to dissolve the sugar and salt.
Once dissolved, remove from heat and carefully pour the brine over the radishes. Fill the jar so that there is about 1/4 inch of space at the top.
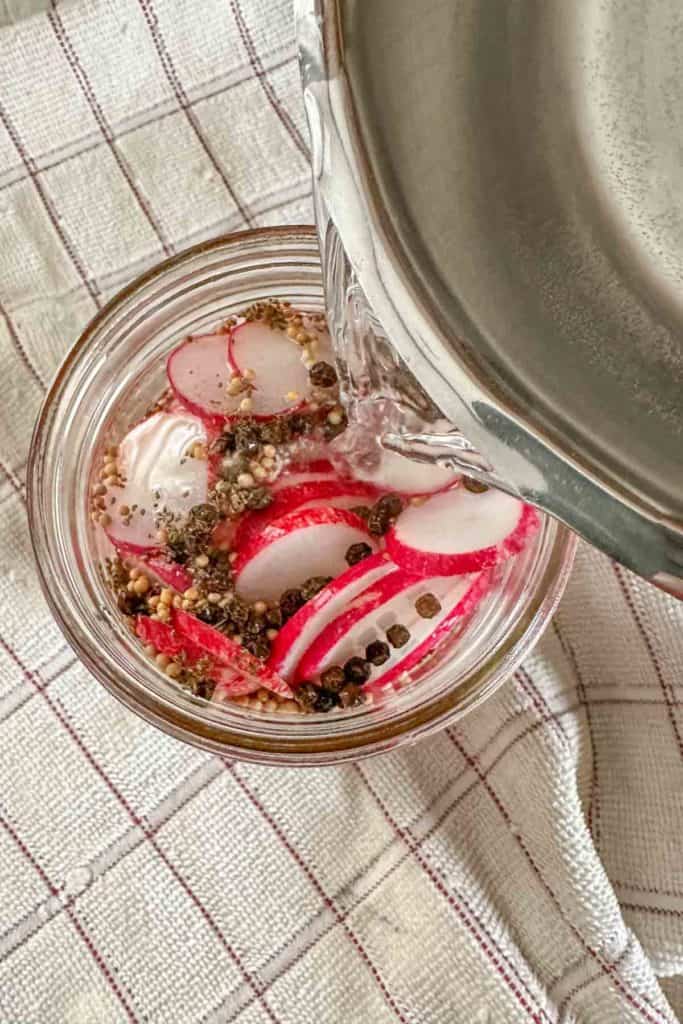
Use a chopstick or a wooden kitchen dowel placed into the jar and run around the edges to remove any air bubbles. Add more pickling liquid if needed to ensure the radishes are completely submerged.
tip
Do not use a knife or other metal utensil to remove the air bubbles, as it can scratch the jars and weaken the glass.
Place a lid on the jar (or cover if using a bowl) and let cool to room temperature, then store in the refrigerator.
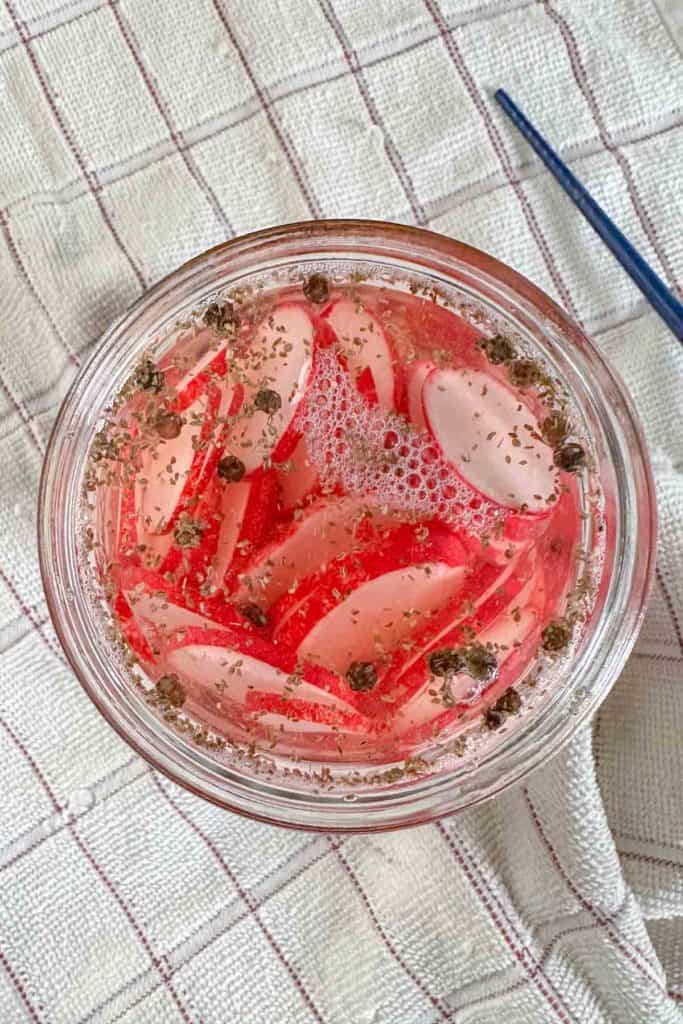
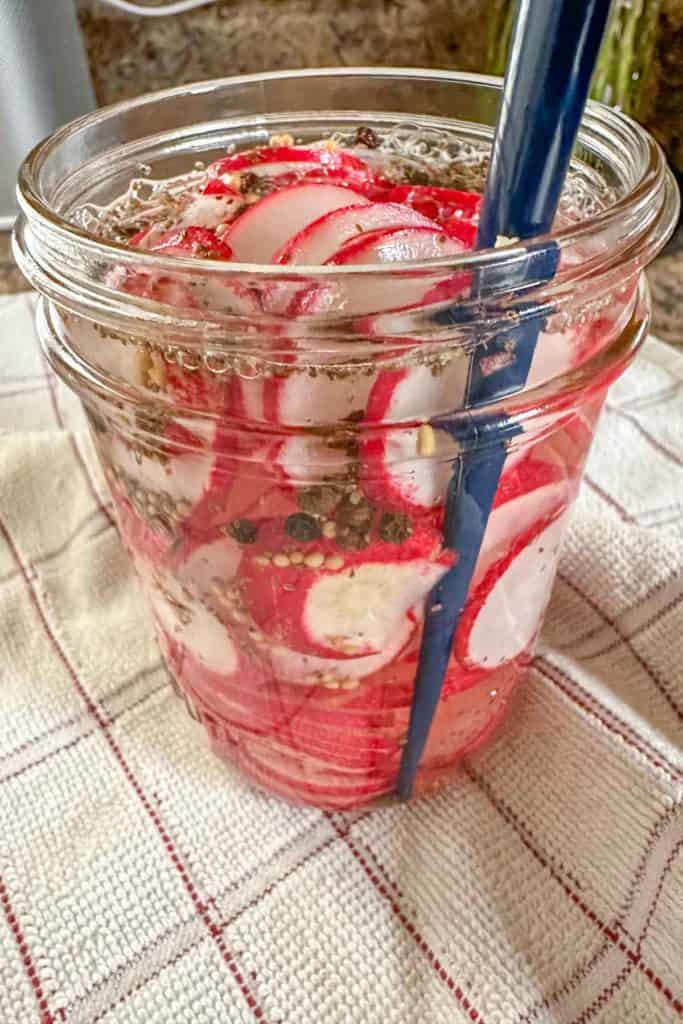
Let the pickled radishes cure for at least 1 day before eating to soak up the flavors.
Recipe suggestions
To make these easy pickled radishes your own, change up the flavor options.
If you like, you can leave out the mustard seed and celery seed for a stronger radish flavor.
Add a small fiery chile or sliced jalapeño for hot pickled radishes. Or use crushed red pepper flakes.
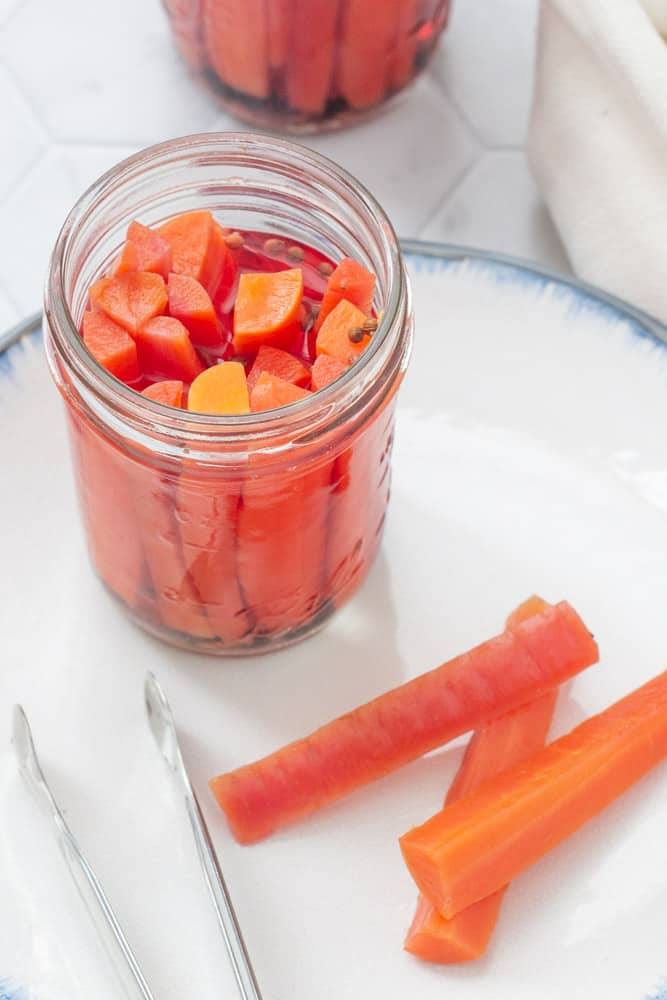
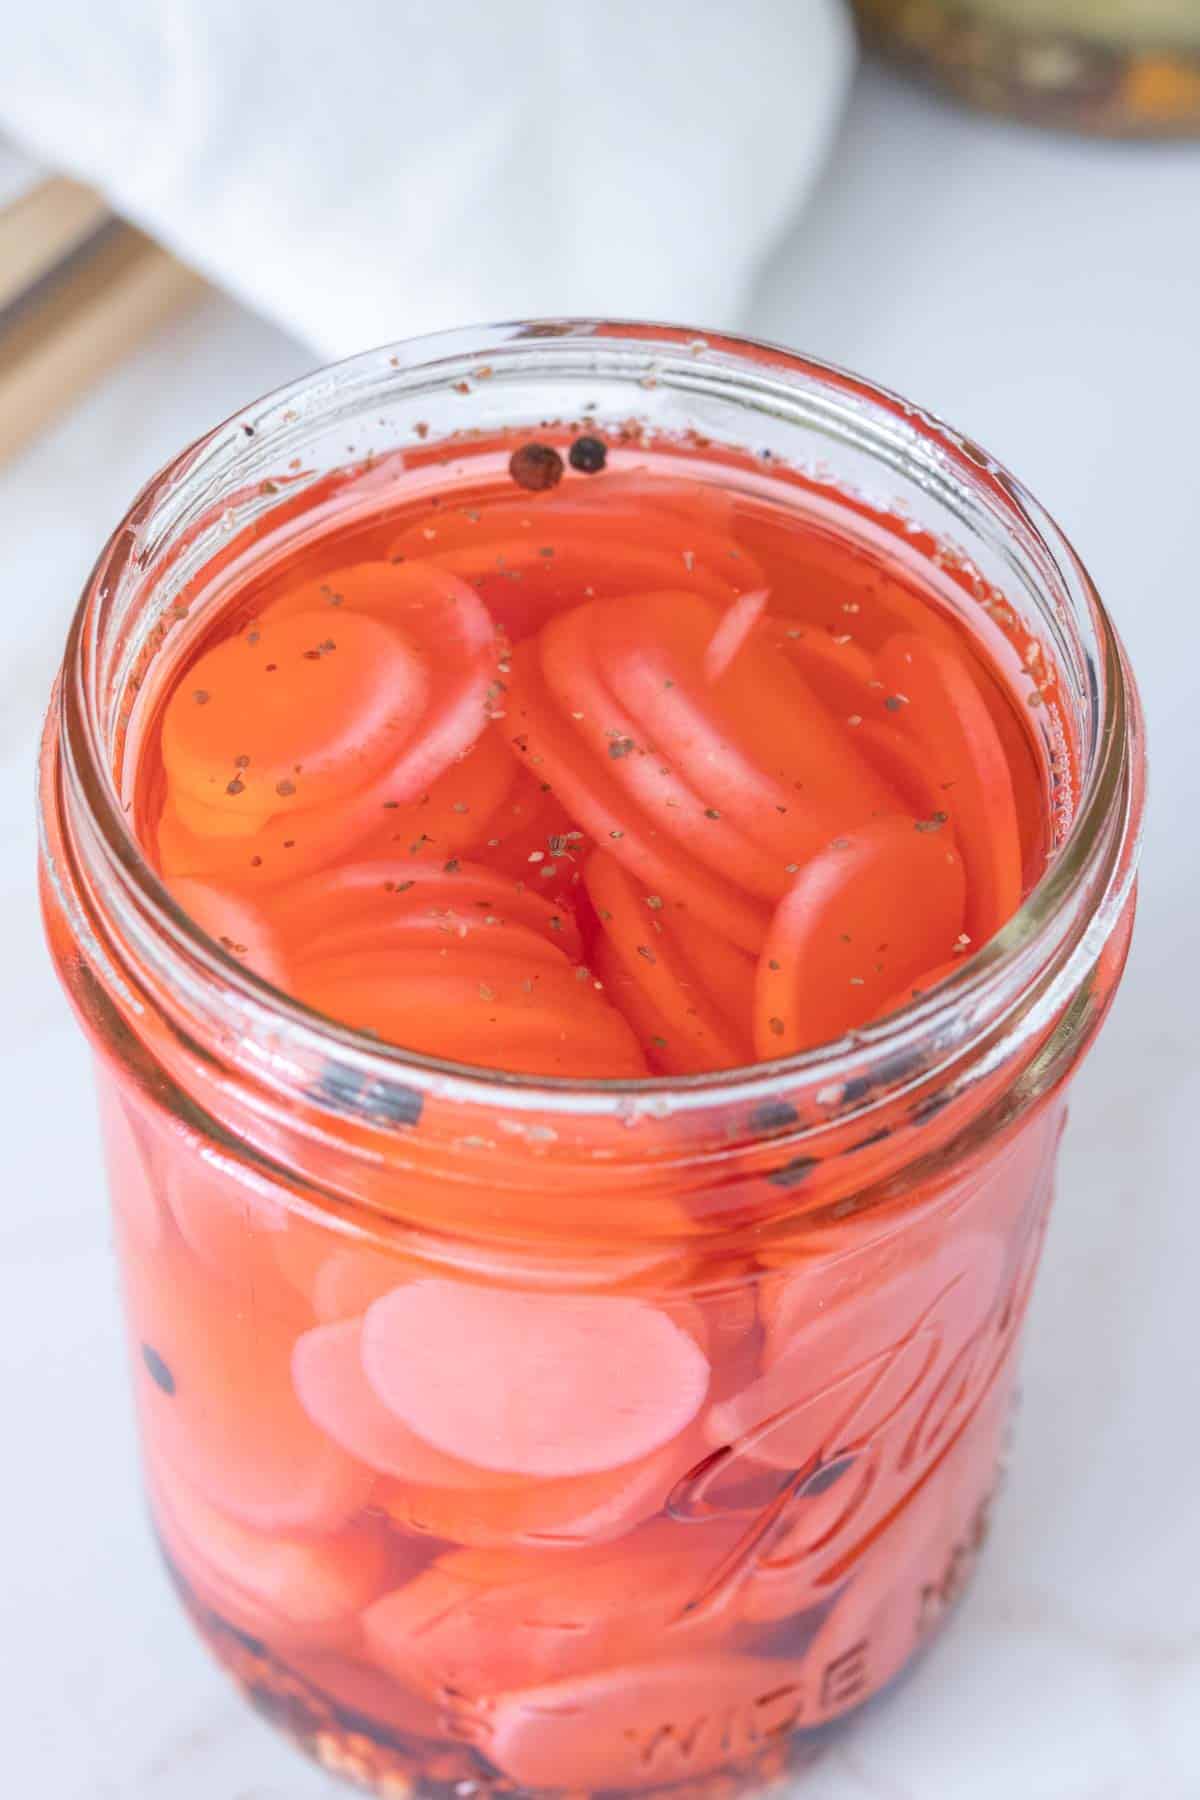
Pickle the radishes with carrots for a great sandwich topping. Make sure to slice the radishes and carrots into pieces of the same shape and approximate size. Cutting them into matchsticks makes them easy to add to any dish!
FAQ

Ways to use pickled radishes
Crunchy pickled radishes are delicious when added to lots of dishes, just like pickled red onions.
If you enjoy spicy foods, pickled radishes can balance out that heat. Traditionally they are served with Korean fried chicken or other dishes as banchan, but you can also try them on spicy tacos.
Include a bowl in your toppings spread when making bison chili, or whip up some simple avocado toast for breakfast and add radishes on top.
You can tuck the radishes into any of your favorite sandwiches, burgers, or chop and dress up a bowl of instant noodles.
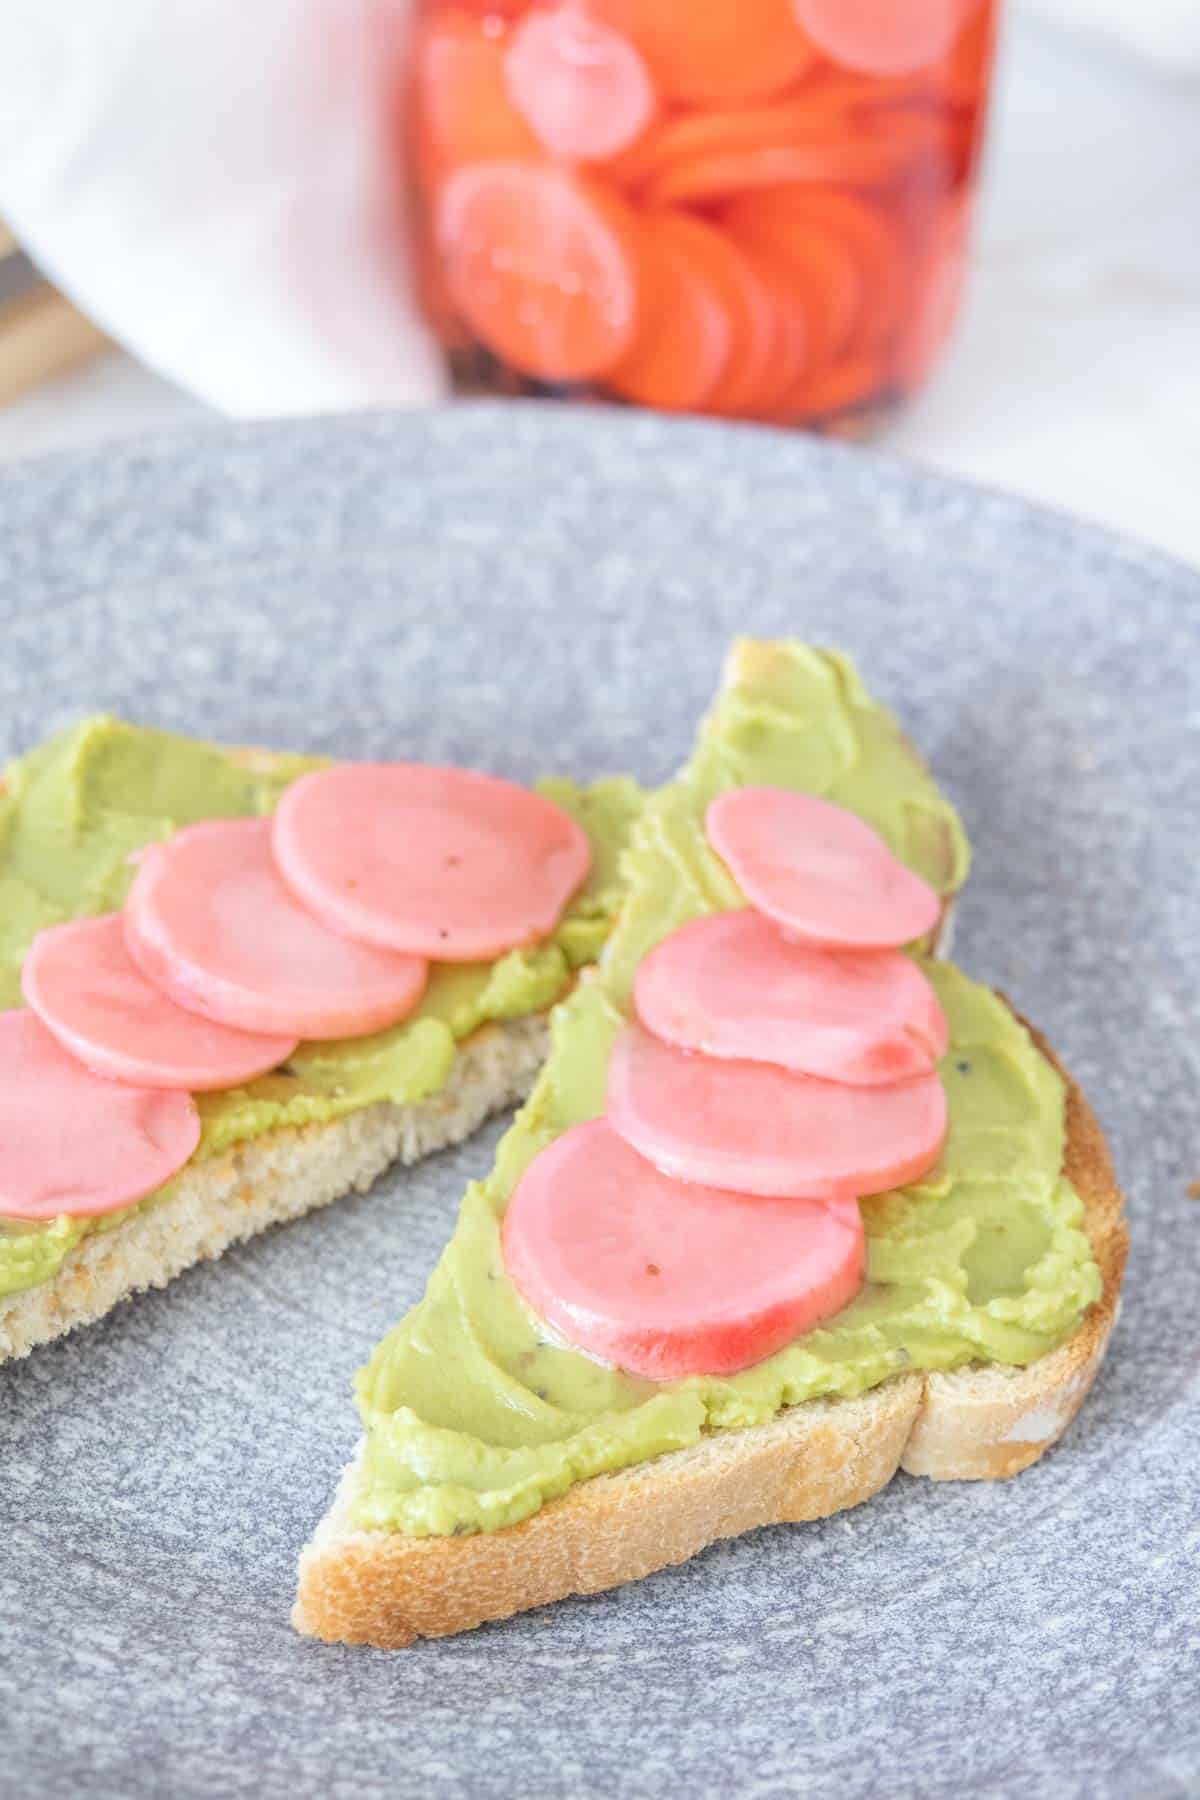
Make a batch of these quick and easy pickled radishes today!
Love this recipe? Please leave a 5-star review below!
It means so much when you enjoy my recipes, so let me know how it goes and leave a comment if you have any questions.
Pickled Radishes
Ingredients
- 8 ounces radishes
- 3/4 cup distilled white vinegar
- 3/4 cup water
- 1 tablespoon granulated sugar
- 1 teaspoon pickling salt
- 1 teaspoon black peppercorns
- 1/2 teaspoon mustard seed
- 1/2 teaspoon celery seed
Instructions
- Wash and trim radishes, then slice as desired to fit inside your jars. Add the radishes, then pour the peppercorns, mustard seed, and celery seed over the top.
- In a medium pot, combine vinegar, water, sugar, and pickling salt and bring to a boil, stirring to dissolve.
- Once fully dissolved, carefully pour hot brine into the jar, leaving about 1/4-inch headspace. (You might not use all of the brine.) Press a chopstick or wooden dowel against the inside of the jar to remove air bubbles. Screw on lid.
- Let cool to room temperature, then store in the fridge until ready to serve. For best flavor, wait at least 24 hours before eating.
Notes
- This recipe will yield approximately 1 16-ounce (pint) jar.
- If water bath canning, process for 10 minutes, then remove and let rest for 24 hours before testing seal and storing in the pantry.
Recommended Products
Nutrition
Nutrition information is provided as a courtesy and is an estimate based on online calculators. Any nutritional information found on Stetted should be used as a general guideline only.

About Megan
I learned how to cook by exploring seasonal ingredients, and you can too! Meal time shouldn’t be stressful or complicated, and with fresh ingredients and easy methods, I’m here to help you enjoy the time spent in the kitchen. Read more…


