This post contains affiliate links and may earn commissions on recommended products. As an Amazon Associate, I earn from qualifying purchases.
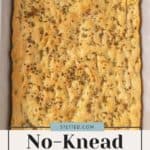
Intimidated by bread making? This no-knead focaccia is a great recipe to get started! All you need is a few ingredients and an extended rising time for deliciously chewy bread.
Fresh baked bread is one of my favorite pleasures. I think it stems from walking past a bakery on my way to school each morning, smelling the delicious aroma wafting out into the streets.
Bread making is a bit therapeutic as well, with the mixing, folding, and rising all working together to make something that doesn’t need much adornment to be enjoyed.
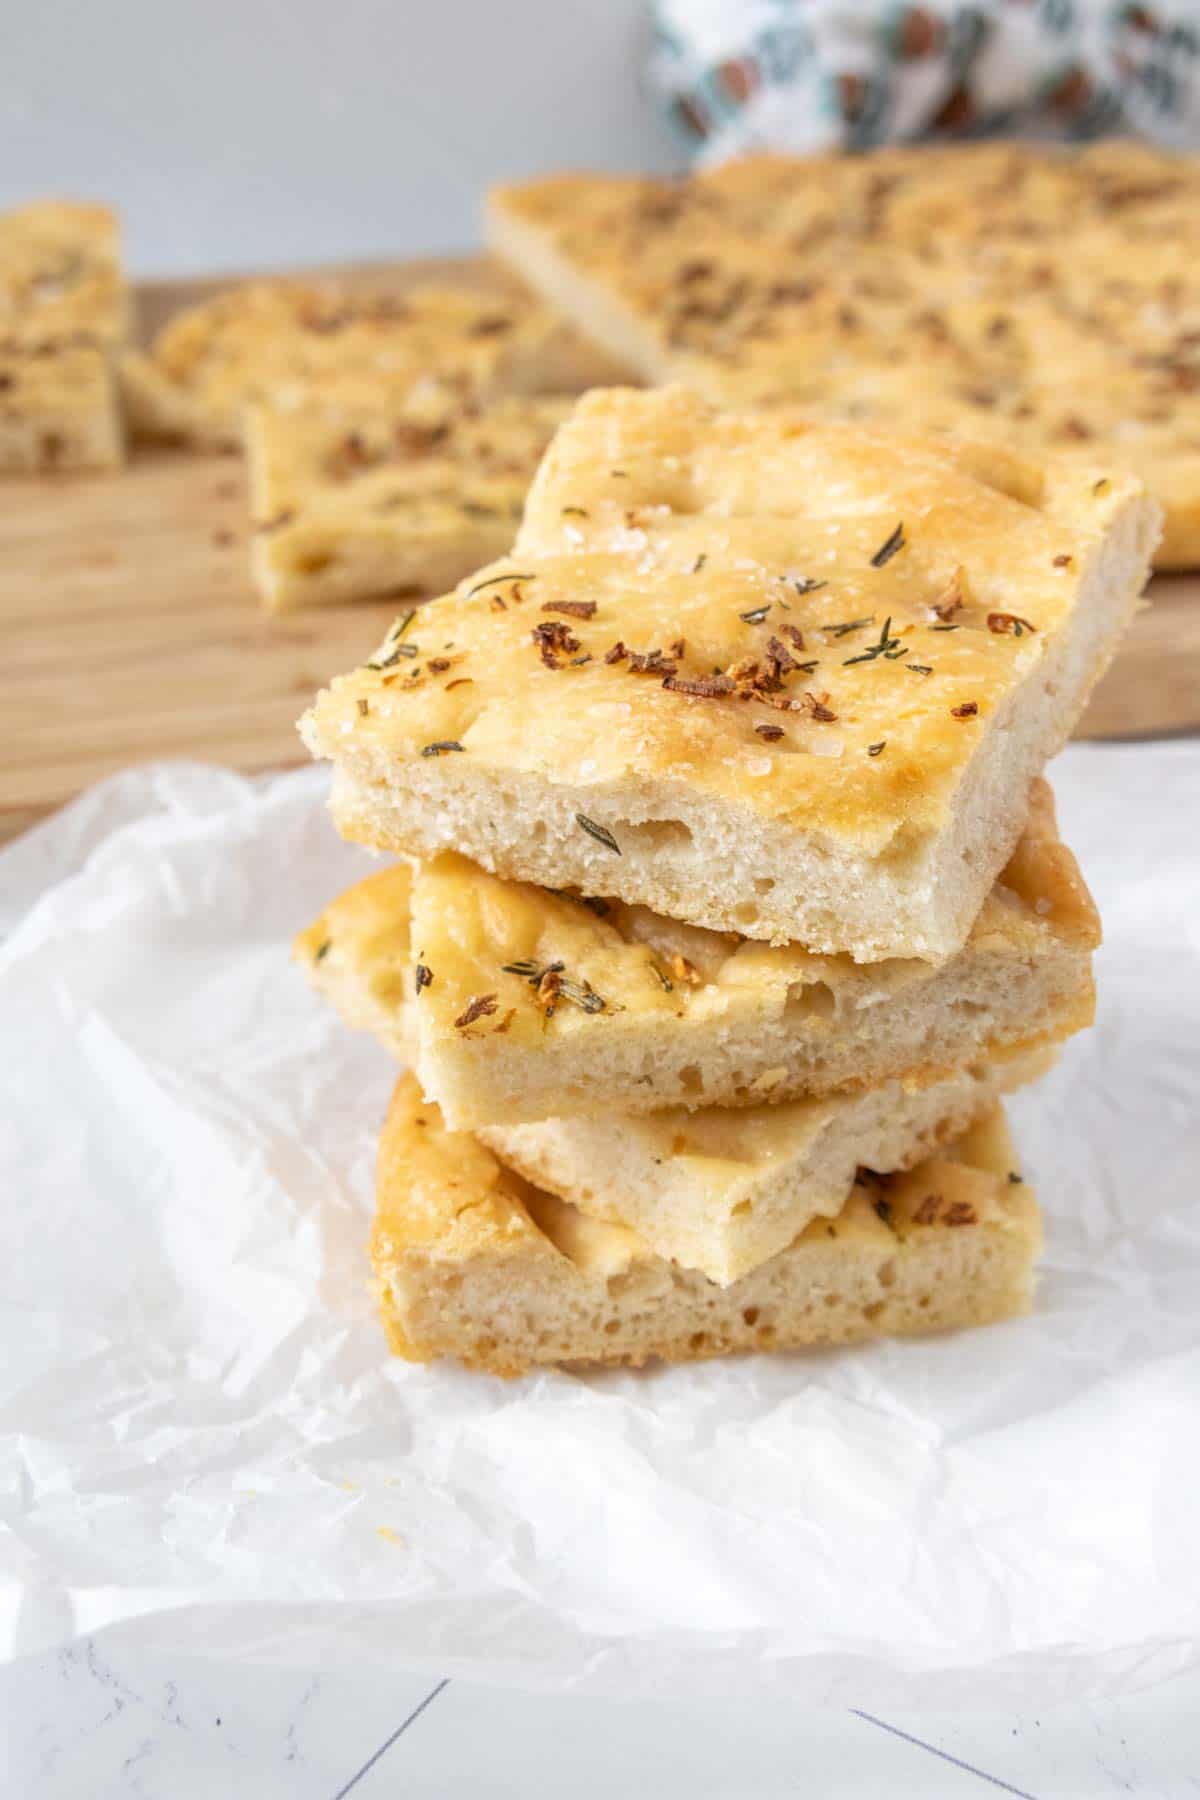
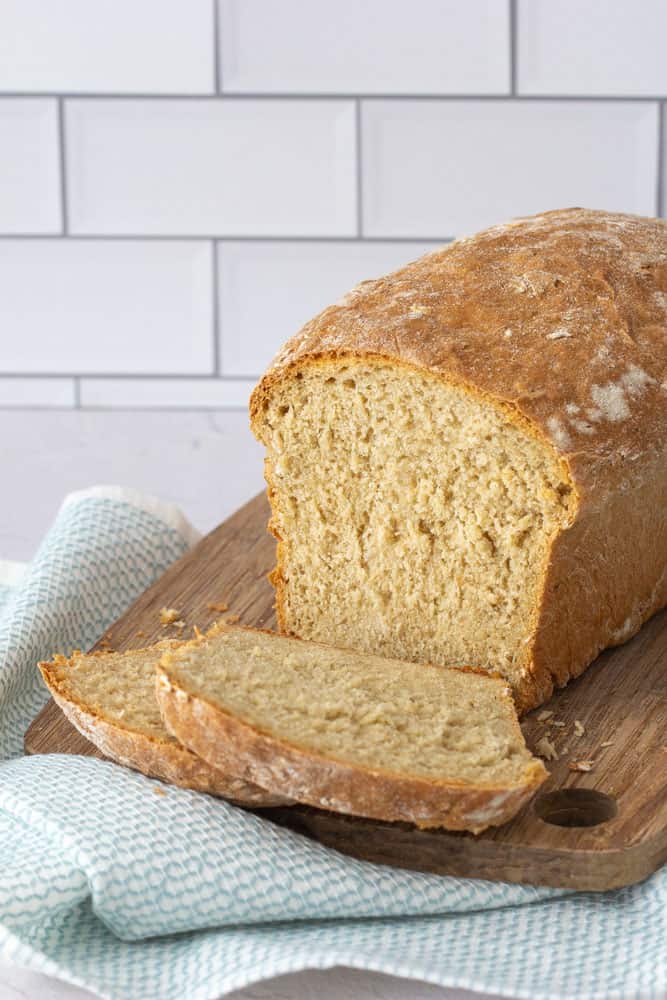
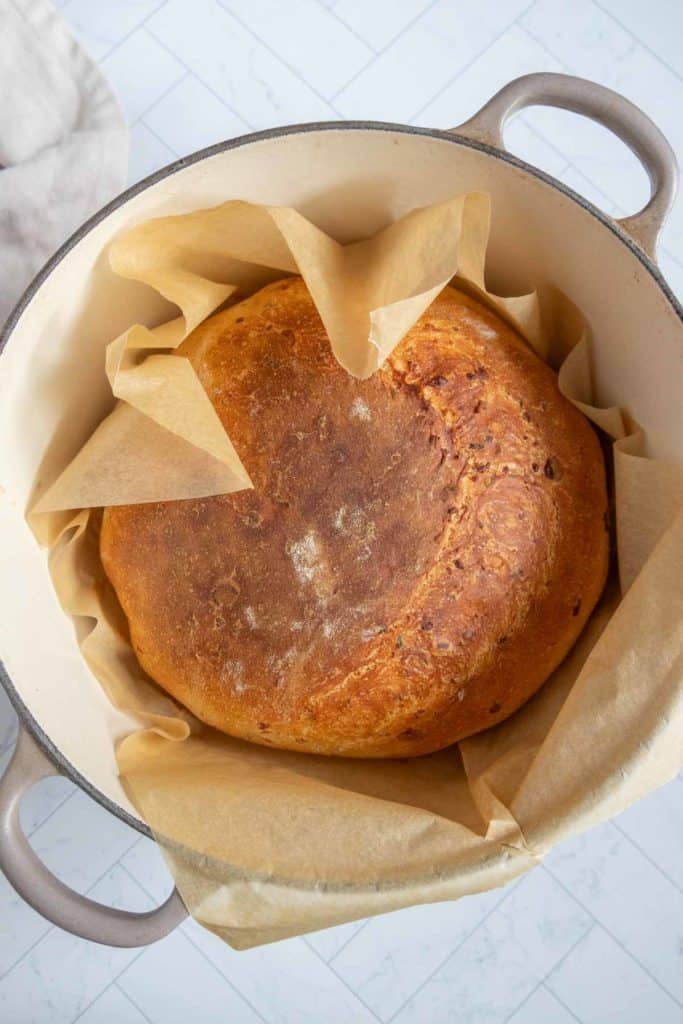
In my house we love honey oatmeal bread, Swedish limpa bread, and French bread, but when I want homemade bread that’s even more hands off, I turn to this no-knead focaccia.
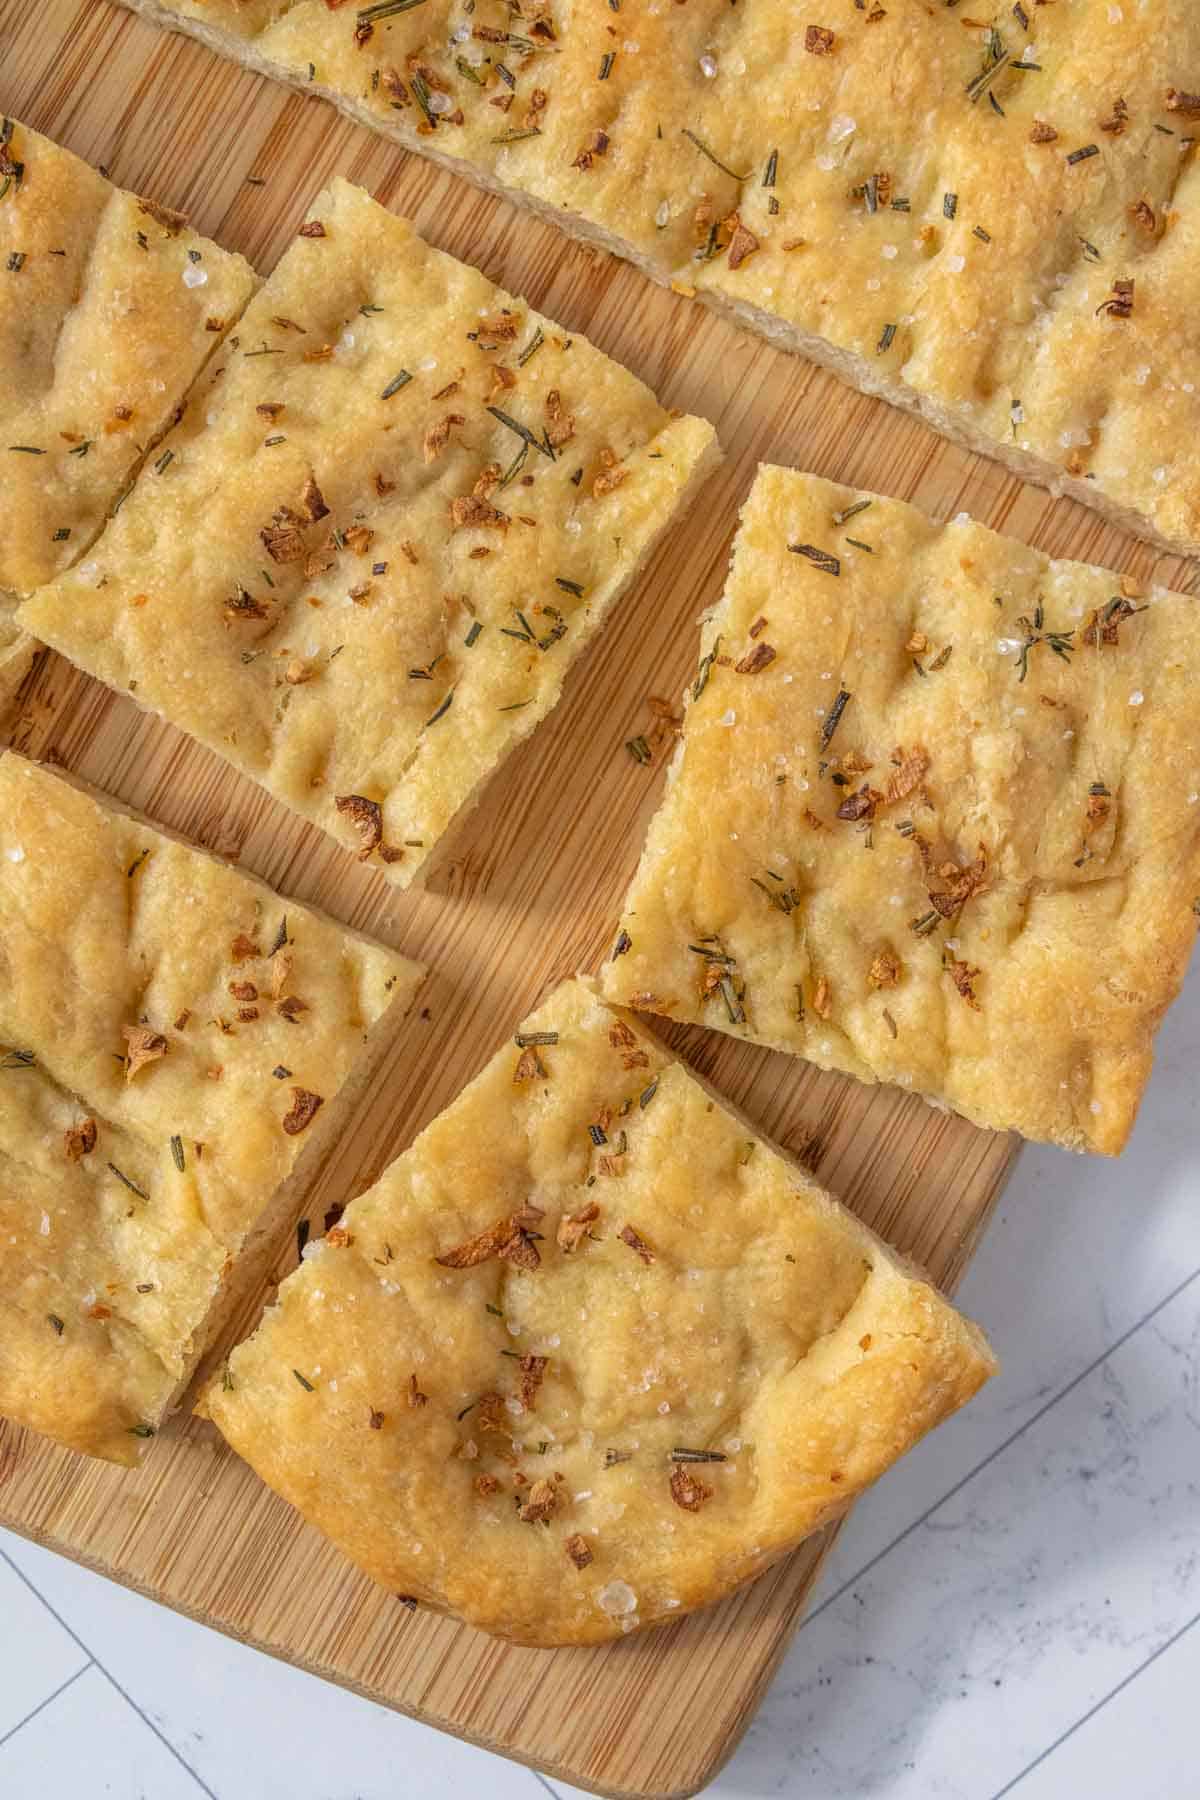
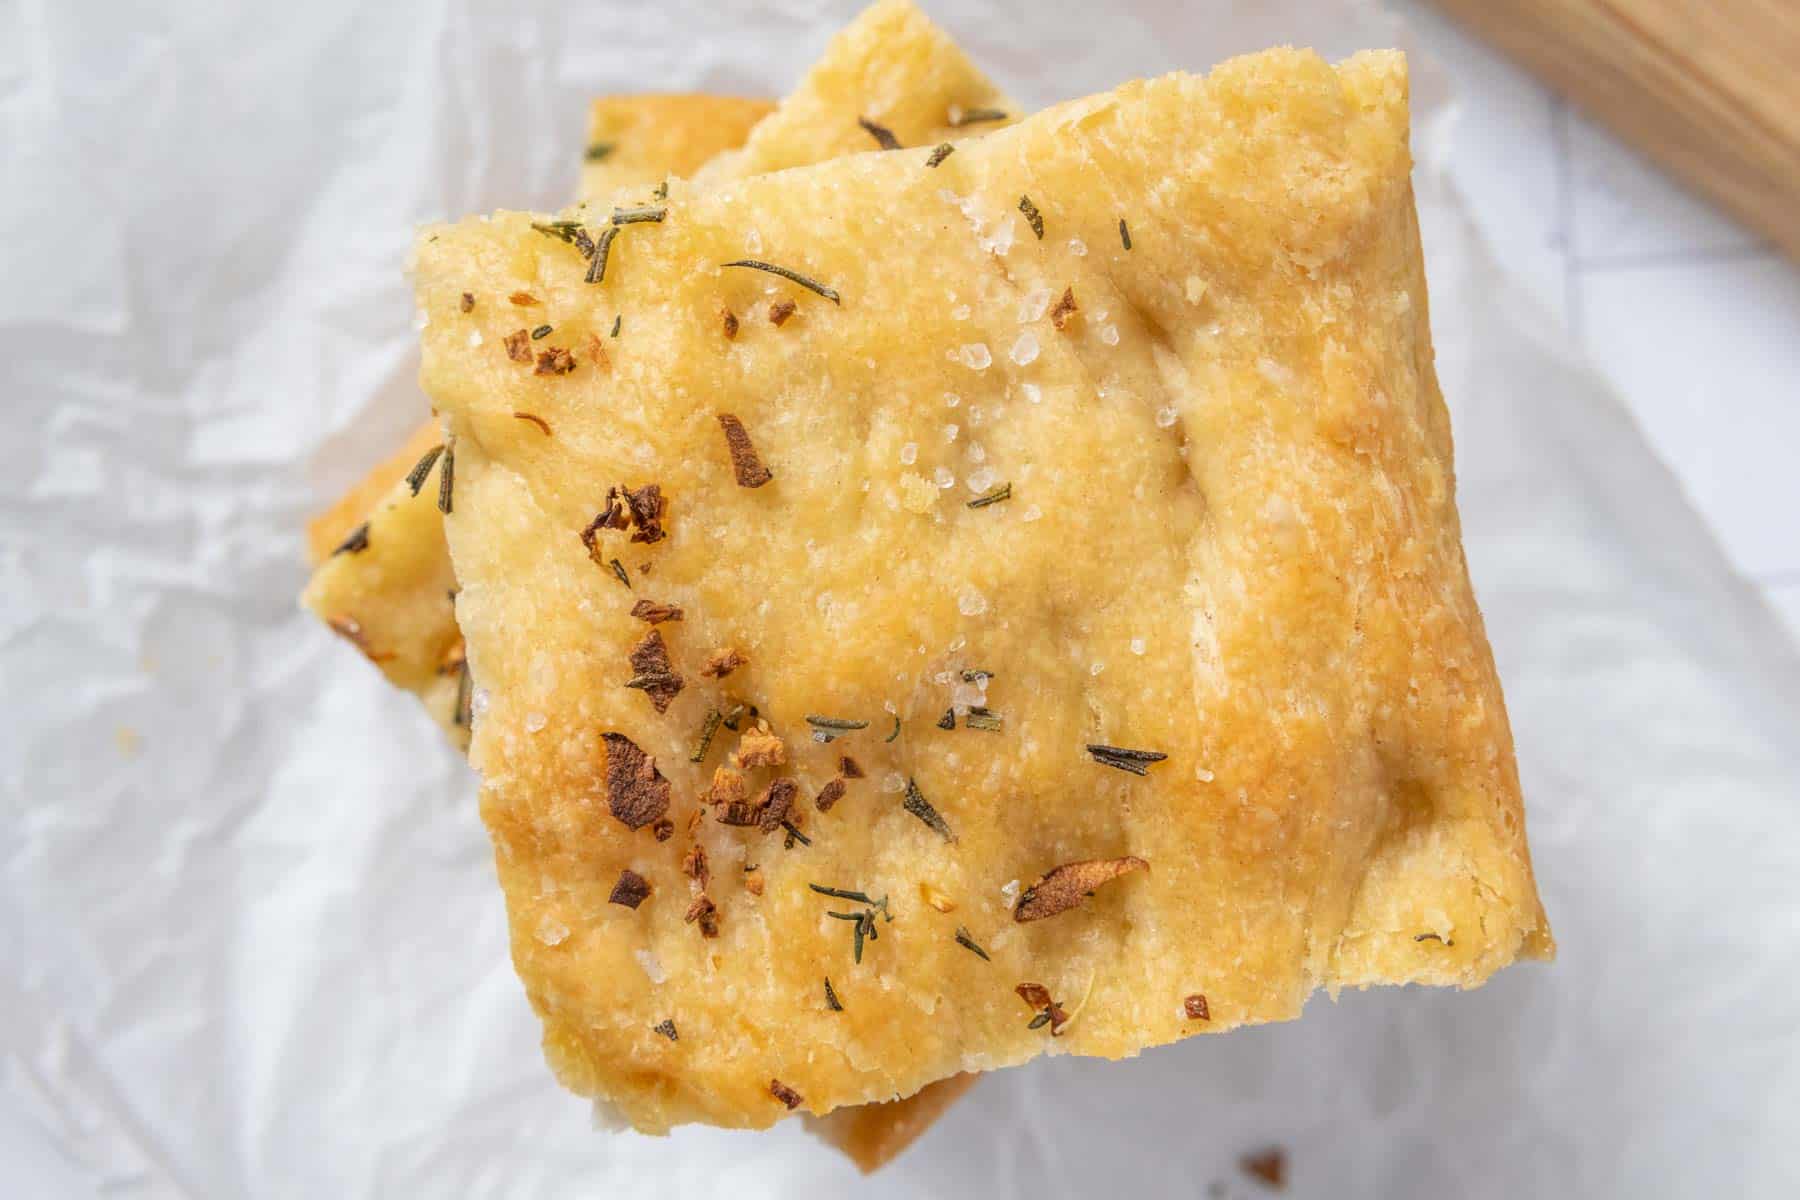
Focaccia is delightfully chewy and bubbly with a crisp outside, and this no-knead version benefits from an extended rising time. If this is your first time making focaccia, you’re going to be so happy with how easy the recipe is!
Top with chopped garlic, fresh herbs, and coarse or flaky salt, and you’ve got a great bread for serving with pasta, soup, or turning into sandwiches!
Ingredients for no-knead focaccia
You’ll need:
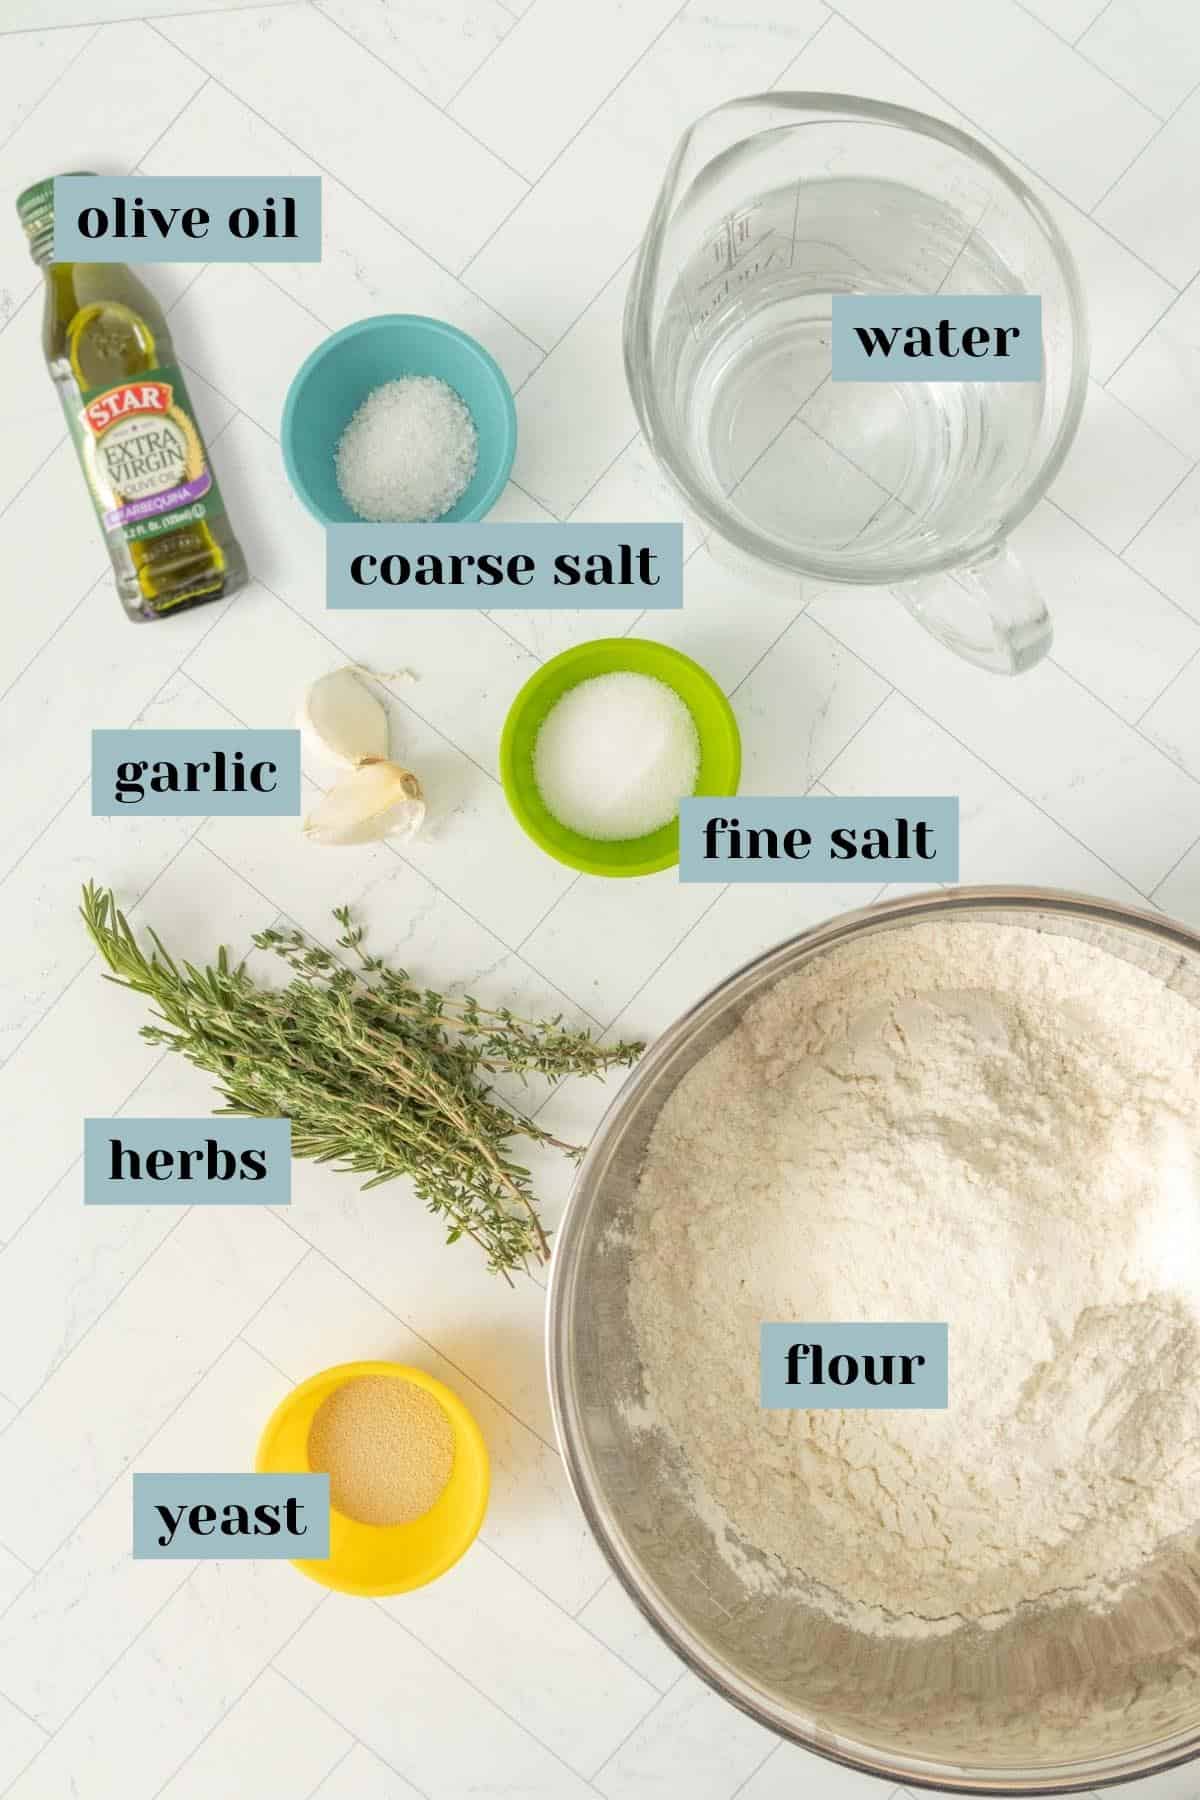
Flour – I use all-purpose flour for this bread. You could also use bread flour, which has a higher protein content.
Yeast – You’ll want active dry yeast, which needs to be activated in warm water.
If you only have instant yeast on hand, there’s no need for activation. You can mix it in with the dry ingredients.
Water – The water should be heated to approximately 110°F. It should feel warm, but not hot. Water that is too warm will kill the yeast rather than activate it.
Fine sea salt – For flavoring the bread.
Coarse salt – For the top of the bread. You can also use a nice flaky salt.
Olive oil – You need oil for coating the rising bowl and the pan you’re baking in, as well as drizzling on the top.
Garlic – For topping the focaccia. You can slice it thinly or chop into small pieces.
Fresh herbs – I used a mix of rosemary and thyme for this focaccia. You can use just one herb, or more herbs if you like!
How to make this recipe
First, warm your water to approximately 100°F. I do this in a microwave-safe measuring cup and it only takes about 45 seconds.
Add the warm water and yeast to a mixing bowl and whisk together. Let stand a few minutes to dissolve the yeast.
Mix in all of the flour and the fine sea salt.
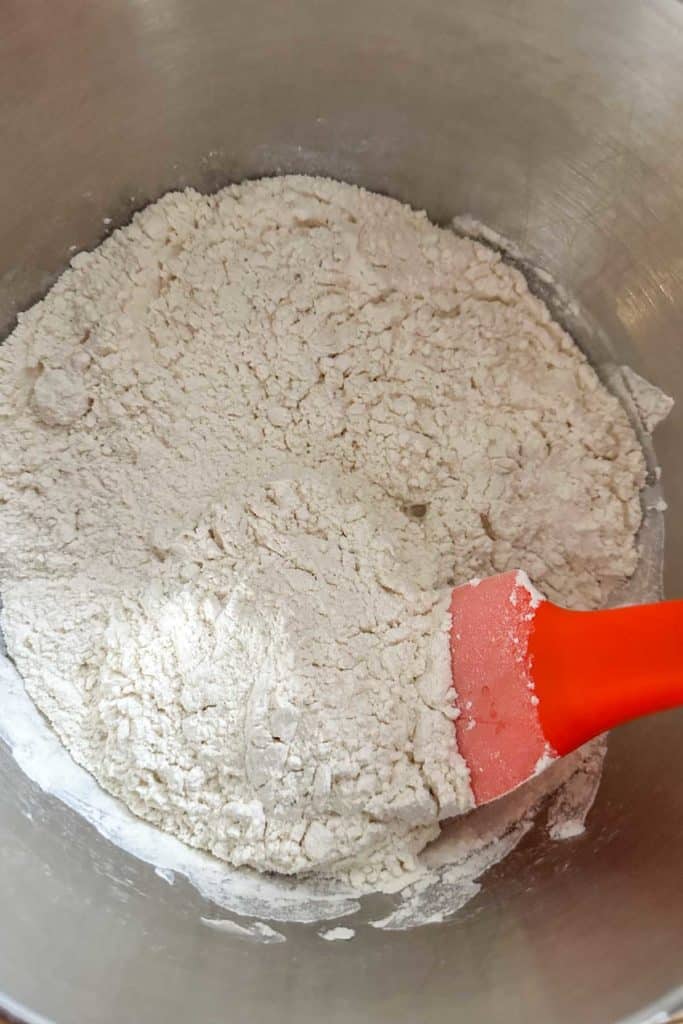
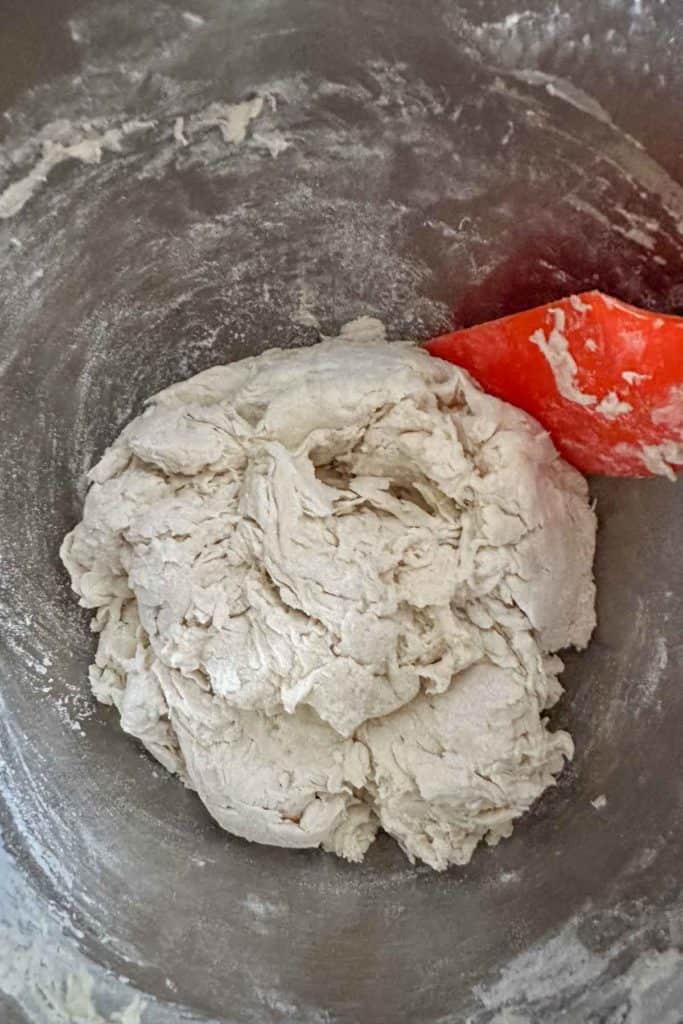
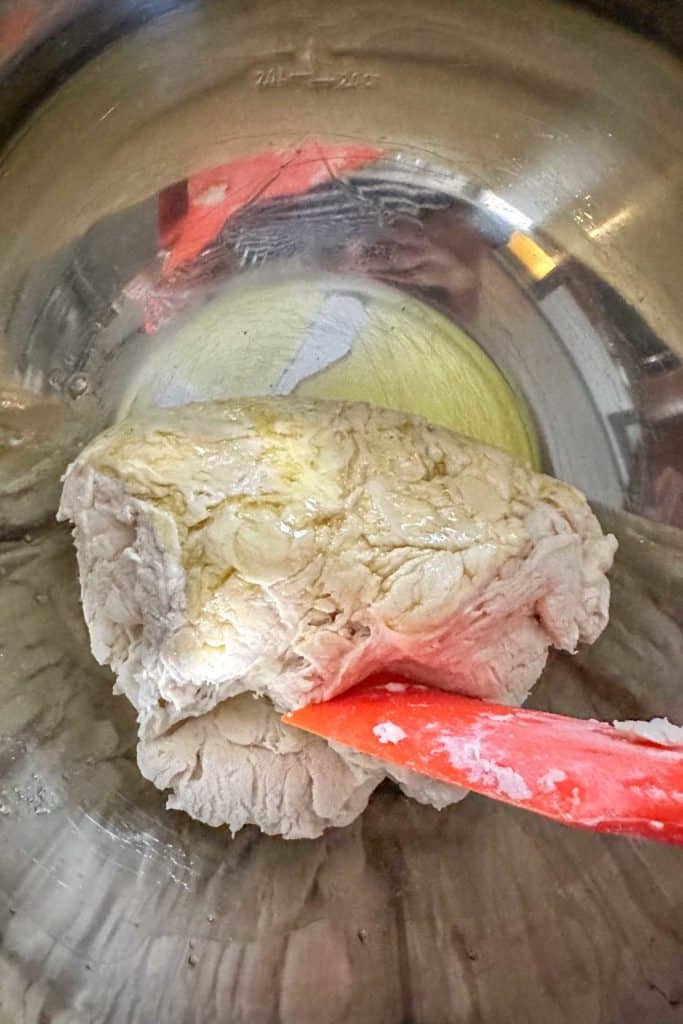
Stir well with a wooden spoon or silicone spatula until you have a shaggy dough.
Grab a large mixing bowl and pour in 4 tablespoons of the olive oil. Tilt the bowl to coat with the oil.
Transfer the dough into the mixing bowl and turn it over to coat in the olive oil.
Cover the bowl with plastic wrap and place in the refrigerator overnight, or at least 8 hours. If you need to make the focaccia the same day, you can also place the bowl in a warm, draft-free place (I like the microwave) for 4 hours.
tip
Plastic shower caps are great for covering rising bread! The elastic edge fits perfectly around most bowls, and the caps can be reused multiple times.
You want the dough to be at least doubled in size before baking.
Grab a 9×13-inch baking pan and add 1 tablespoon olive oil. You can additionally butter the pan to help create ultra-crisp edges.
Uncover the dough and gently fold from one edge toward the center. Turn the bowl one quarter and fold in again, then repeat until you’ve folded in all four edges, deflating the dough gently.
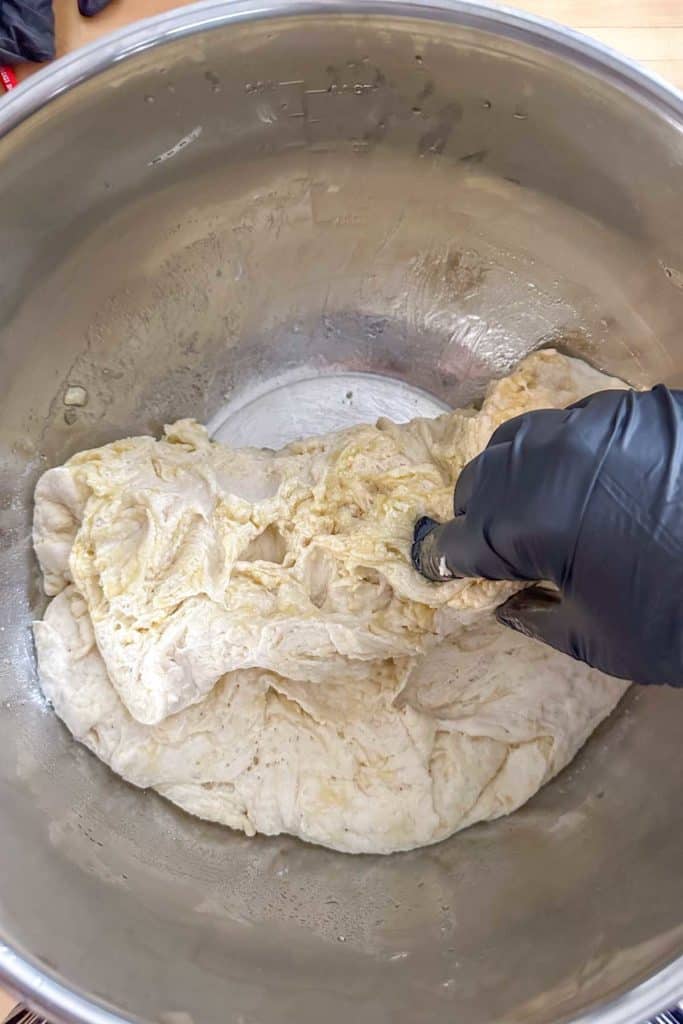
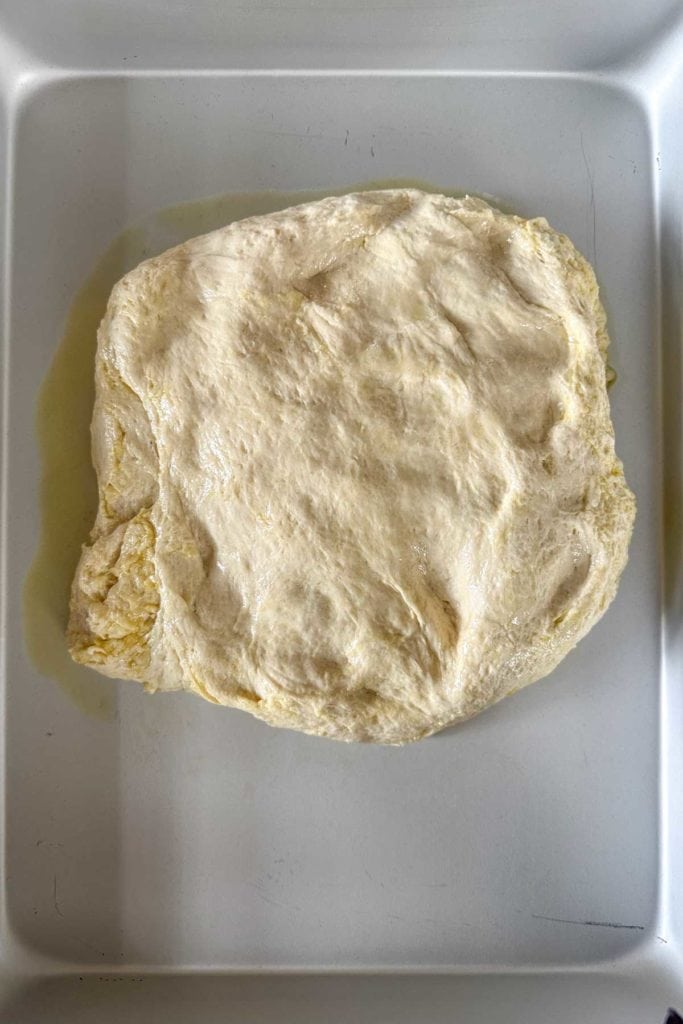
Transfer the dough into the greased pan, along with any olive oil that may have remained in the bowl. Turn the dough over to make sure it is coated in oil.
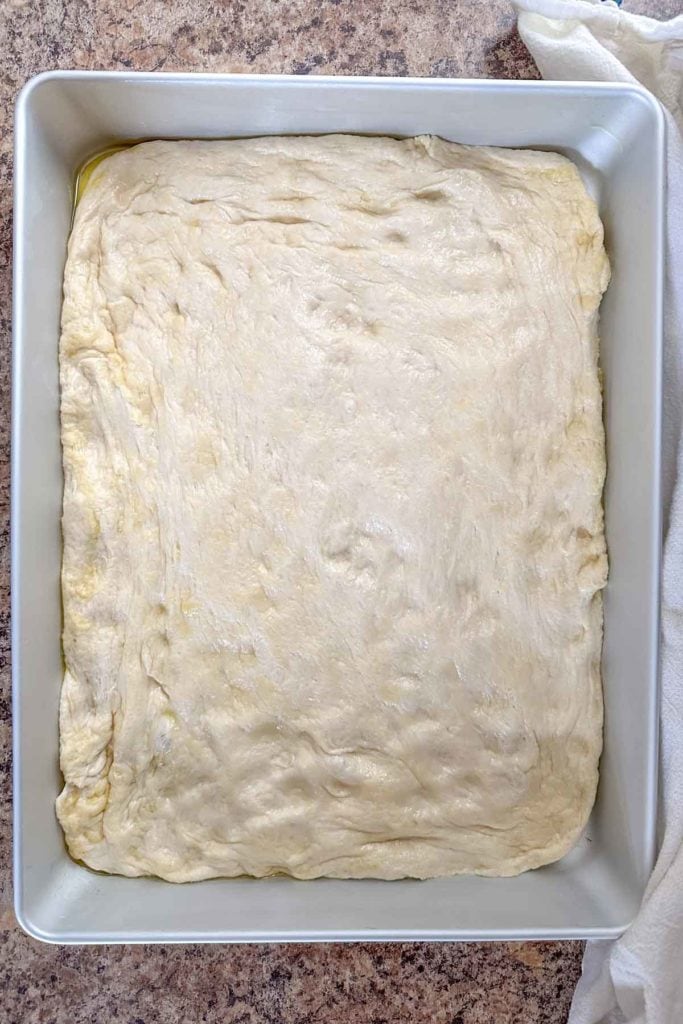
Cover with a clean kitchen towel and let rise in a dry, warm place until doubled in size. This will take at least 90 minutes and as much as 4 hours, depending on the temperature of your kitchen. The dough will slowly spring back when pressed with your finger.
When ready to bake, preheat the oven to 450°F.
Lightly coat your fingers in olive oil (or use kitchen prep gloves) and, if needed, gently stretch the dough so it fills the entire baking pan.
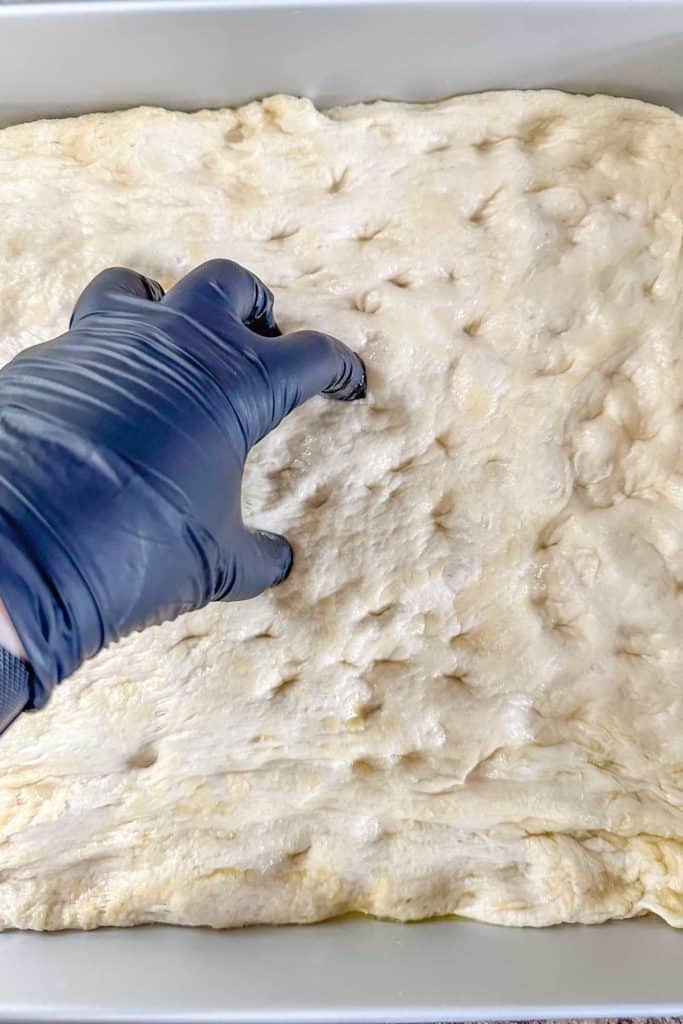
Using your fingertips, press dimples into the dough, pressing all the way down to the bottom of the pan but not creating holes.
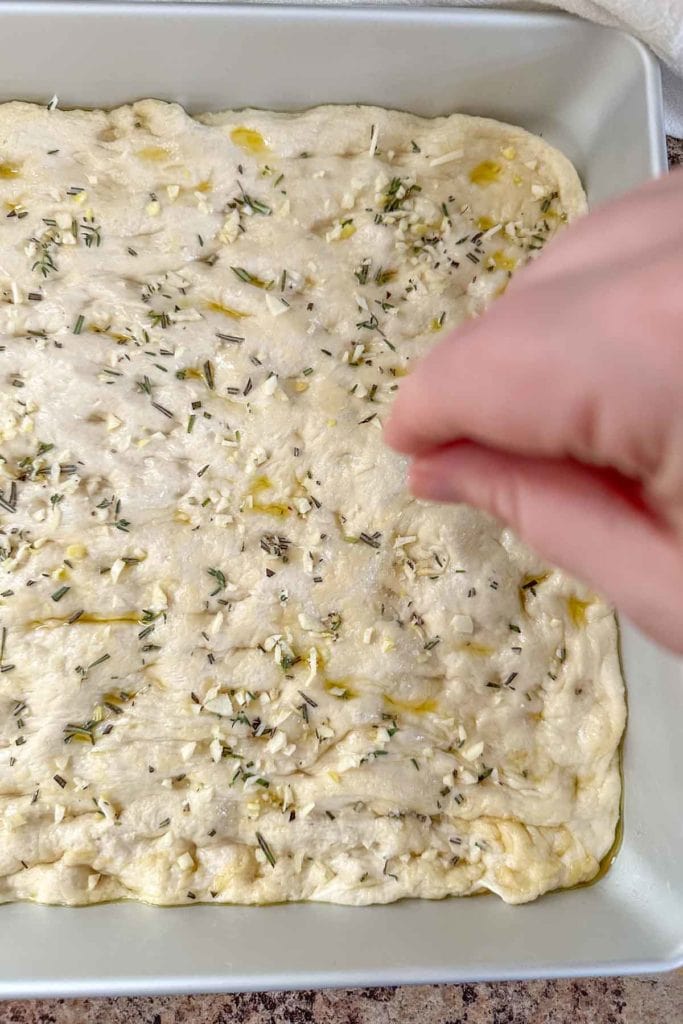
Drizzle the dough with the remaining 1 tablespoon olive oil. Sprinkle on chopped garlic, herbs, and coarse salt.
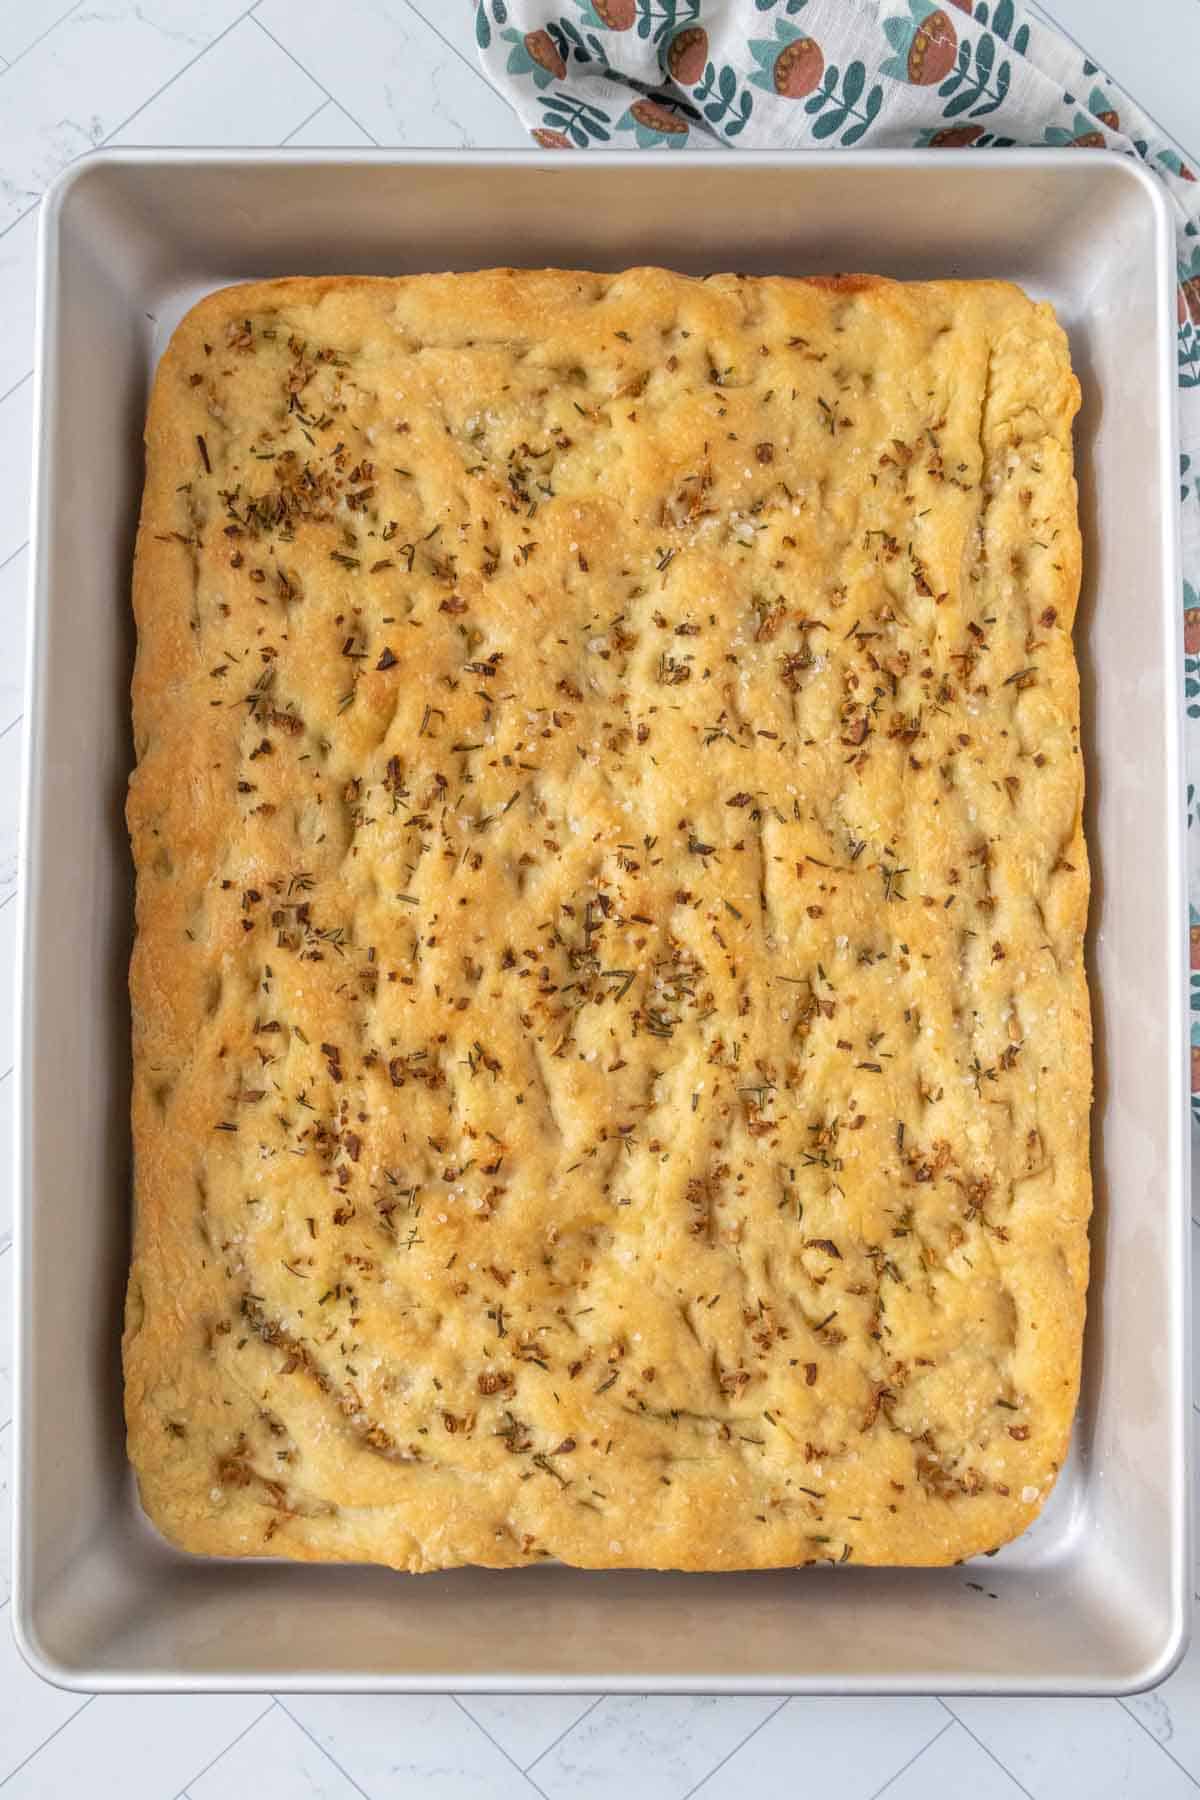
Place the pan in the oven and bake for 20-30 minutes, until golden brown and crisp.
What size pan do I need for focaccia?
Focaccia can be made in different-size pans depending on what you plan to use it for, or the texture you prefer on the bread.
Use a 9×13-inch baking pan for thicker focaccia. It’s great halved and used for sandwich bread.
For thinner focaccia that’s delicious as a soup dipper, use a 13×18-inch rimmed baking sheet.
Want to make something in between? Use a jelly roll pan! They are 10×15 inches in size.
Storage tips
Focaccia is best served the day it is made. It doesn’t retain the crisp exterior once stored.
Store Leftover focaccia in an airtight container at room temperature for up to 3 days. I recommend slicing it before storing.
You can also freeze the slices to make it last longer.
Warm slices in the oven for about 5 minutes, or until heated through and crisp again.
How to serve no-knead focaccia
You can serve this bread alongside any of your favorite pasta dishes, from creamy pesto pasta to tortellini pasta salad.
It’s also excellent with chicken wild rice soup, red lentil soup, or classic beef chili.
You can turn it into sandwiches, too! Try it with my favorite chicken salad with grapes, this delightful Cobb salad sandwich, or make a big pan of pressed Italian sandwiches for your next party.
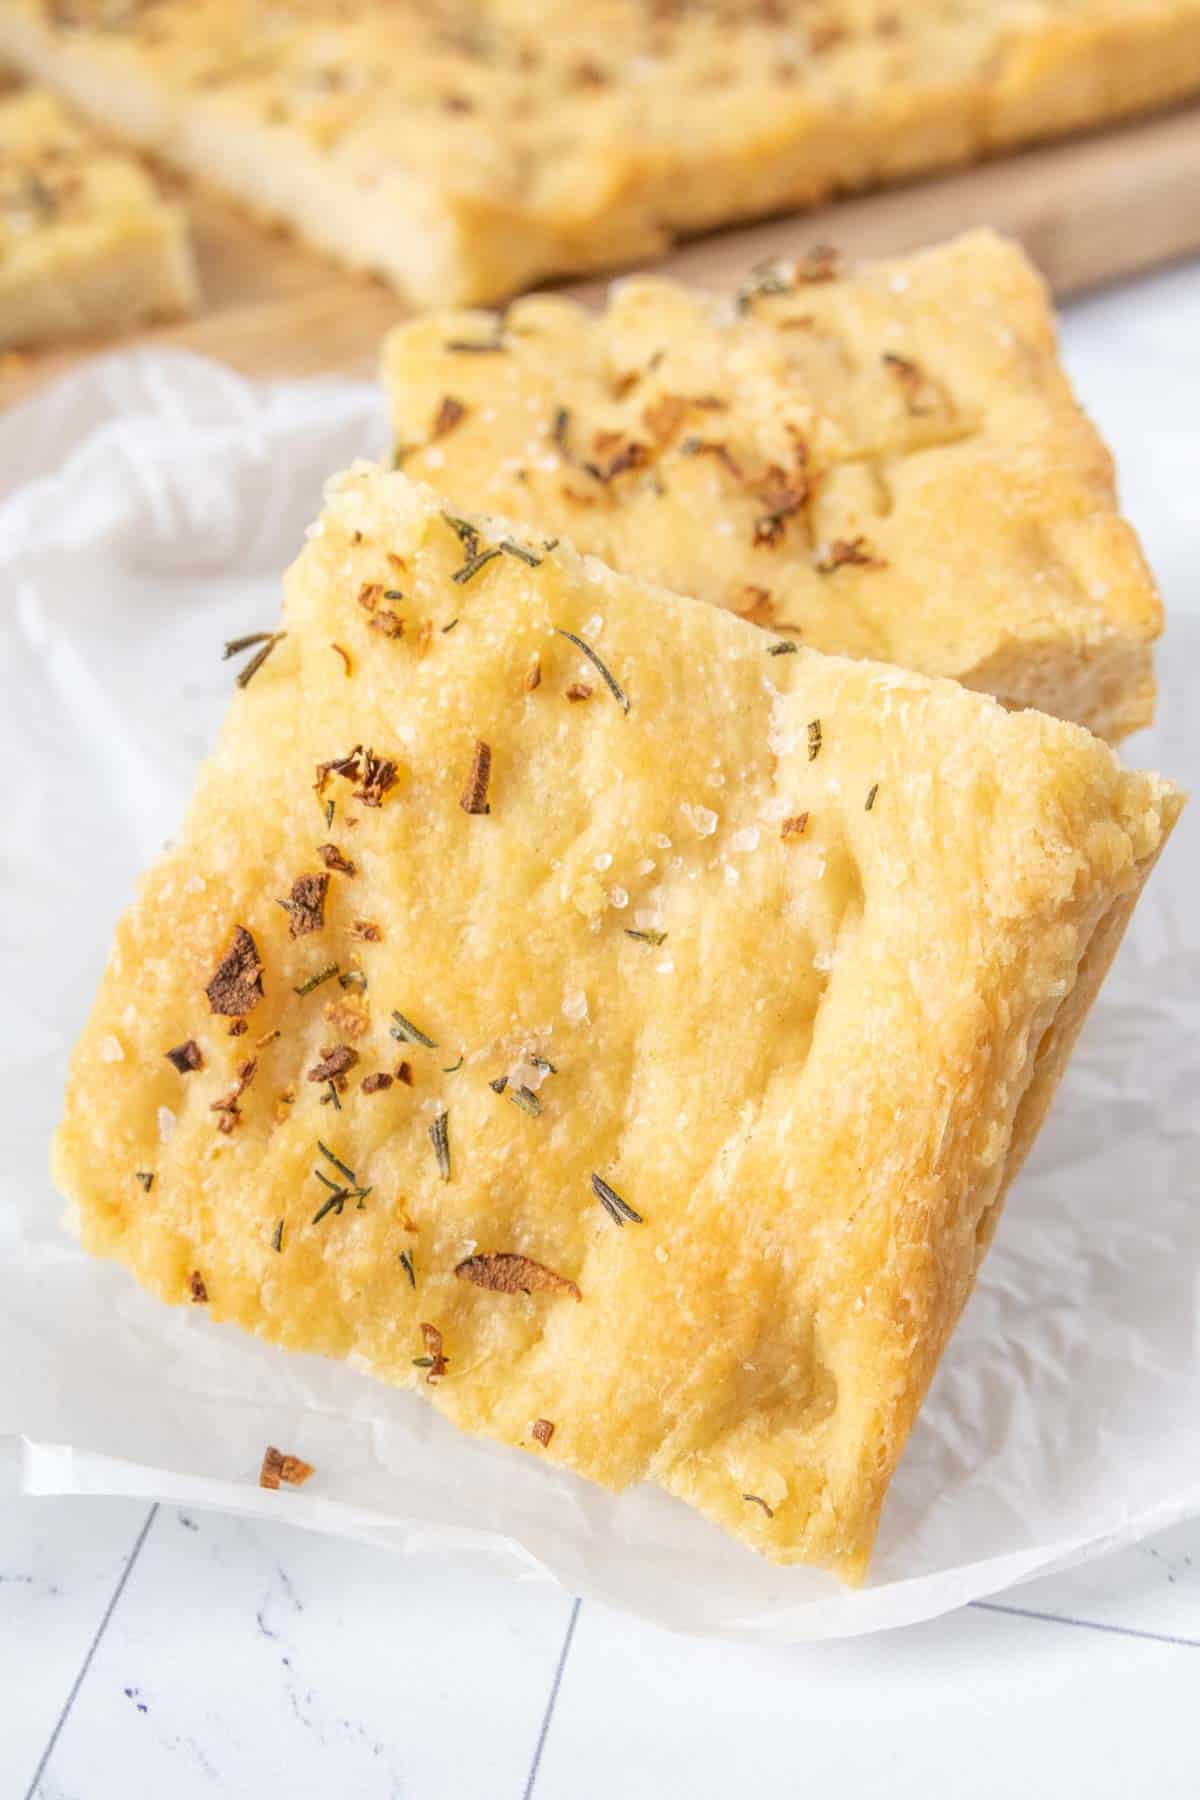
You’ll love this easy no-knead focaccia!
Love this recipe? Please leave a 5-star review below!
It means so much when you enjoy my recipes, so let me know how it goes and leave a comment if you have any questions.
No-Knead Focaccia
Ingredients
- 2 1/3 cups water, warmed to 110°F
- 2 1/4 teaspoons active dry yeast
- 5 cups all-purpose flour
- 1 tablespoon fine sea salt
- 6 tablespoons olive oil, divided use
- 3 cloves garlic, chopped
- 2 tablespoons chopped fresh herbs, such as rosemary and/or thyme
- 1 teaspoon coarse or flaky salt, for topping
Instructions
- If water is not yet warmed, heat it to 110°-115°F. This will take about 45 seconds in the microwave.
- In a mixing bowl, whisk together water and yeast. Let stand a few minutes to dissolve the yeast.
- Add all of the flour and fine sea salt, and mix well to create a shaggy dough.
- Grab a mixing bowl large enough to contain the risen bread and pour in 4 tablespoons olive oil. Tilt the bowl to coat the sides.
- Add the dough and turn to coat with the oil. Cover with plastic wrap and place in the refrigerator to rise overnight, or at least 8 hours. You can also let it rise in a warm, dry place for 4 hours, or until doubled.
- After rising, pour 1 tablespoon olive oil into a 9×13-inch baking pan. Uncover the dough and gently fold over one side toward the middle. Repeat this motion on all four sides of the dough, gently deflating it.
- Transfer the dough to the prepared pan and turn to coat with the oil. Cover with a clean kitchen towel and let rise in a warm place until doubled. Depending on your kitchen, this will take anywhere from 90 minutes to 4 hours.
- When ready to bake, preheat oven to 450°F.
- Uncover dough and, if needed, gently stretch to fill pan to the edges. Coat your fingers with a little oil and press into the dough all over, creating dimples over the entire surface. Drizzle with the remaining 1 tablespoon olive oil. Sprinkle on chopped garlic, herbs, and coarse salt.
- Bake for 20-30 minutes, until golden brown and crisp.
Notes
- In dry months/climates, use the full amount of water. Reduce water to 2 cups in humid conditions.
- You can grease the baking pan with butter for crispier edges.
Nutrition
Nutrition information is provided as a courtesy and is an estimate based on online calculators. Any nutritional information found on Stetted should be used as a general guideline only.

About Megan
I learned how to cook by exploring seasonal ingredients, and you can too! Meal time shouldn’t be stressful or complicated, and with fresh ingredients and easy methods, I’m here to help you enjoy the time spent in the kitchen. Read more…


