This post contains affiliate links and may earn commissions on recommended products. As an Amazon Associate, I earn from qualifying purchases.
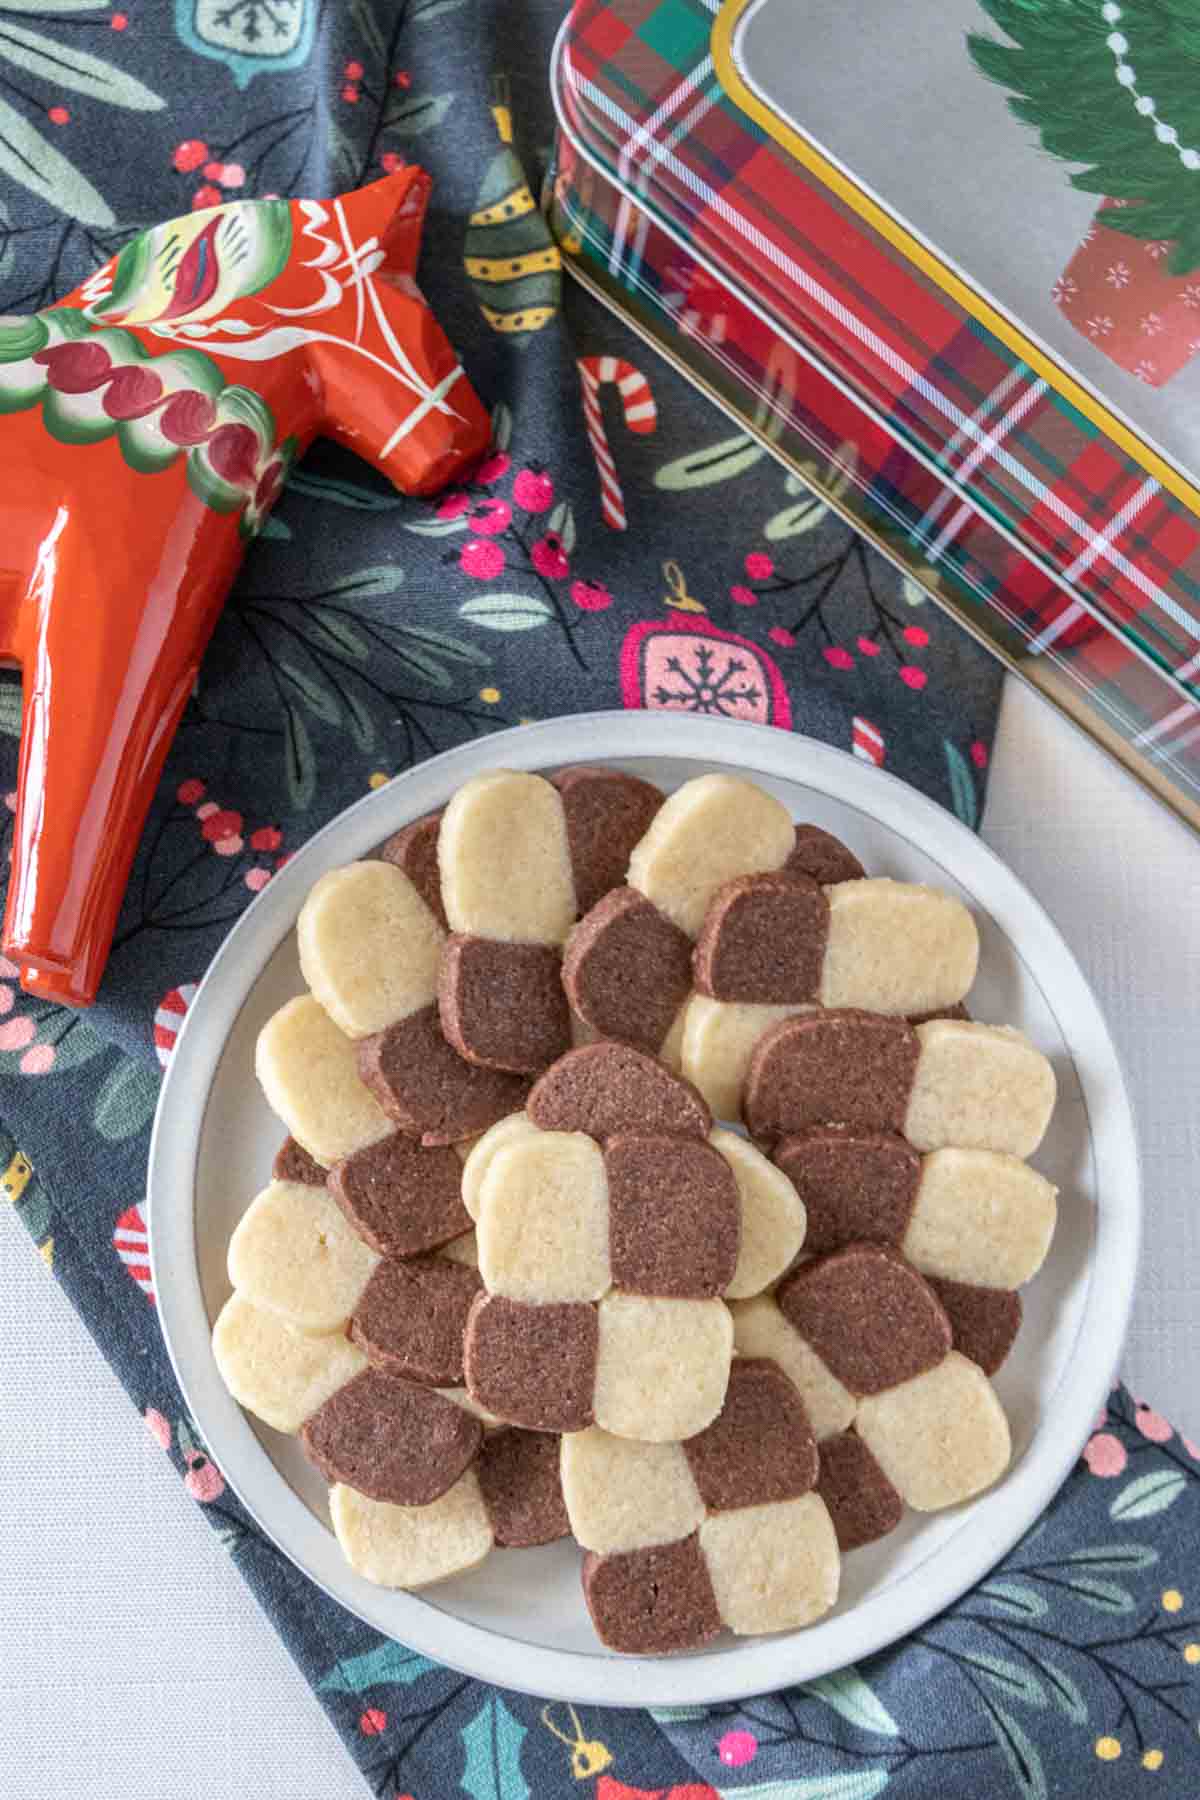
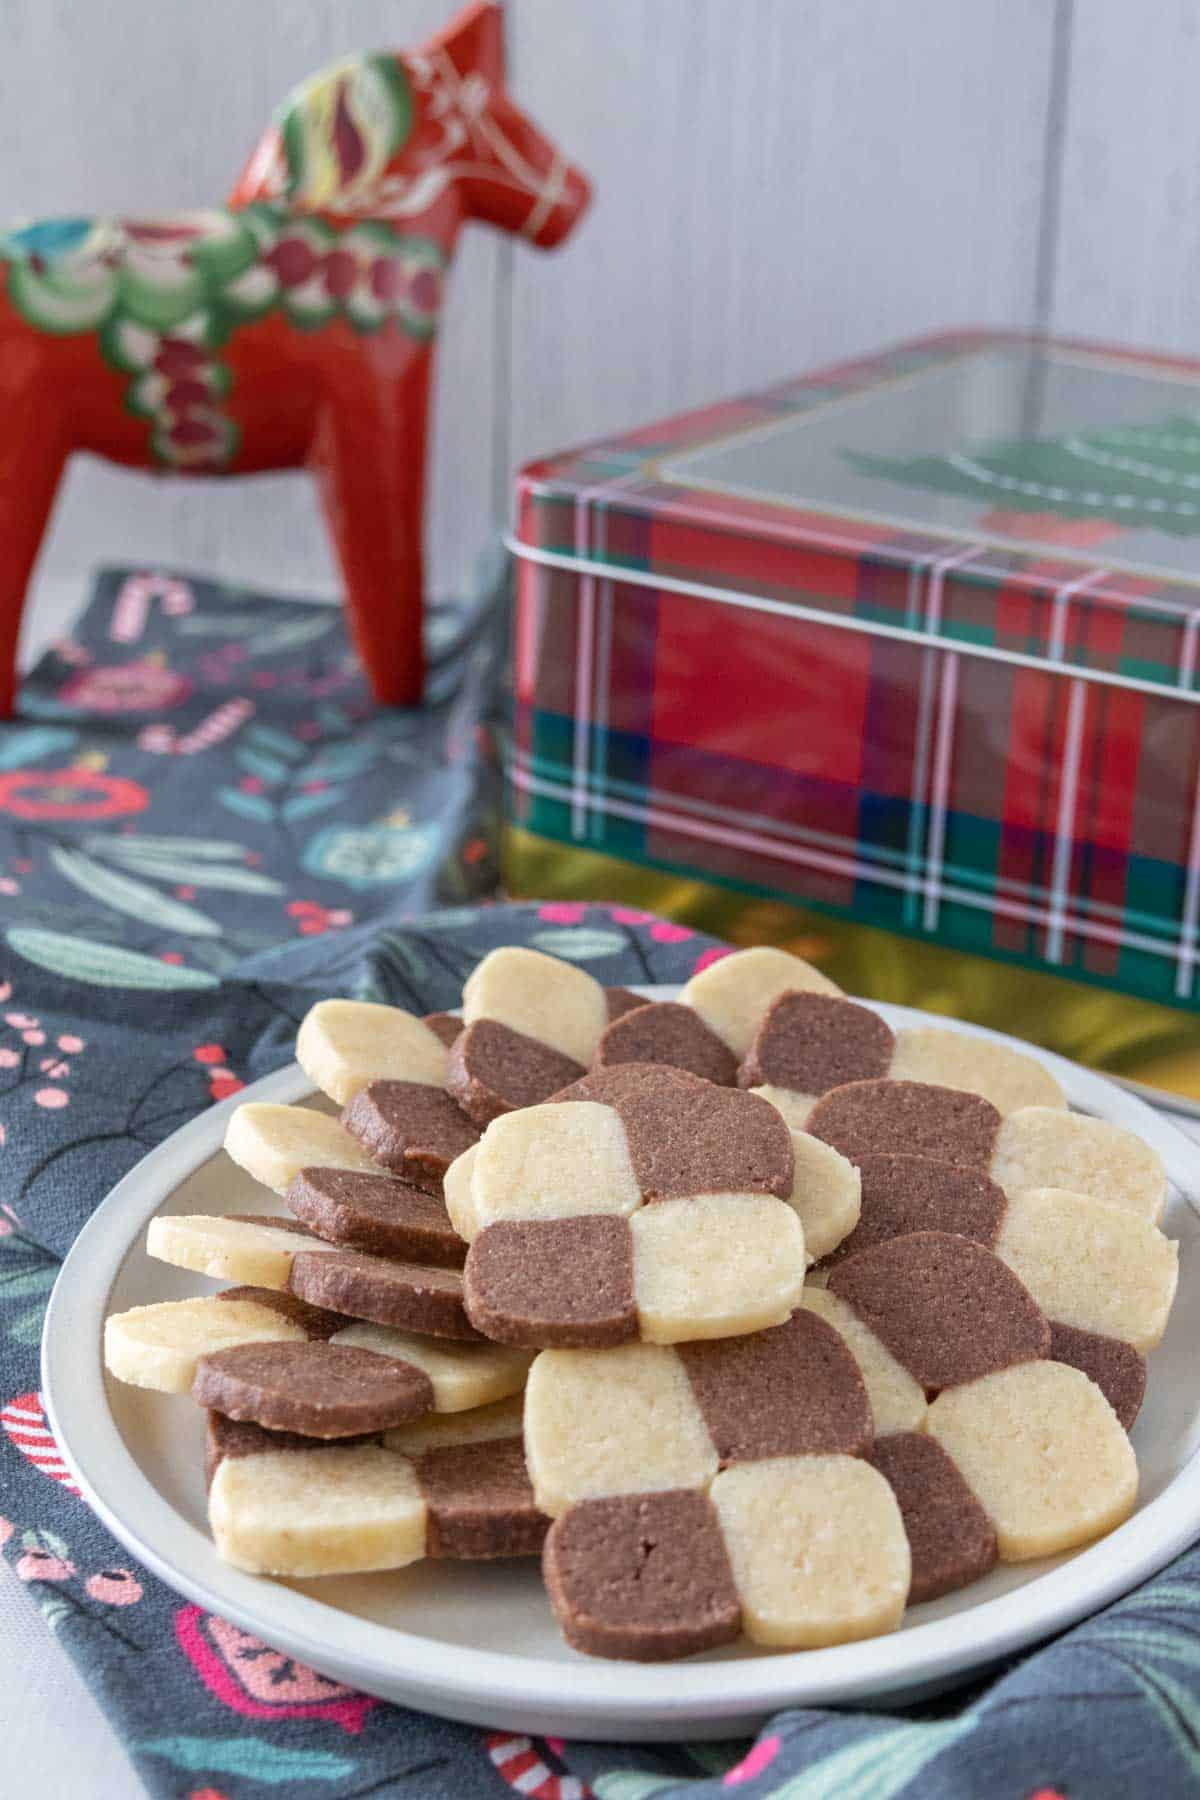
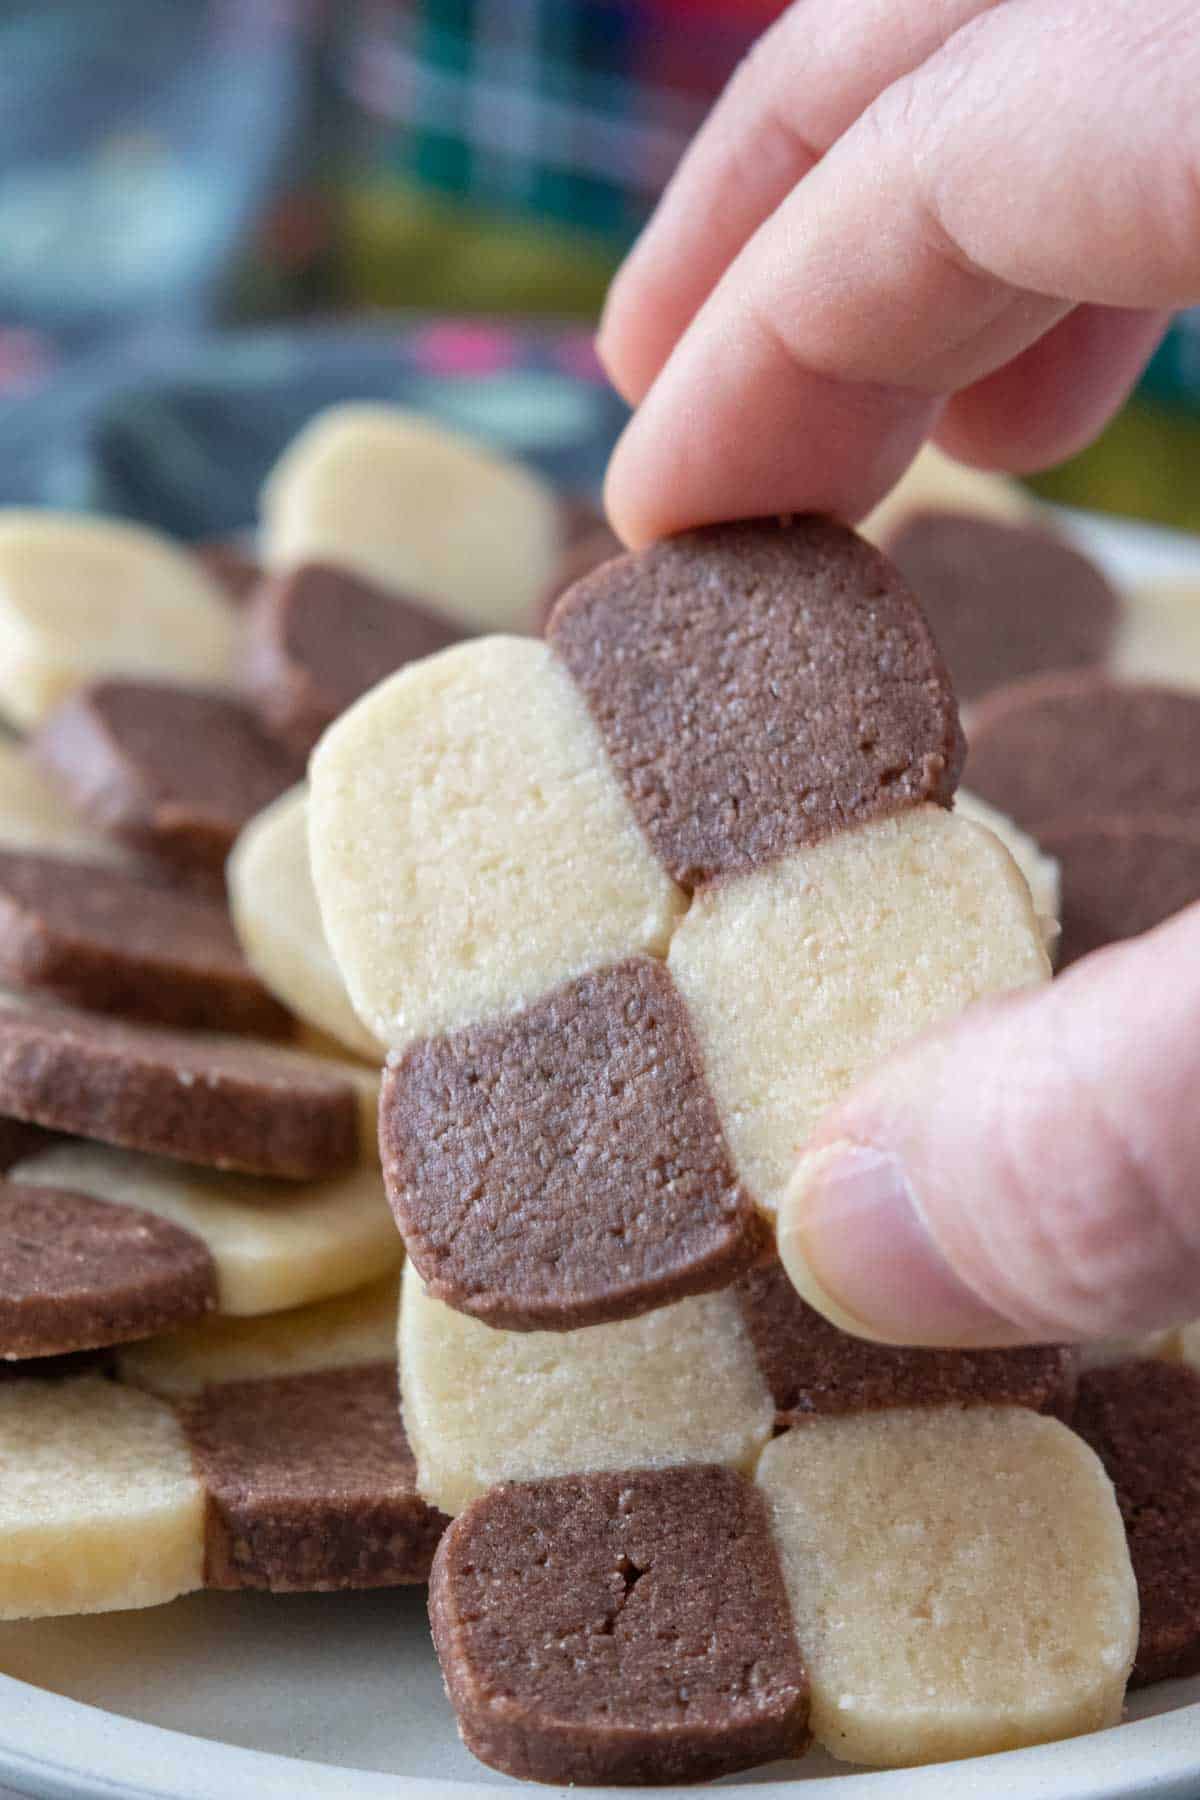
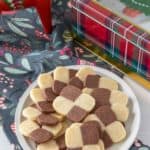
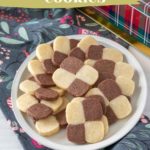
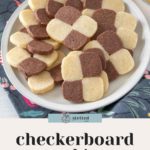
It’s always the season for fun and festive cookies! These vanilla chocolate checkerboard cookies, also known as schackrutor, are a fun addition to the cookie tray.
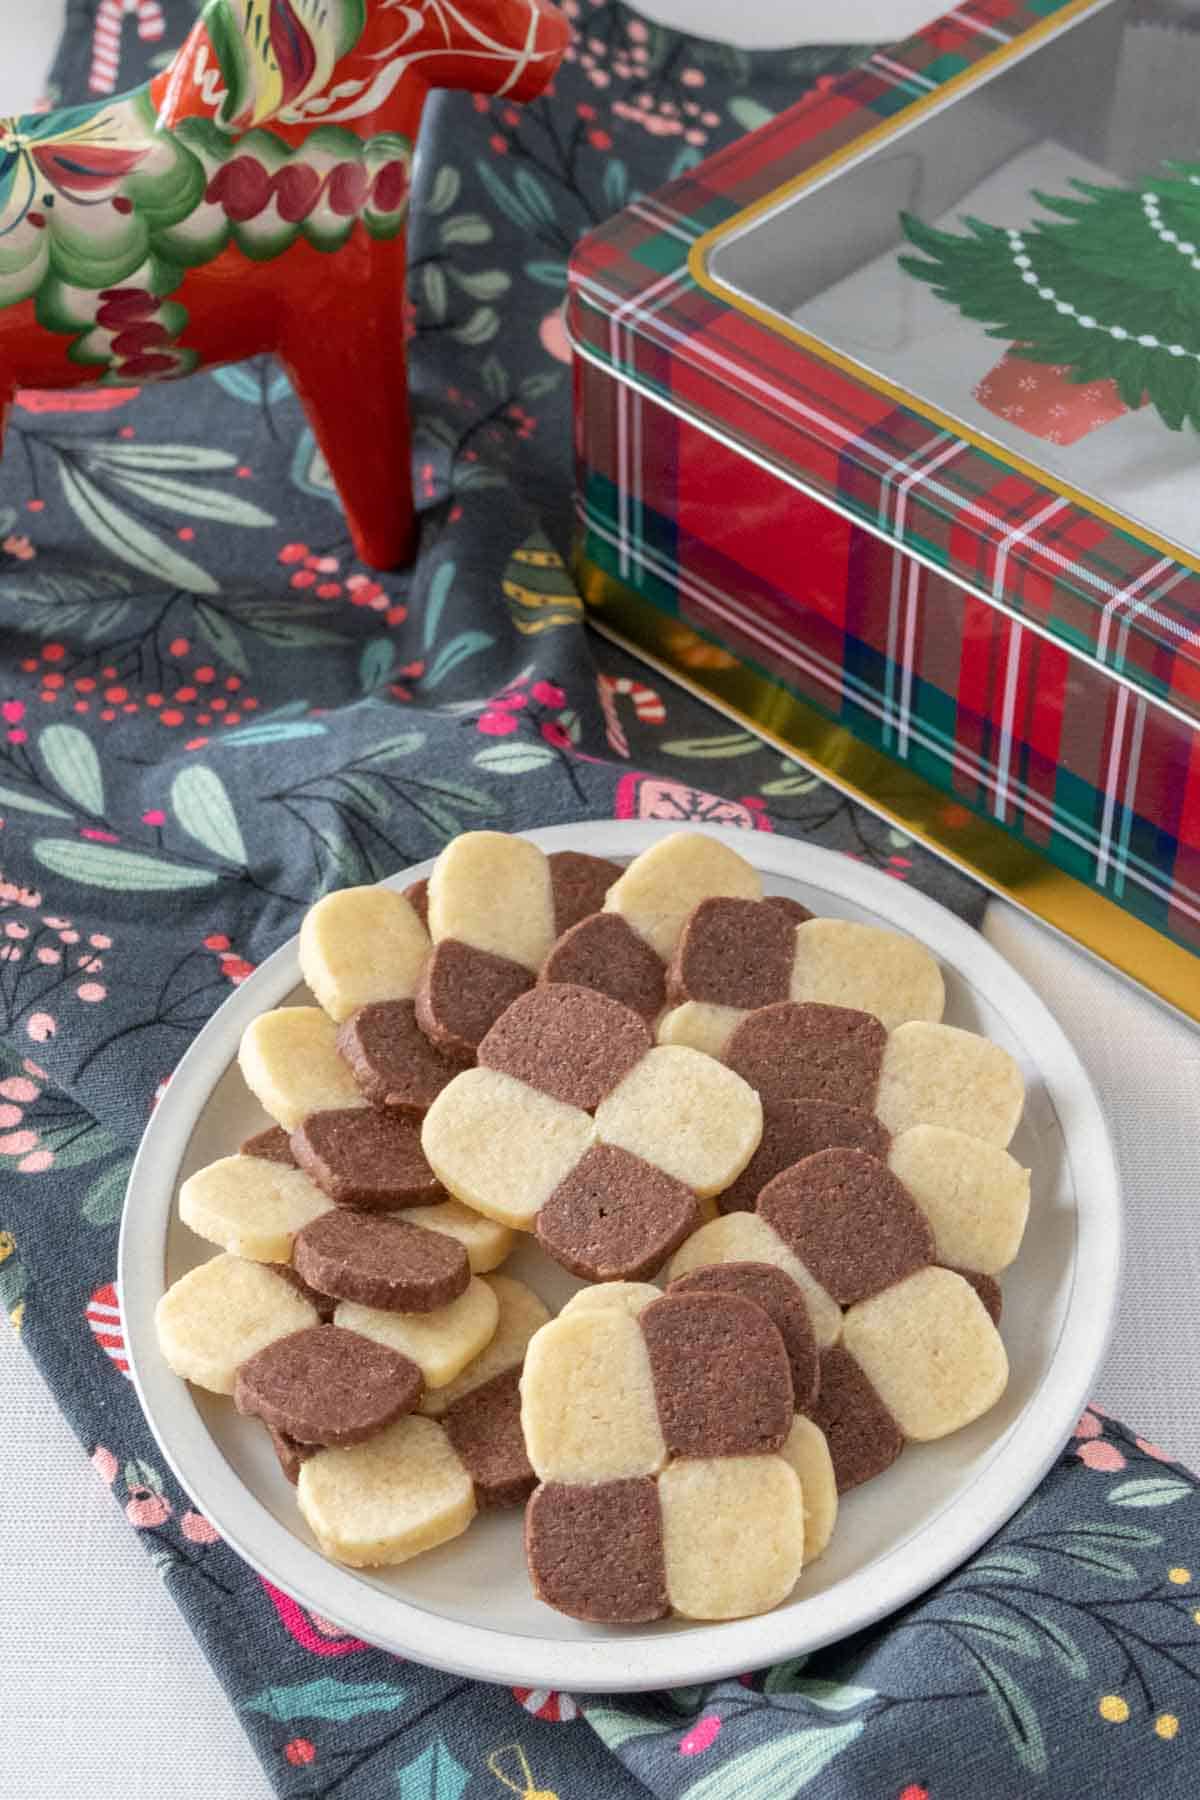
Every year my family has a cookie competition, where we kick off the holiday season by making a lot of cookies.
Now that my kids are getting older, the competition is starting to get pretty fierce, so you have to make more than just a chocolate chip cookie. Needless to say, we attempt to try all the fun cookie recipes out there.
This year I went for checkerboard cookies, a vanilla and chocolate shortbread-style cookie. The classic flavors combine in one cookie to make a cute patterned snack.
Checkerboard cookies can be more complicated in their pattern, but I stuck with the 2×2 pattern I remembered from eating Swedish Christmas cookies growing up.
If you’re a fan of shortbreads, you’re going to enjoy these cookies!
Ingredients for checkerboard cookies
These cookies only require a few ingredients, so the dough is easy to mix up.
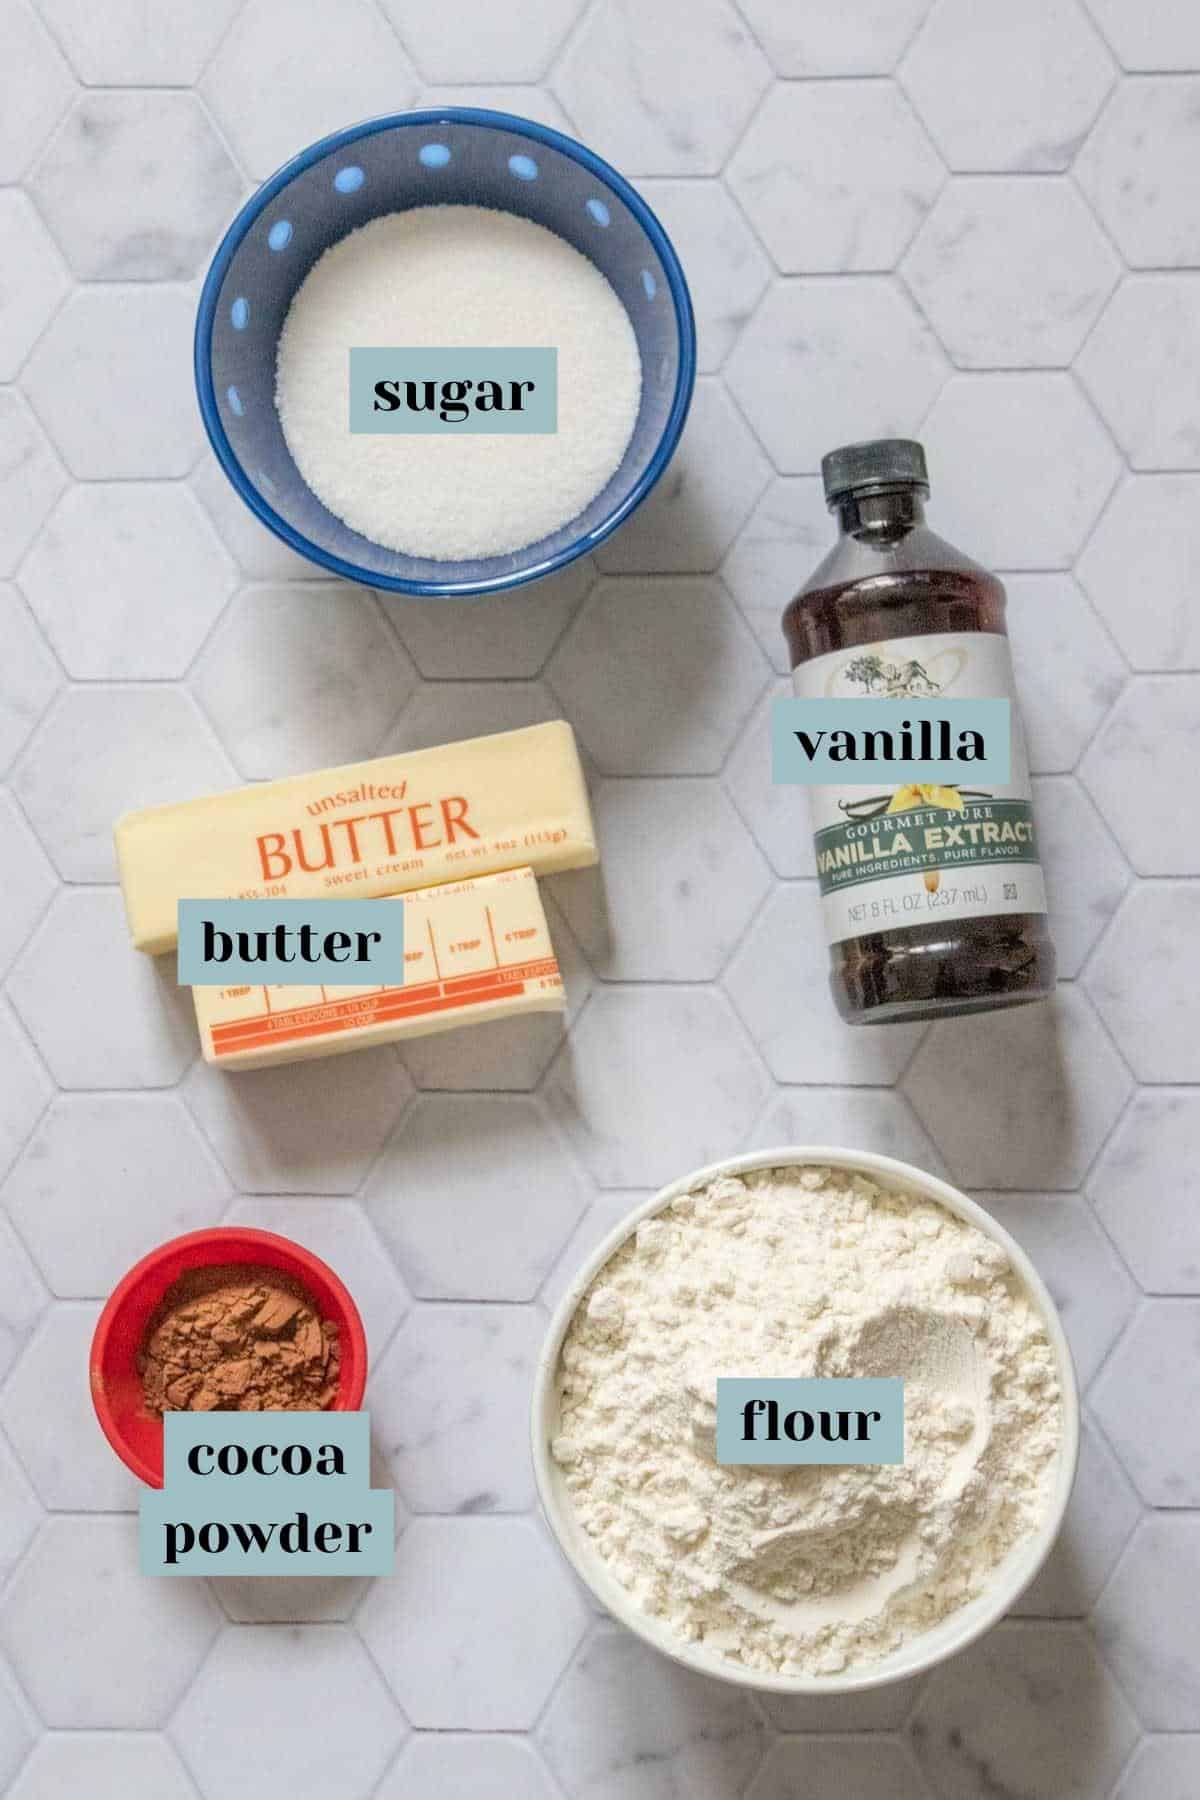
Granulated sugar – This is regular white sugar, not brown sugar. I do not recommend swapping in a sugar substitute.
Butter – Plenty of butter is needed to make this rich dough. You can use salted butter or unsalted butter. I personally like to use salted butter in my cookies!
Make sure the butter is softened to room temperature.
Flour – Use all-purpose flour for these cookies.
Vanilla – Pure vanilla extract is added to half the dough. It will color the dough just slightly, so if you prefer a lighter vanilla side, you can use clear vanilla flavoring.
Cocoa powder – For the dark half of the dough, we’ll add cocoa powder. I like dutch-process cocoa powder, but you can also use black onyx cocoa powder for an intensely rich and dark chocolate cookie.
How to make checkerboard cookies
In a large mixing bowl, combine the sugar and softened butter. Beat with an electric mixer or paddle attachment on a stand mixer until blended.
Scrape down the sides and add the flour.
Beat until the flour is incorporated and the dough comes together.
It will look really shaggy at first, but keep mixing and it will fully blend.
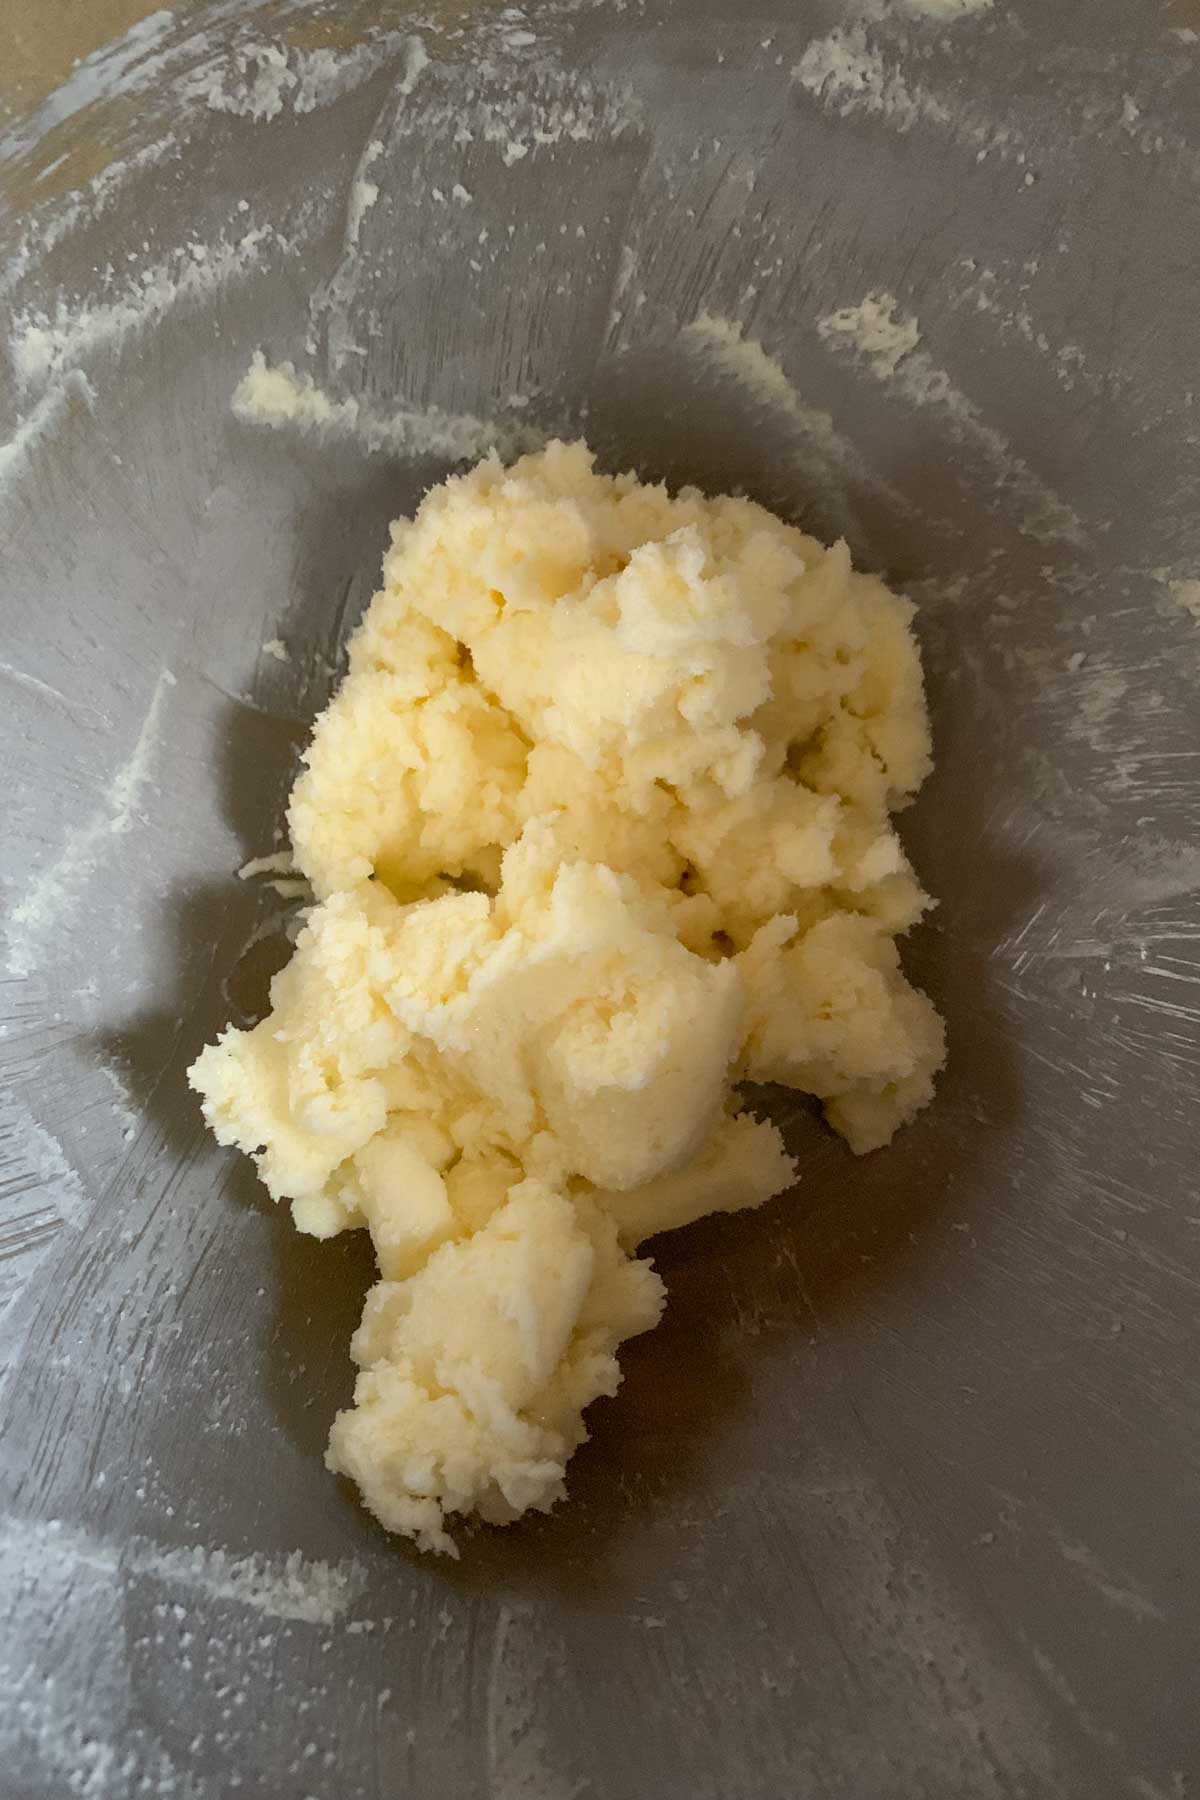
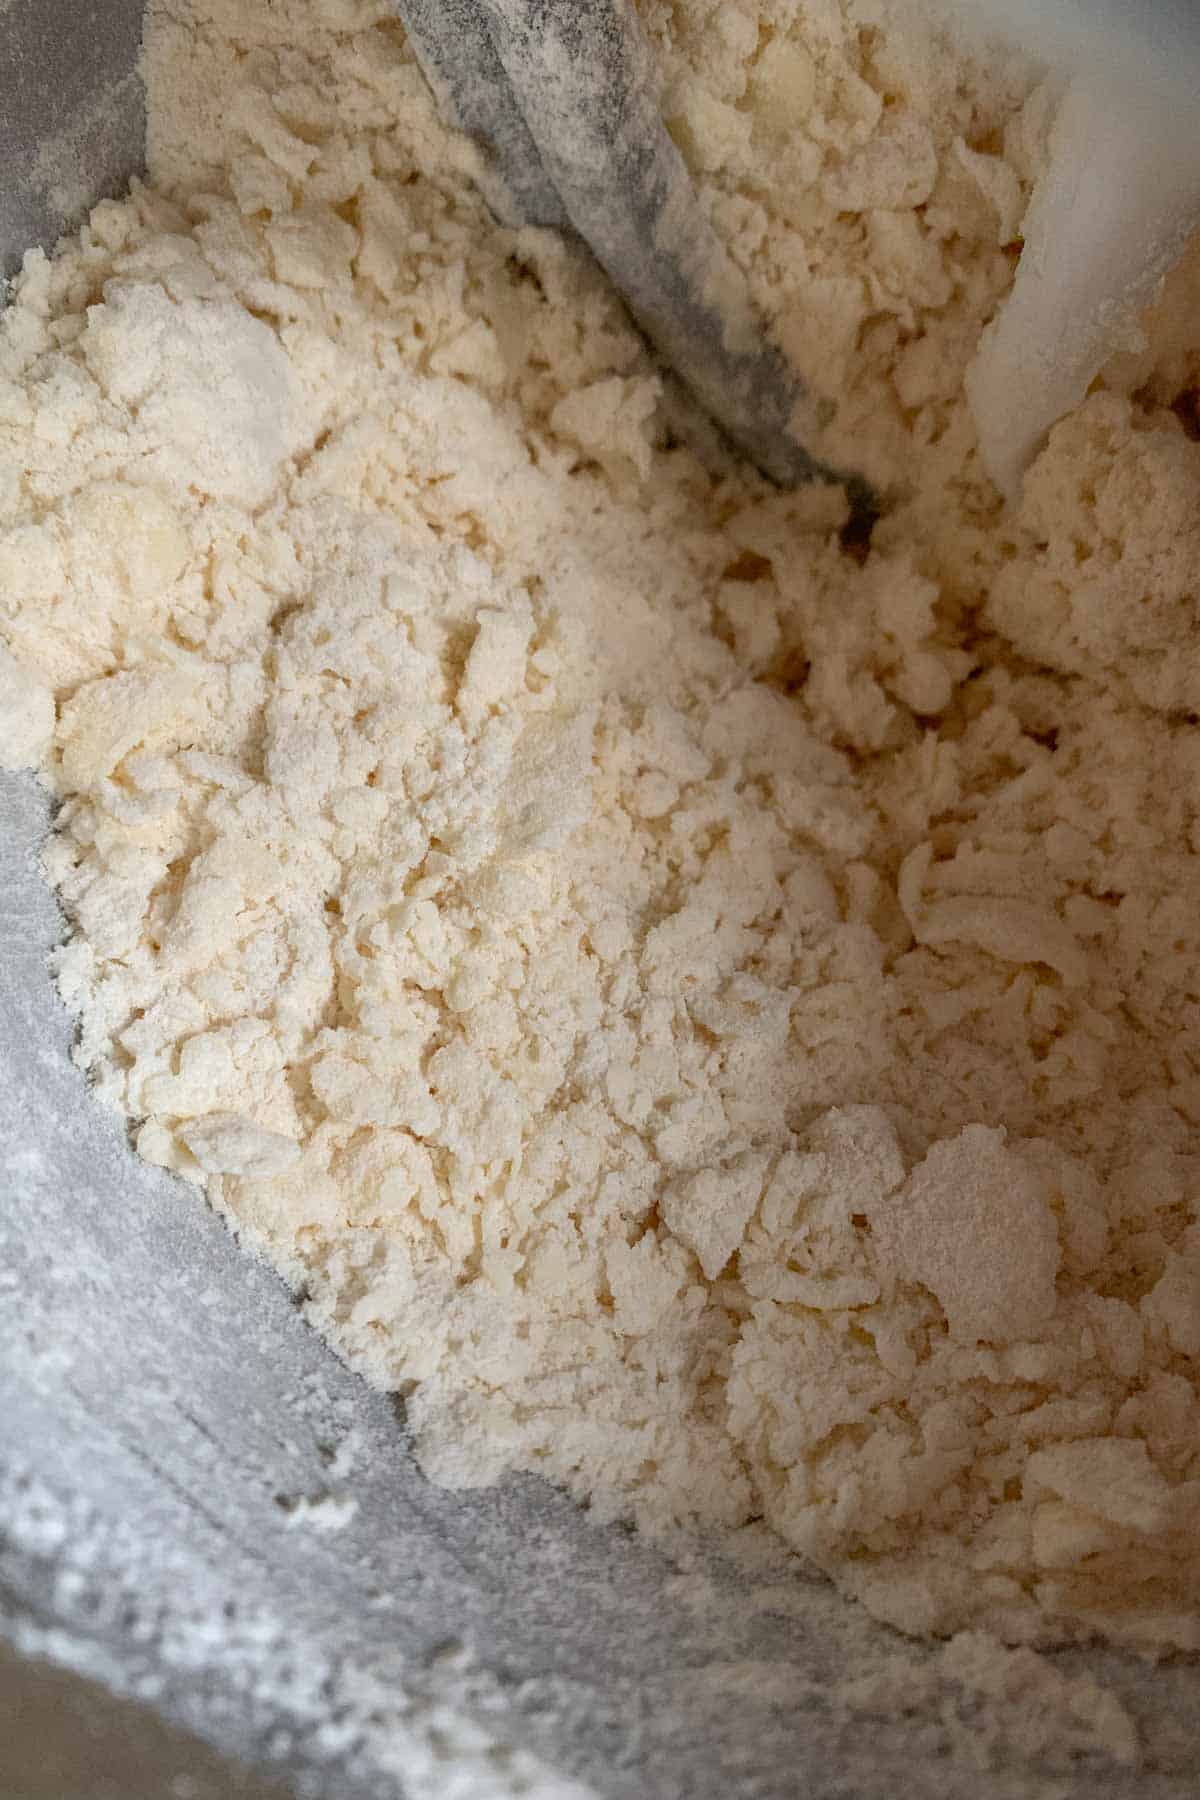
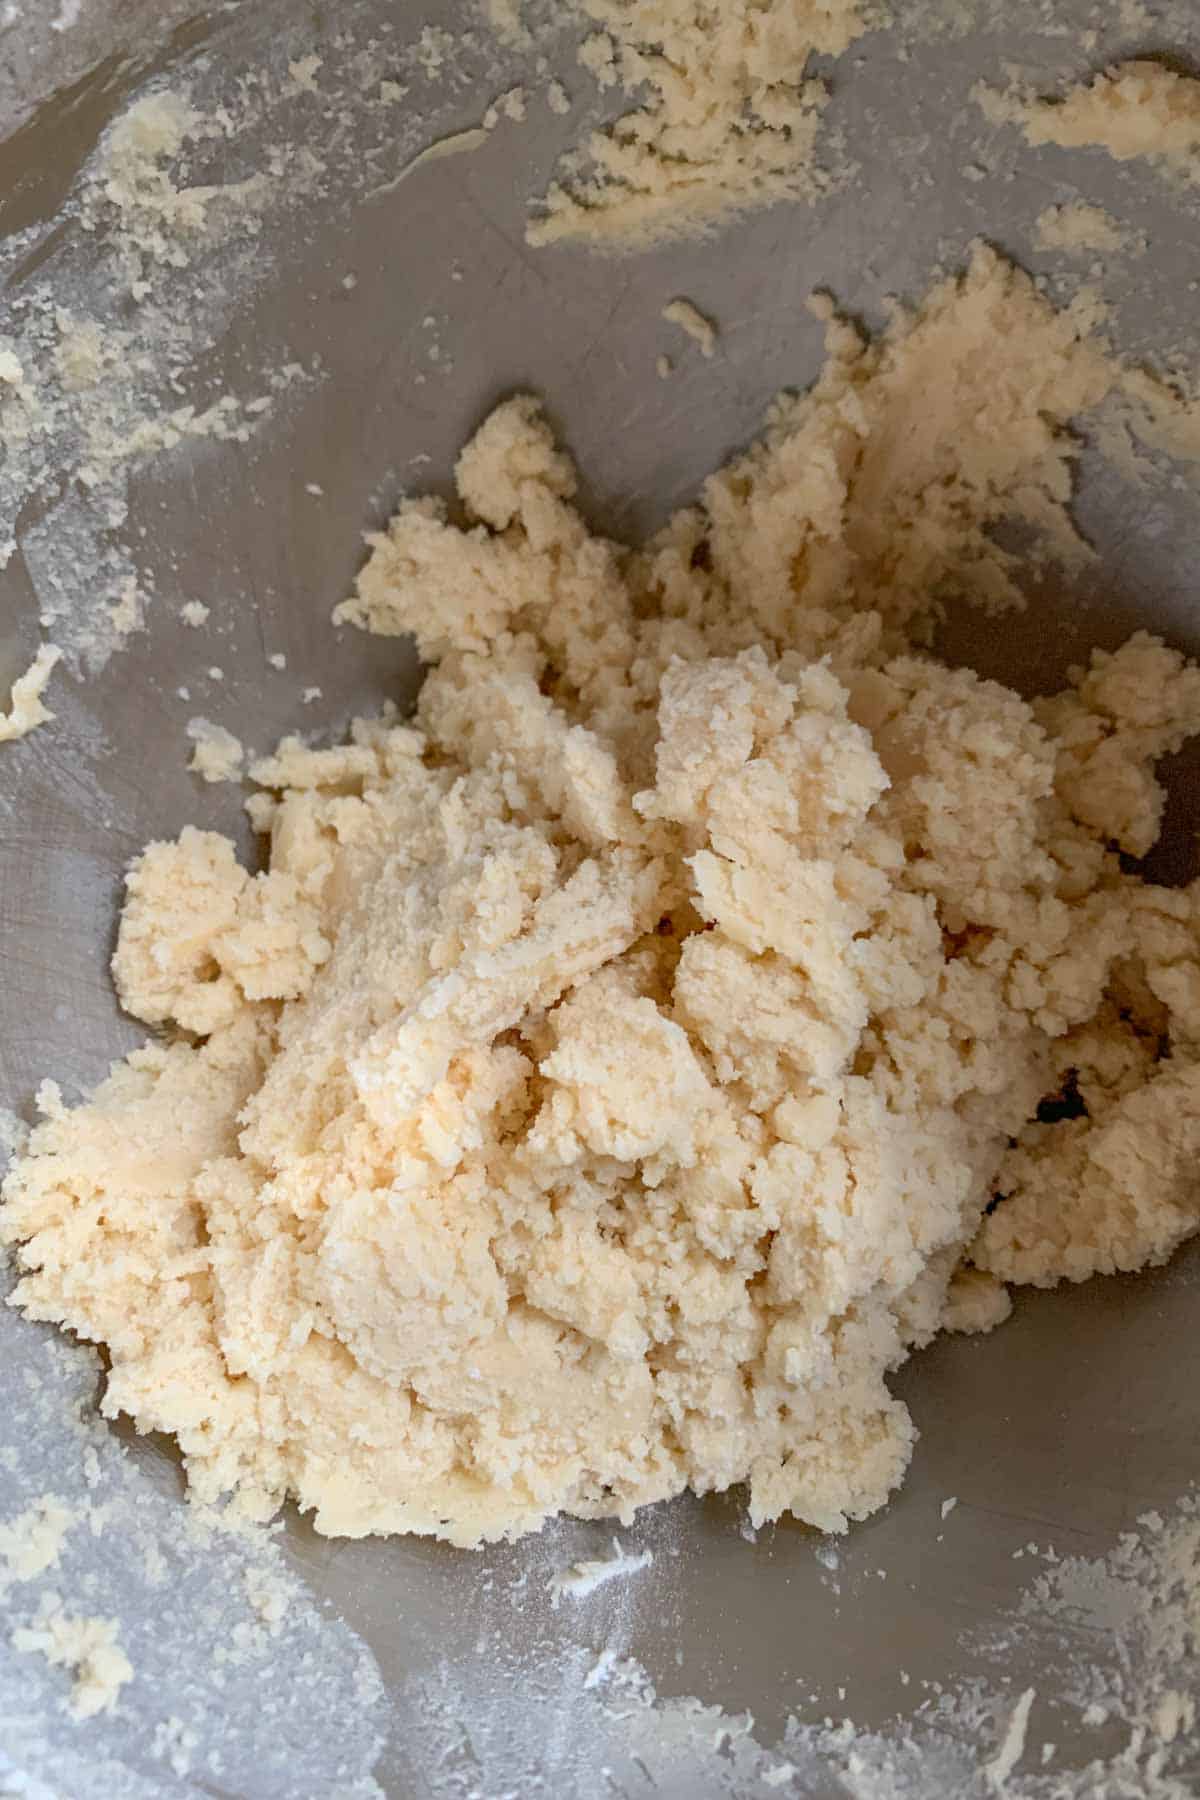
Dump the dough onto a clean work surface and knead to bring it together into a smooth ball.
Divide evenly in half. Set one half aside and place the other half back into the bowl.
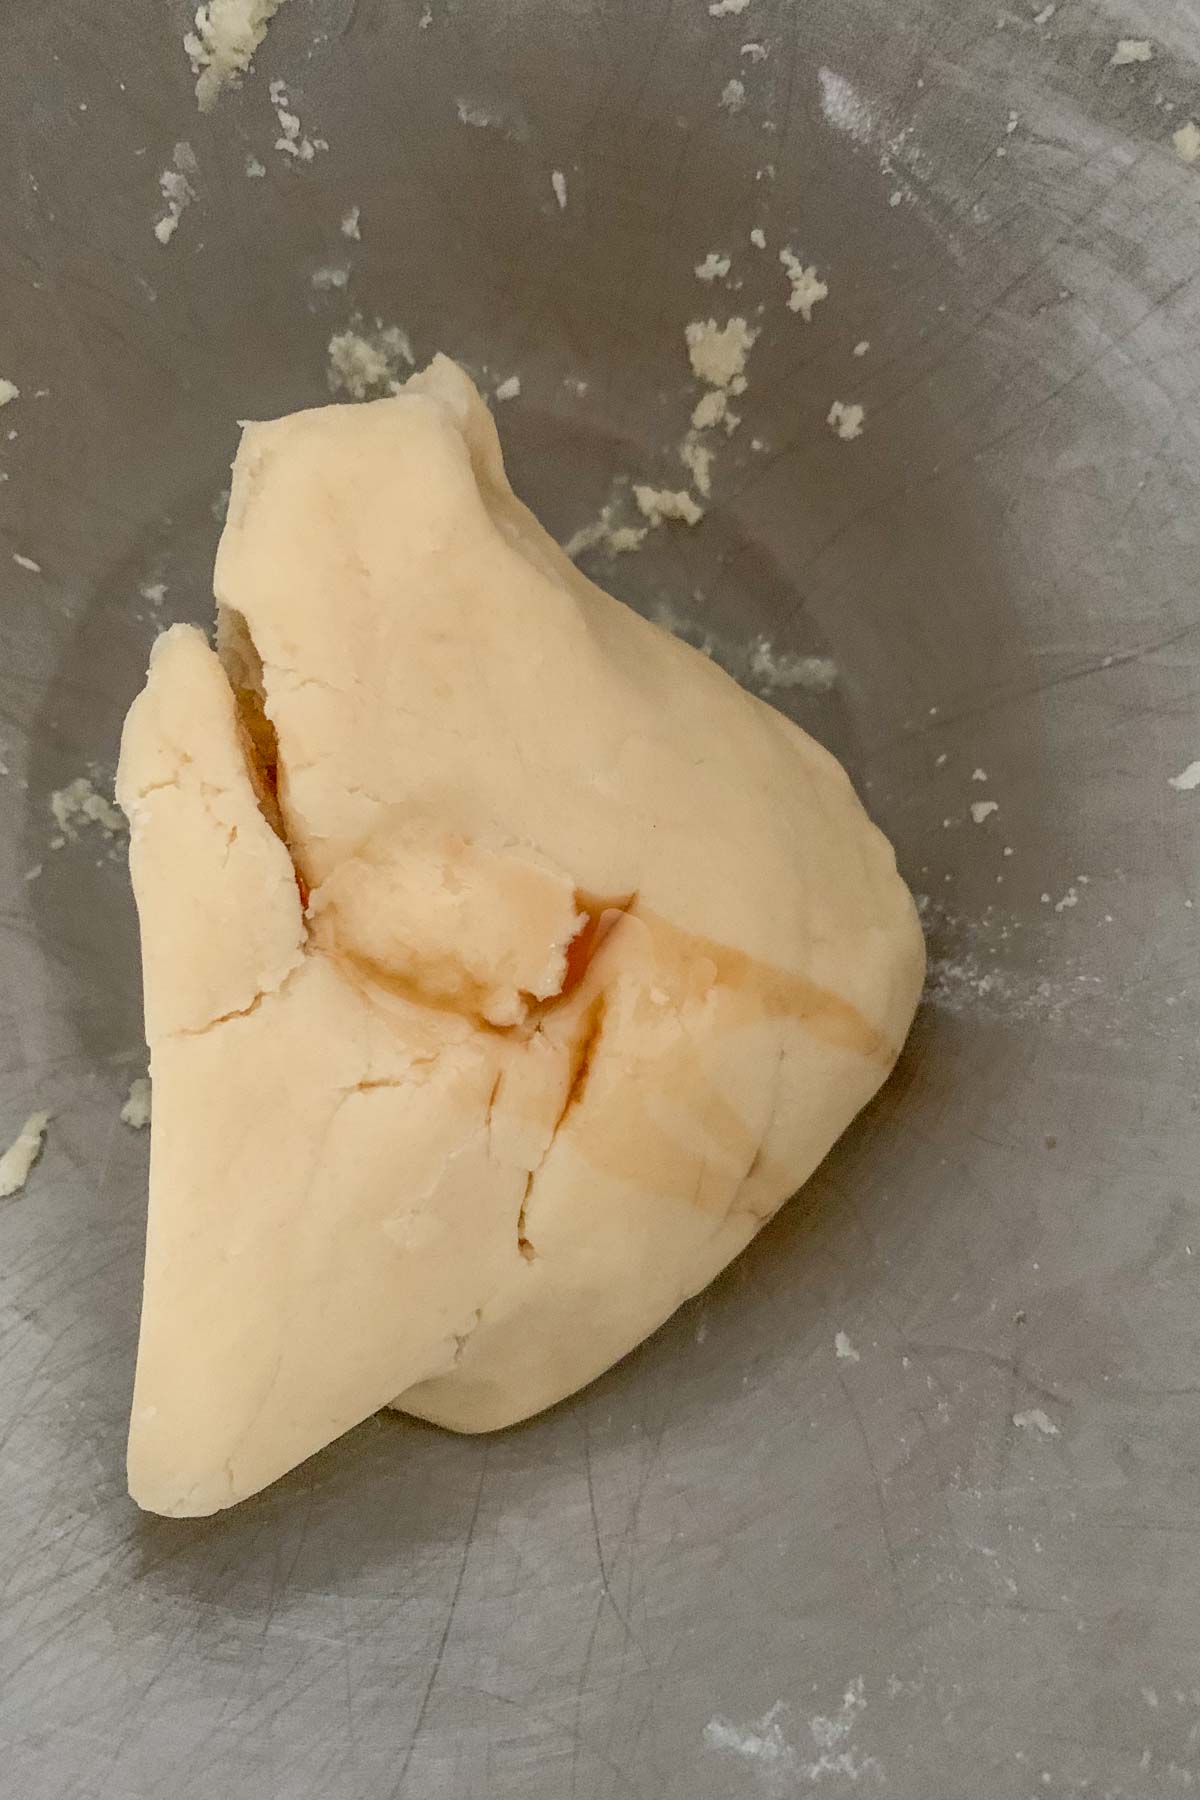
Add the vanilla extract to the bowl and knead the dough to mix the extract into it.
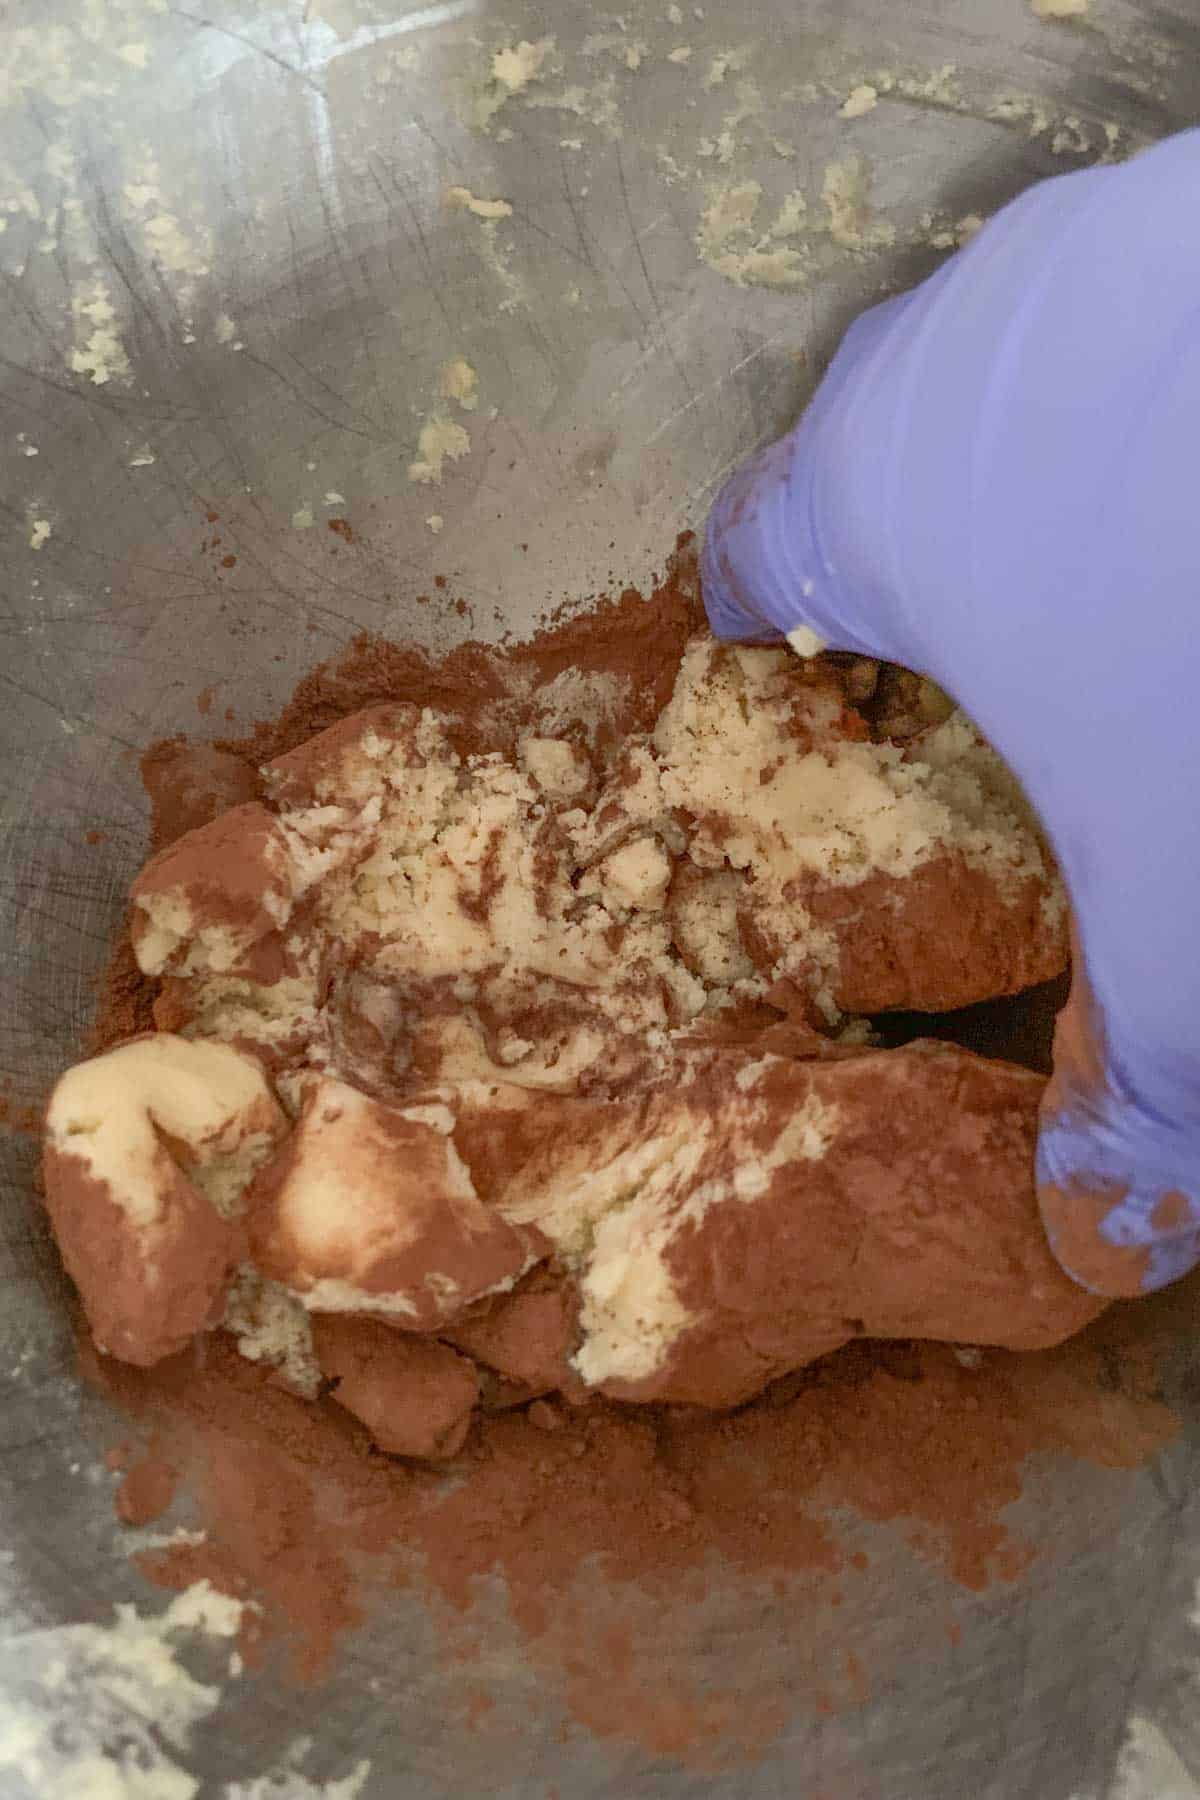
Place the other half of dough into a bowl and add the cocoa powder. Knead to mix in the cocoa powder. Once it is mostly mixed, place it on the work surface and knead until the color is uniform.
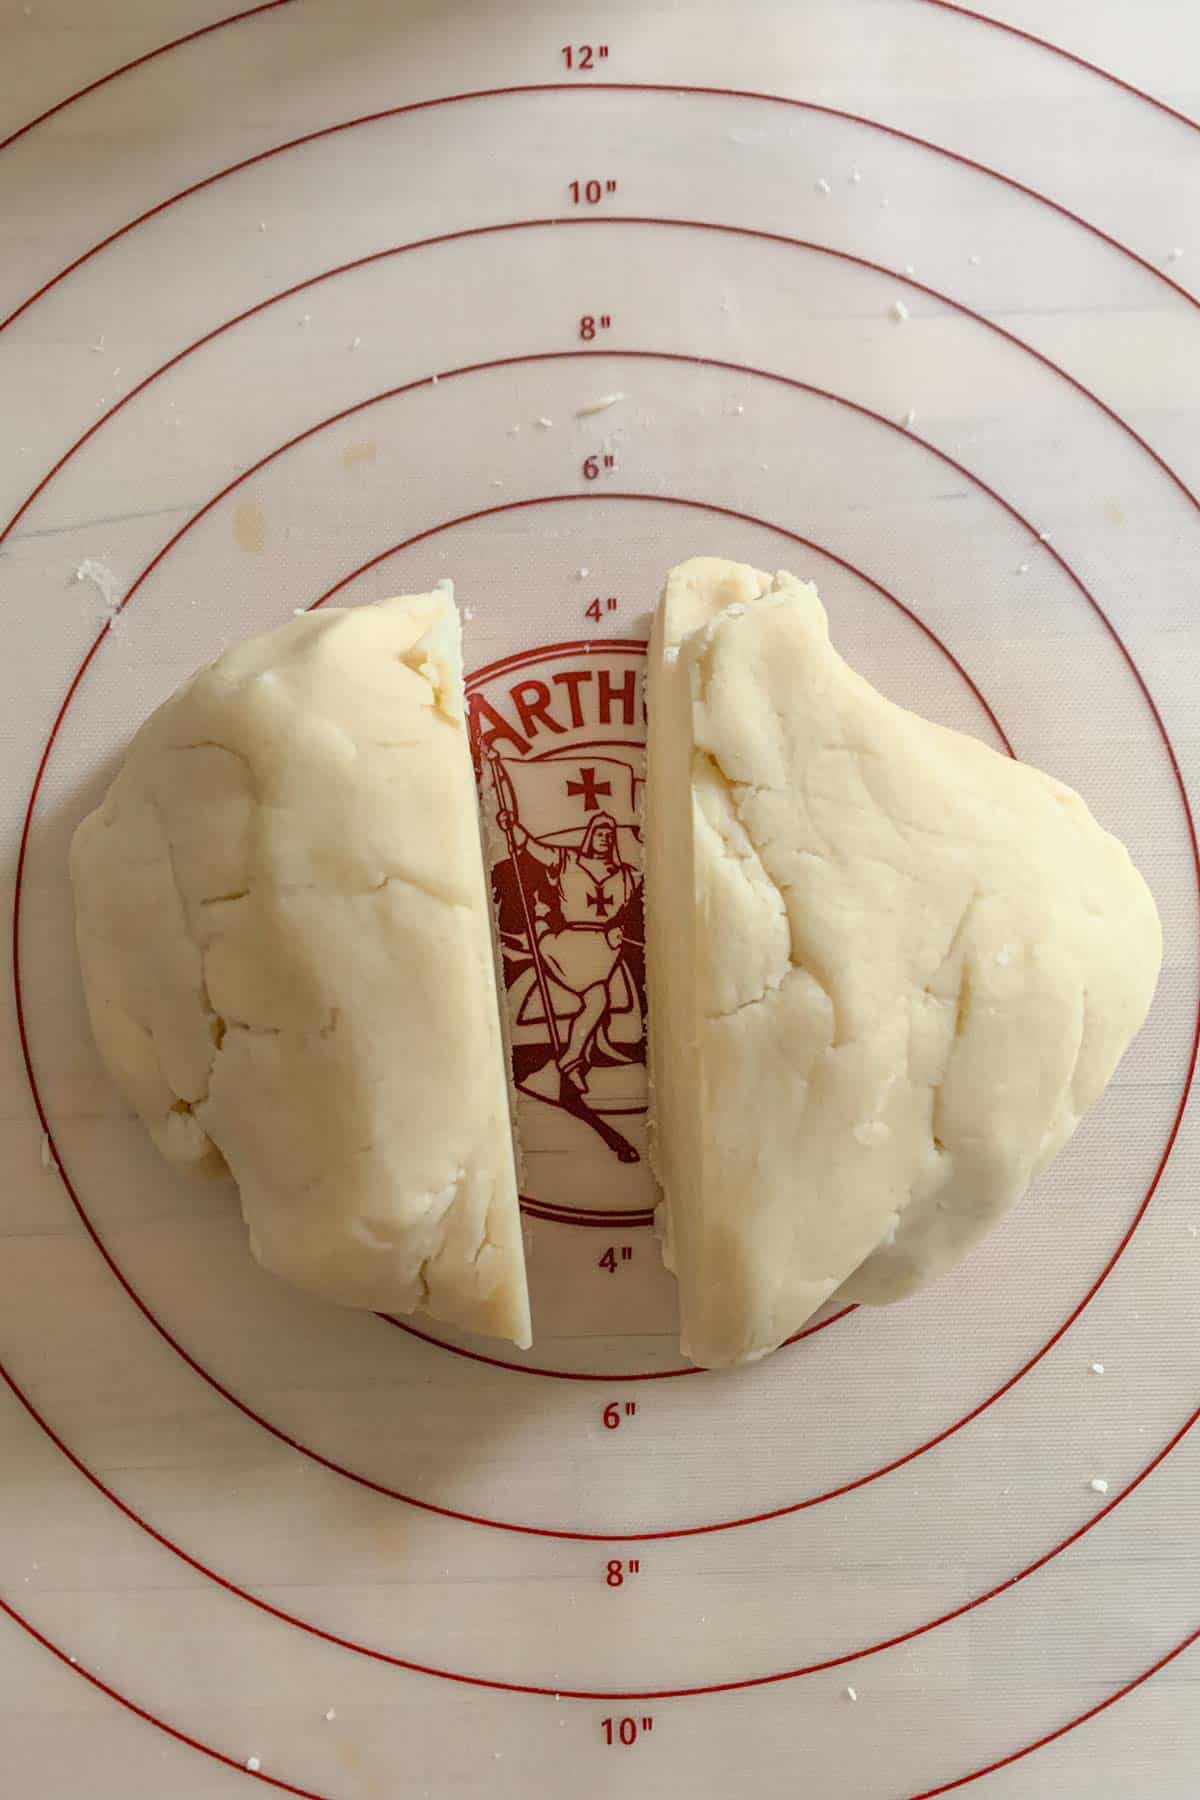
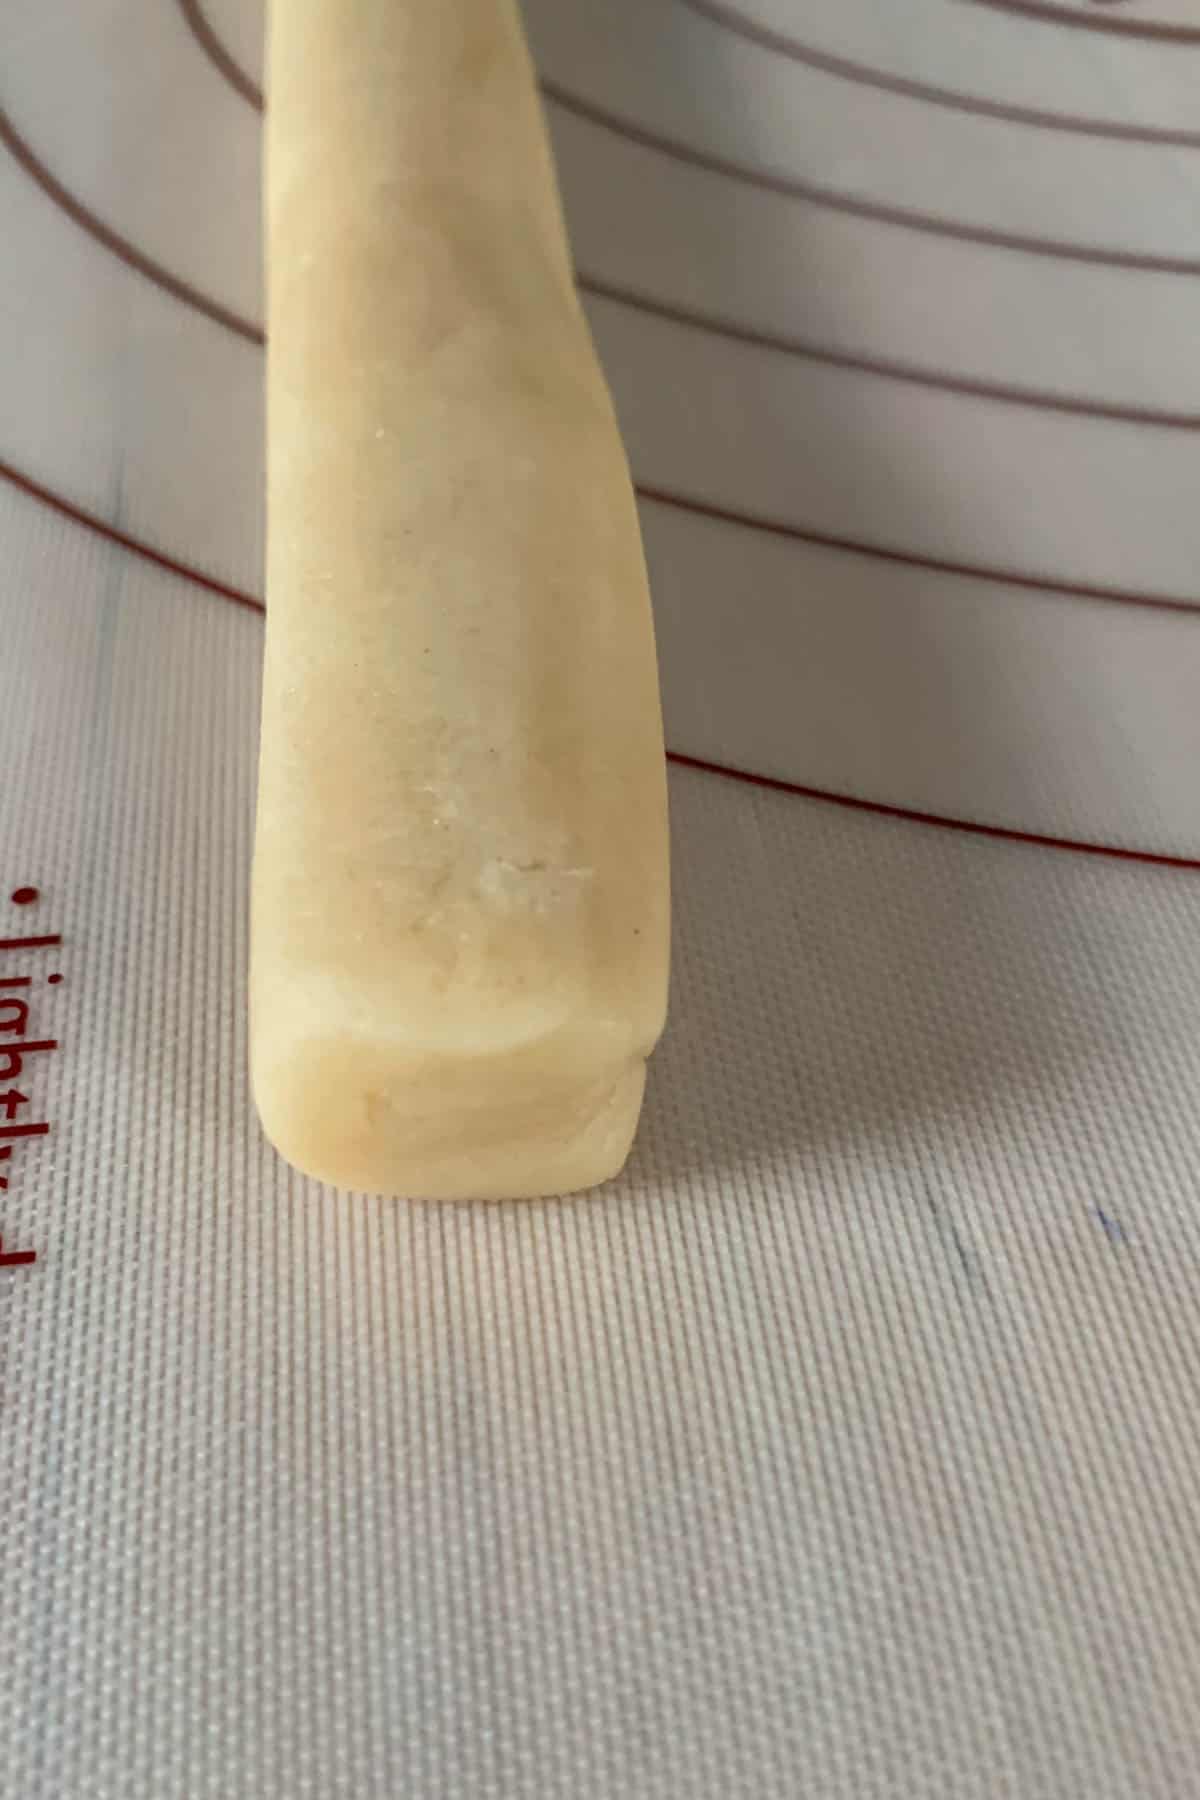
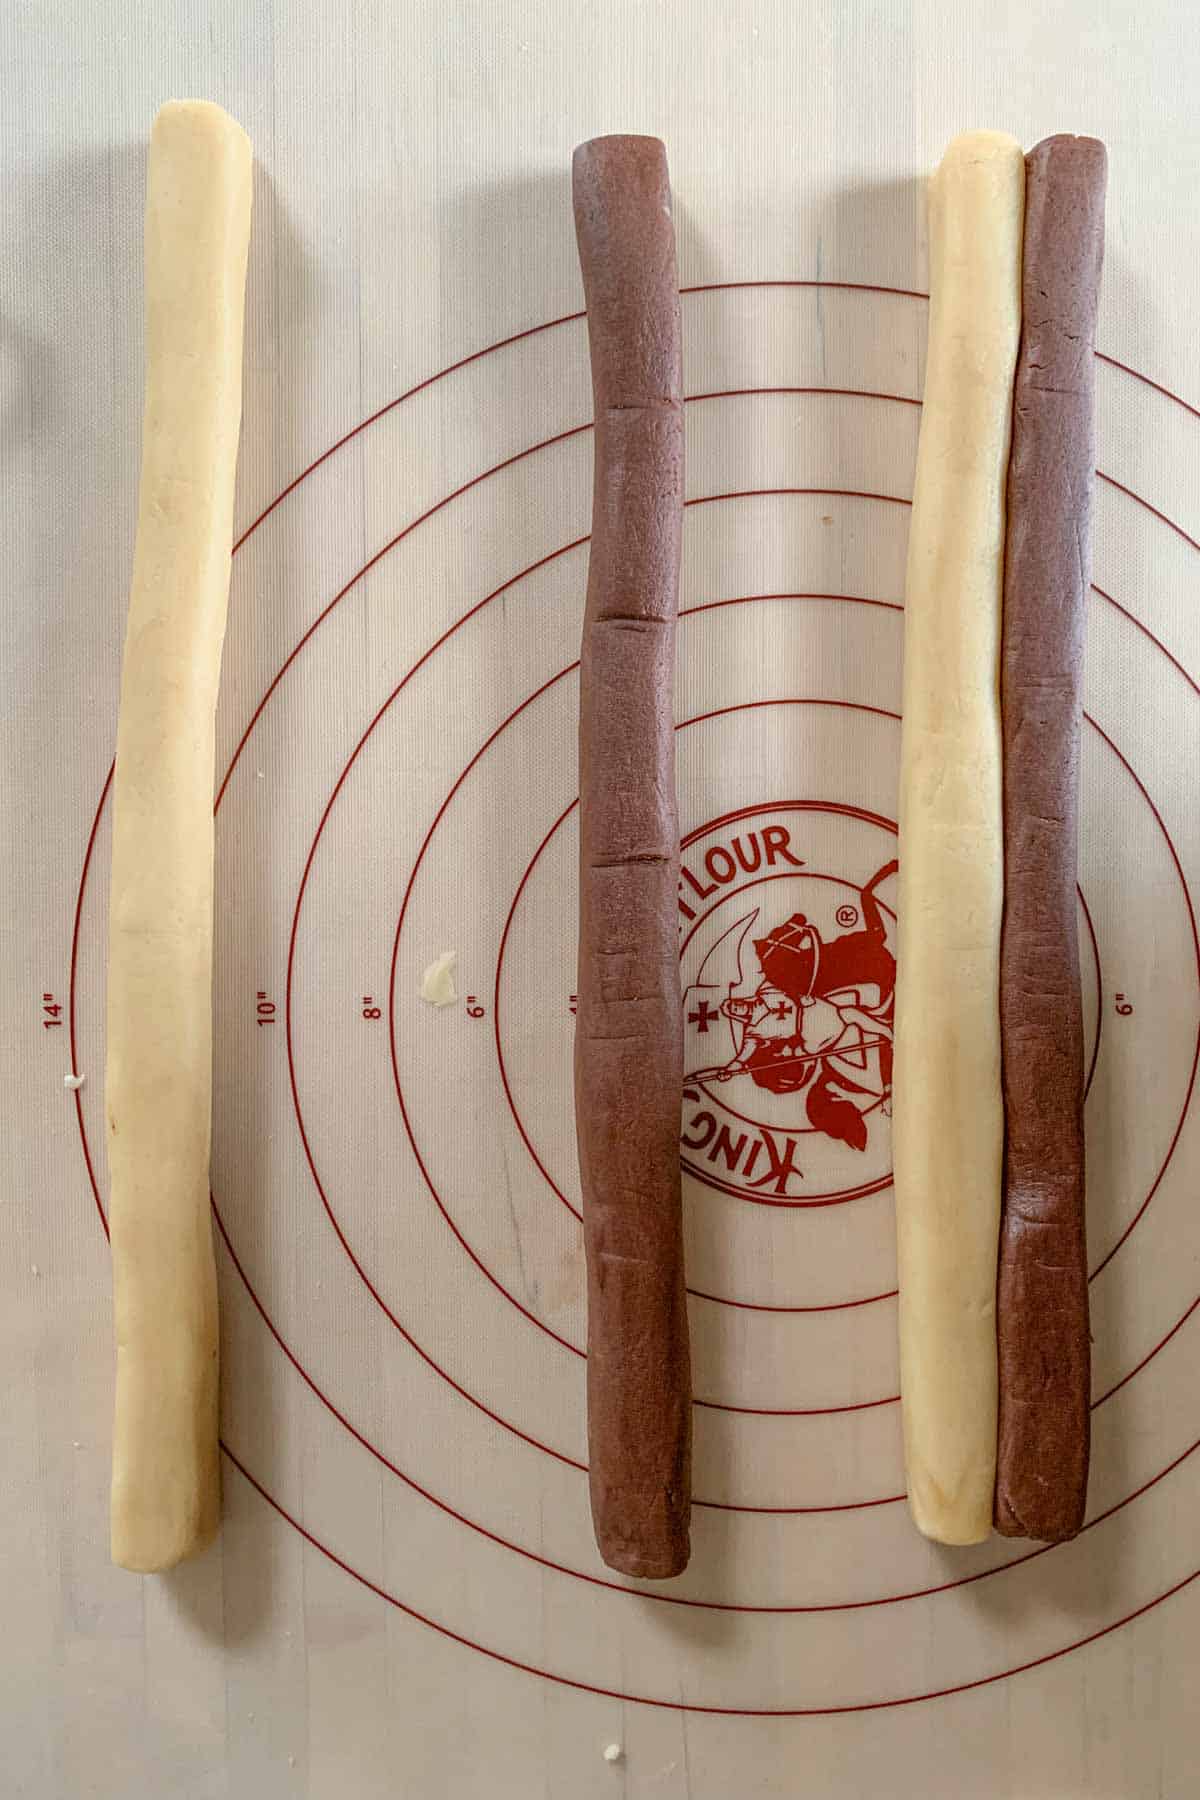
Divide each color in half. Roll each piece into a long log about 12 inches in length.
Flatten the sides and top so that the logs are squared. Using two flat surfaces like bench scrapers will make this easier.
Place a vanilla and chocolate log next to each other and squeeze gently to stick, squaring up the sides again as needed.
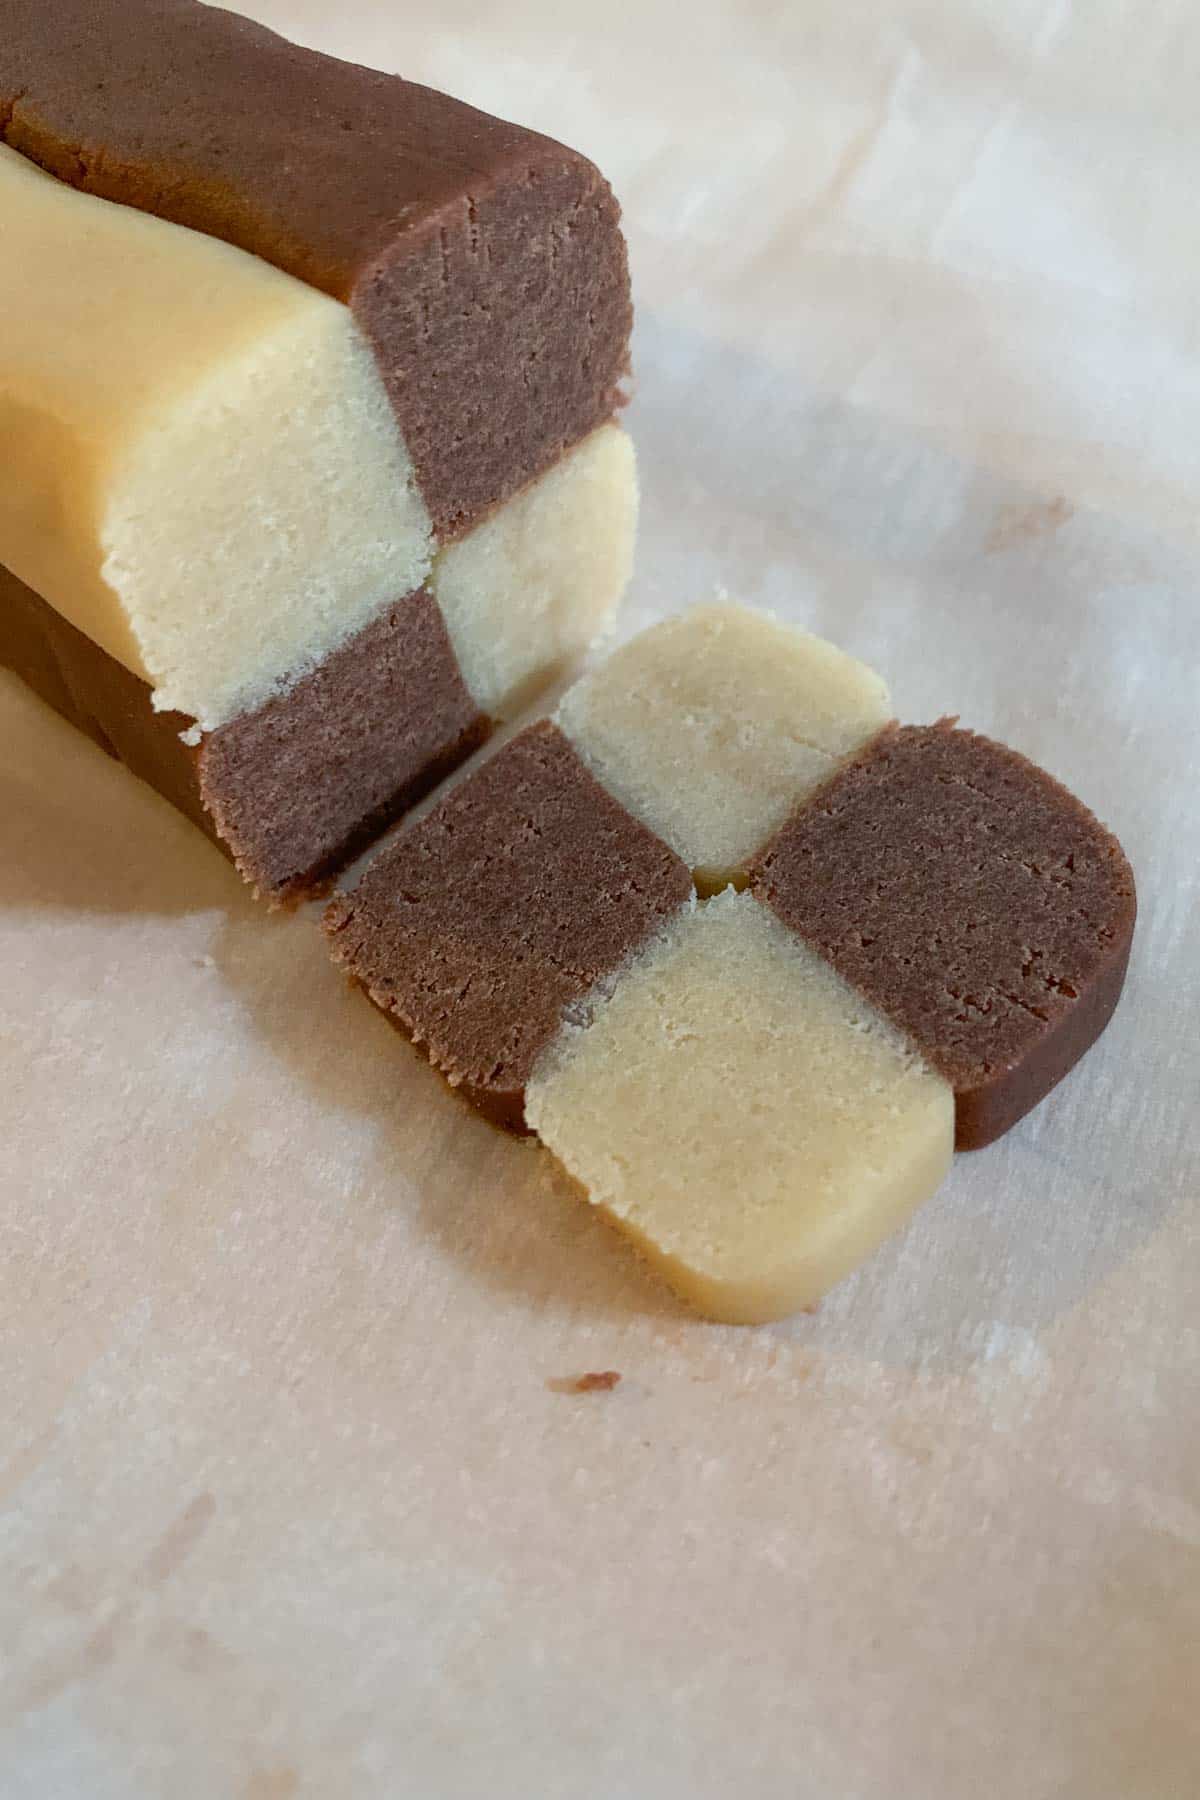
Now place the remaining vanilla log on top of the chocolate log, and vice versa. Press gently to adhere, then square up the sides and top.
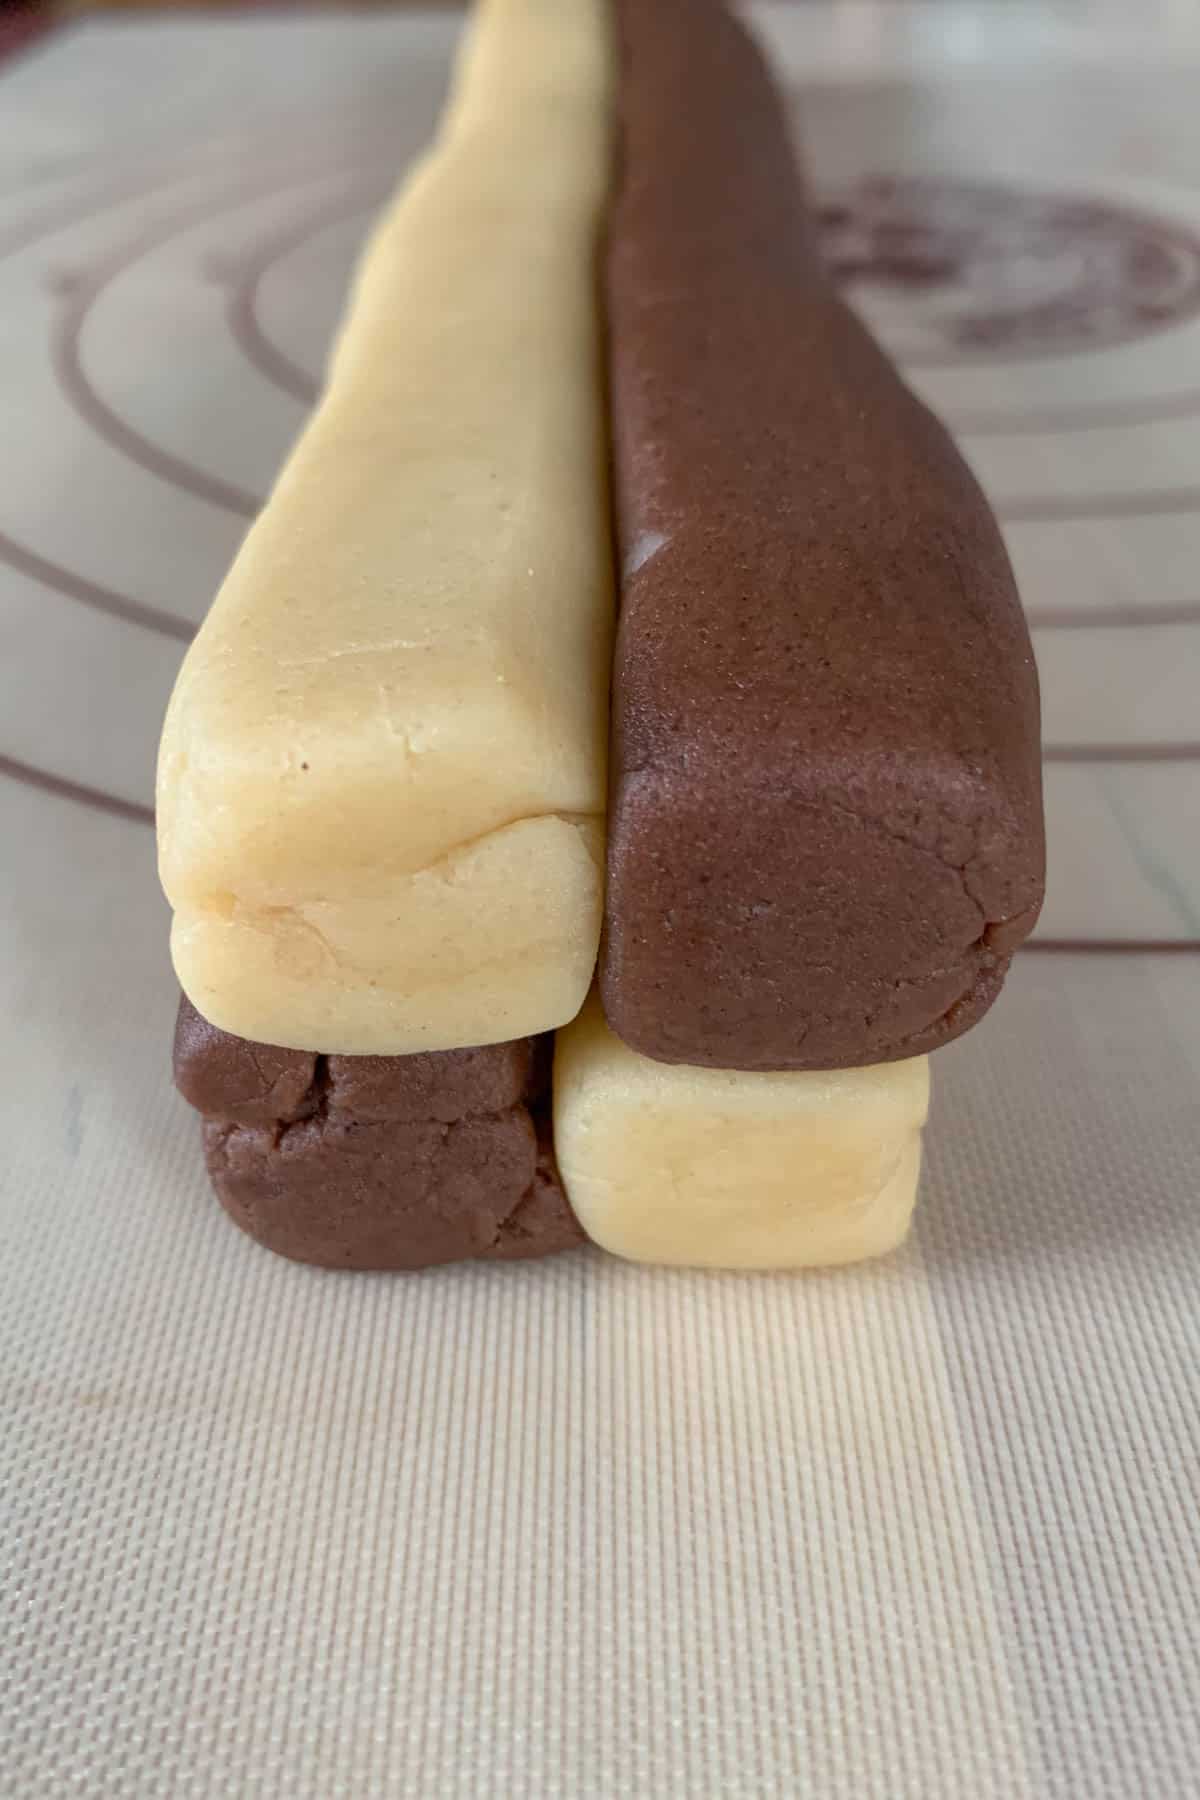
Wrap in plastic wrap, square up the sides again, and place in the refrigerator for 30 minutes.
tip
For more checkerboard squares, divide the dough into smaller pieces and layer accordingly.
Preheat the oven to 350°F and line two baking sheets with parchment paper or silicone baking liner.
Once the dough has chilled, remove it from the refrigerator and unwrap. Slice into cookies about ¼-inch thick and place on the baking sheets.
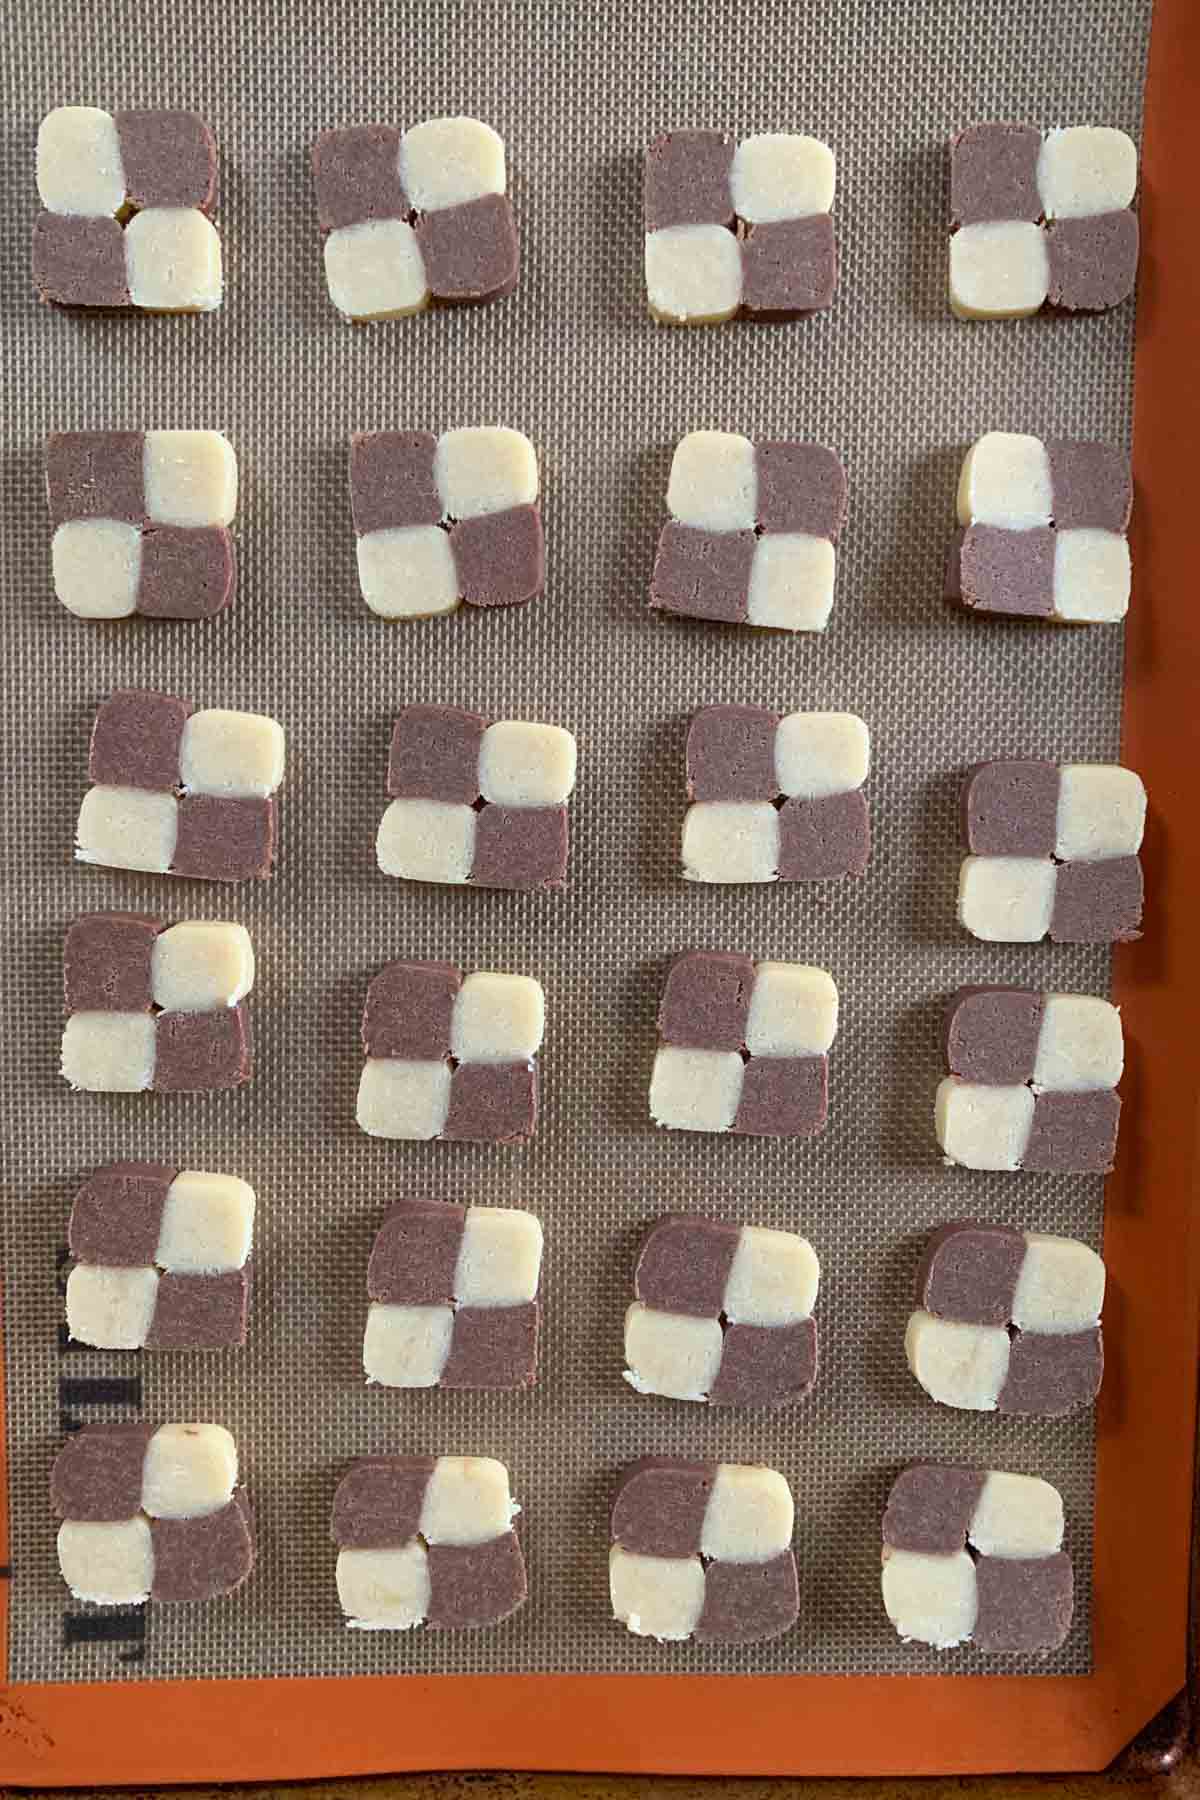
Bake for 8-10 minutes, until lightly golden. Let cool on the baking sheet a few minutes before transferring to a wire rack to cool completely.
Tips for success
- Use a kitchen scale to evenly divide the cookie dough into sections.
- Be sure to chill the dough before slicing the cookies. This helps them keep their shape while baking.
- Using a flat tool (or two) like a bench scraper will help you get flat edges for shaping the cookie logs. You can also use the flat edge of a box.
- Line your baking sheets with parchment paper or a reusable silicone liner. This will make cleanup easier, prevent sticking, and create a more even bake.
- Don’t overbake the cookies. The vanilla parts will be lightly browned, but do not let the edges get too dark.
- Let the cookies rest on the pan briefly after baking to set before transferring to a wire rack to cool completely. Use a spatula!
Recipe variations
Because this recipe is so simple, there are tons of ways to customize the flavors! You can omit the cocoa powder and try any variation below.
Add extracts – Try maple extract, almond extract, peppermint extract, or root beer flavoring.
Add food coloring – Just a few drops of liquid or gel food coloring can make your cookies pop, or use natural food colorings like beet powder.
Other options – Try culinary matcha, finely chopped nuts or maraschino cherries, or orange zest.
Top it – Add icing decorations on top or dip the bottoms in melted chocolate.
Storage tips
These checkerboard cookies will keep well in an airtight container for about 7 days.
They are perfect for freezing, too!
After baking, make sure they are completely cooled, then place them in a freezer-safe container.
I recommend putting a sheet of waxed paper between the layers to prevent any sticking.
Thaw overnight in the refrigerator. Frozen cookies will keep for about 3 months.
More holiday cookie recipes
Create your cookie buffet with these options!
- Iced Gingerbread Spritz Cookies
- Mexican Hot Chocolate Cookies
- Raspberry Jam Cookies
- Ginger Molasses Cookies
- Stained Glass Cookies
- Raspberry White Chocolate Cookies
- Cookie Butter Cookies
This recipe is part of The Sweetest Season, an annual virtual cookie swap co-hosted by Erin of The Speckled Palate and Susannah of Feast + West. Every year, food bloggers get together to share new holiday cookie recipes to make and give.
This year we are raising money for Cookies 4 Kids’ Cancer, which is a recognized 501(c)3 non-profit organization dedicated to funding research for new, innovative and less-toxic treatments for childhood cancer.
Since 2008, Cookies for Kids’ Cancer has granted nearly $18 million to pediatric cancer research in the form of 100+ research grants to leading pediatric cancer centers across the country. From these grants have stemmed 35+ treatments available to kids battling cancer today.
Help us raise money for this important cause! Donate through our fundraising page.
Another exciting thing is that Cookies for Kids’ Cancer is in a matching window with their friends at OXO, meaning OXO will be matching every dollar raised through the end of 2022, up to $100,000. Whatever money we raise will automatically double on our fundraising page!
Love this recipe? Please leave a 5-star review below!
It means so much when you enjoy my recipes, so let me know how it goes and leave a comment if you have any questions.
Checkerboard Cookies
Ingredients
- 14 tablespoons butter, softened
- 1/2 cup granulated sugar
- 2 1/3 cups all-purpose flour
- 1 teaspoon pure vanilla extract
- 2 tablespoons cocoa powder
Instructions
- In a large bowl, cream together butter and sugar. Beat in flour until dough comes together. It will look shaggy at first, but will gather together.
- Dump dough onto a clean work surface and knead until fully cohesive and smooth. Divide dough in half and place into separate bowls.
- In one bowl, knead in the vanilla extract. In the other, knead in the cocoa powder.
- Divide the halves into half again so you have 4 pieces. Roll each piece into a log about 12 inches long. Use two straight edges to press the dough so that they will form squares when cut.
- Lay one vanilla log next to a chocolate log and gently squeeze together to stick. Square up the edges again. Place the remaining vanilla log on top of the chocolate log and vice versa, creating a square. Square up the edges once more. Wrap tightly in plastic wrap, preserving the shape, and chill in the refrigerator for 30 minutes.
- Preheat the oven to 350°F and line two baking sheets with parchment or reusable liner.
- Remove dough from the refrigerator, unwrap, and slice into 1/4-inch pieces. Arrange on the baking sheets. They will not spread much, so they can be placed close together.
- Bake for 8-10 minutes, or until vanilla cookie parts are very lightly golden, but not browned on the edges. Let cool on the baking sheets 2 minutes, then transfer to a wire rack to cool completely.
Recommended Products
Nutrition
Nutrition information is provided as a courtesy and is an estimate based on online calculators. Any nutritional information found on Stetted should be used as a general guideline only.

About Megan
I learned how to cook by exploring seasonal ingredients, and you can too! Meal time shouldn’t be stressful or complicated, and with fresh ingredients and easy methods, I’m here to help you enjoy the time spent in the kitchen. Read more…





Remember trying to make checkerboard cookies years ago, and making a complete hot mess. But yours look so good! I might give it another try!
These cookies are so fun! And, delicious, too!
These are so pretty! Can’t wait to try!
I love how few ingredients are needed to make these cookies – and they look so fancy!
These are so fun and gorgeous! I love how you only need a few ingredients to make them too. Can’t wait to make these over the weekend!
These look great. I’m always intimidated by these but I think I could do it now.
Fun and buttery, I’m in! On my Christmas baking list!
These were so fun to make. Thanks for all the easy steps that made them come out perfectly!
What a fun, buttery and festive cookie! Would you believe I’ve never made a checkerboard cookie before? Clearly, I need to fix that this year! This looks AMAZING, and I know my girls would have a blast helping to make it.
Thank you so much for participating in this year’s Sweetest Season! I am always blown away with the recipes shared and the generosity of its participants. Thank you for making this event such a success. I hope you and yours have a wonderful holiday season and a happy new year!
These are so delicious and gorgeous, but easy to make! I’ll definitely be trying out adding peppermint extract next time!
Such pretty and delicious cookies! We had fun baking them!
I love these cookies! They are so impressive looking and also delicious!
These turned out so cute! And delicious — I love a cookie that has multiple flavors in every bite.
I would love to try these! I just wanted to know if I should use salted or unsalted butter? Thanks!
Hi Abby, you can use either one. I usually use unsalted butter in cookies, but because these have no added salt, you might prefer them with salted butter.