This post contains affiliate links and may earn commissions on recommended products. As an Amazon Associate, I earn from qualifying purchases.
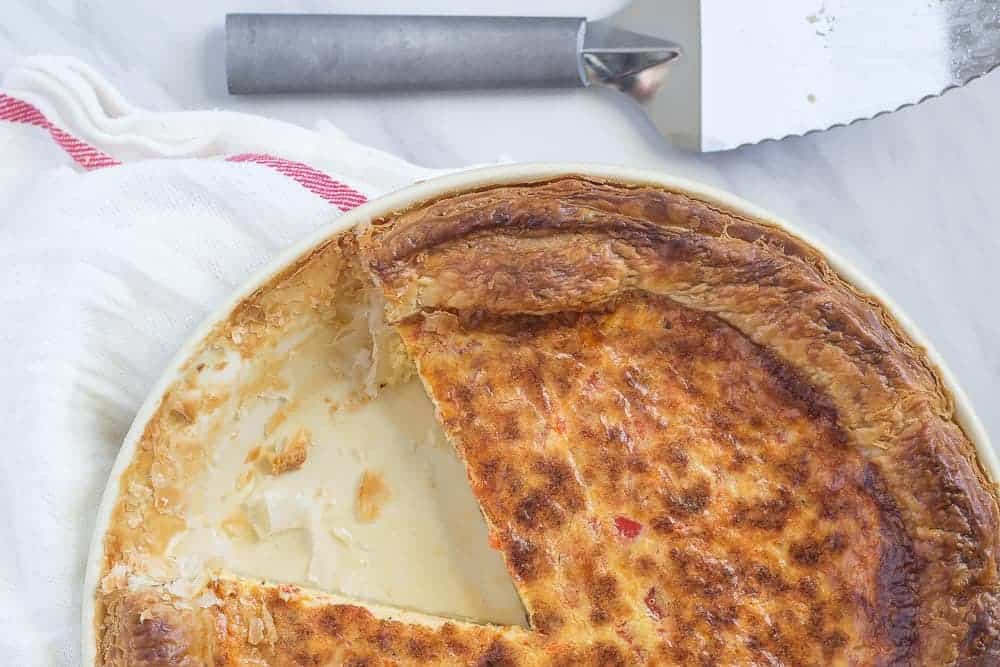
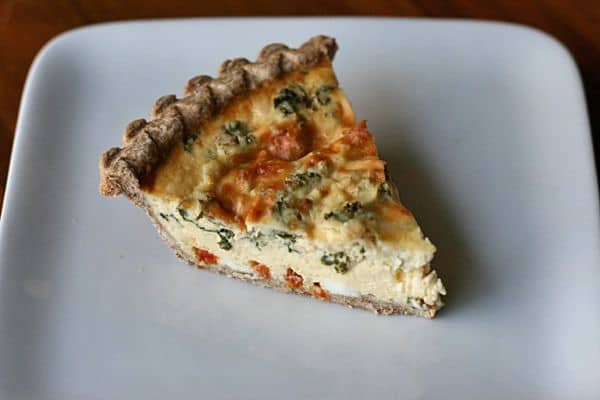
This easy-to-make cheese quiche will be the standout at your next brunch. Filled with plenty of shredded cheese and topped with chives, it’s both simple and elegant.

Whenever I need a dish to bring to brunch, my thoughts immediately turn to quiche.
Easy to make and perfect for transporting, quiche is a crowd-pleaser every time.
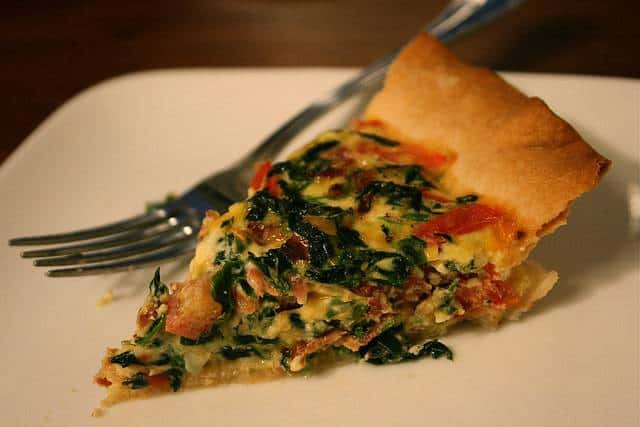
Bacon and spinach quiche is a favorite for sure, but when I want to keep it meat-free, I go for this savory cheese quiche.
What’s not to love about a flaky crust filled with creamy, cheesy filling? Honestly, you might want to make two, because you’ll be watching it disappear!
Ingredients for cheese quiche
One of the best things about quiche is that it is actually quite simple to make. It can be as dressed up or down as you like, and today we’re going for the basics with this cheese quiche.
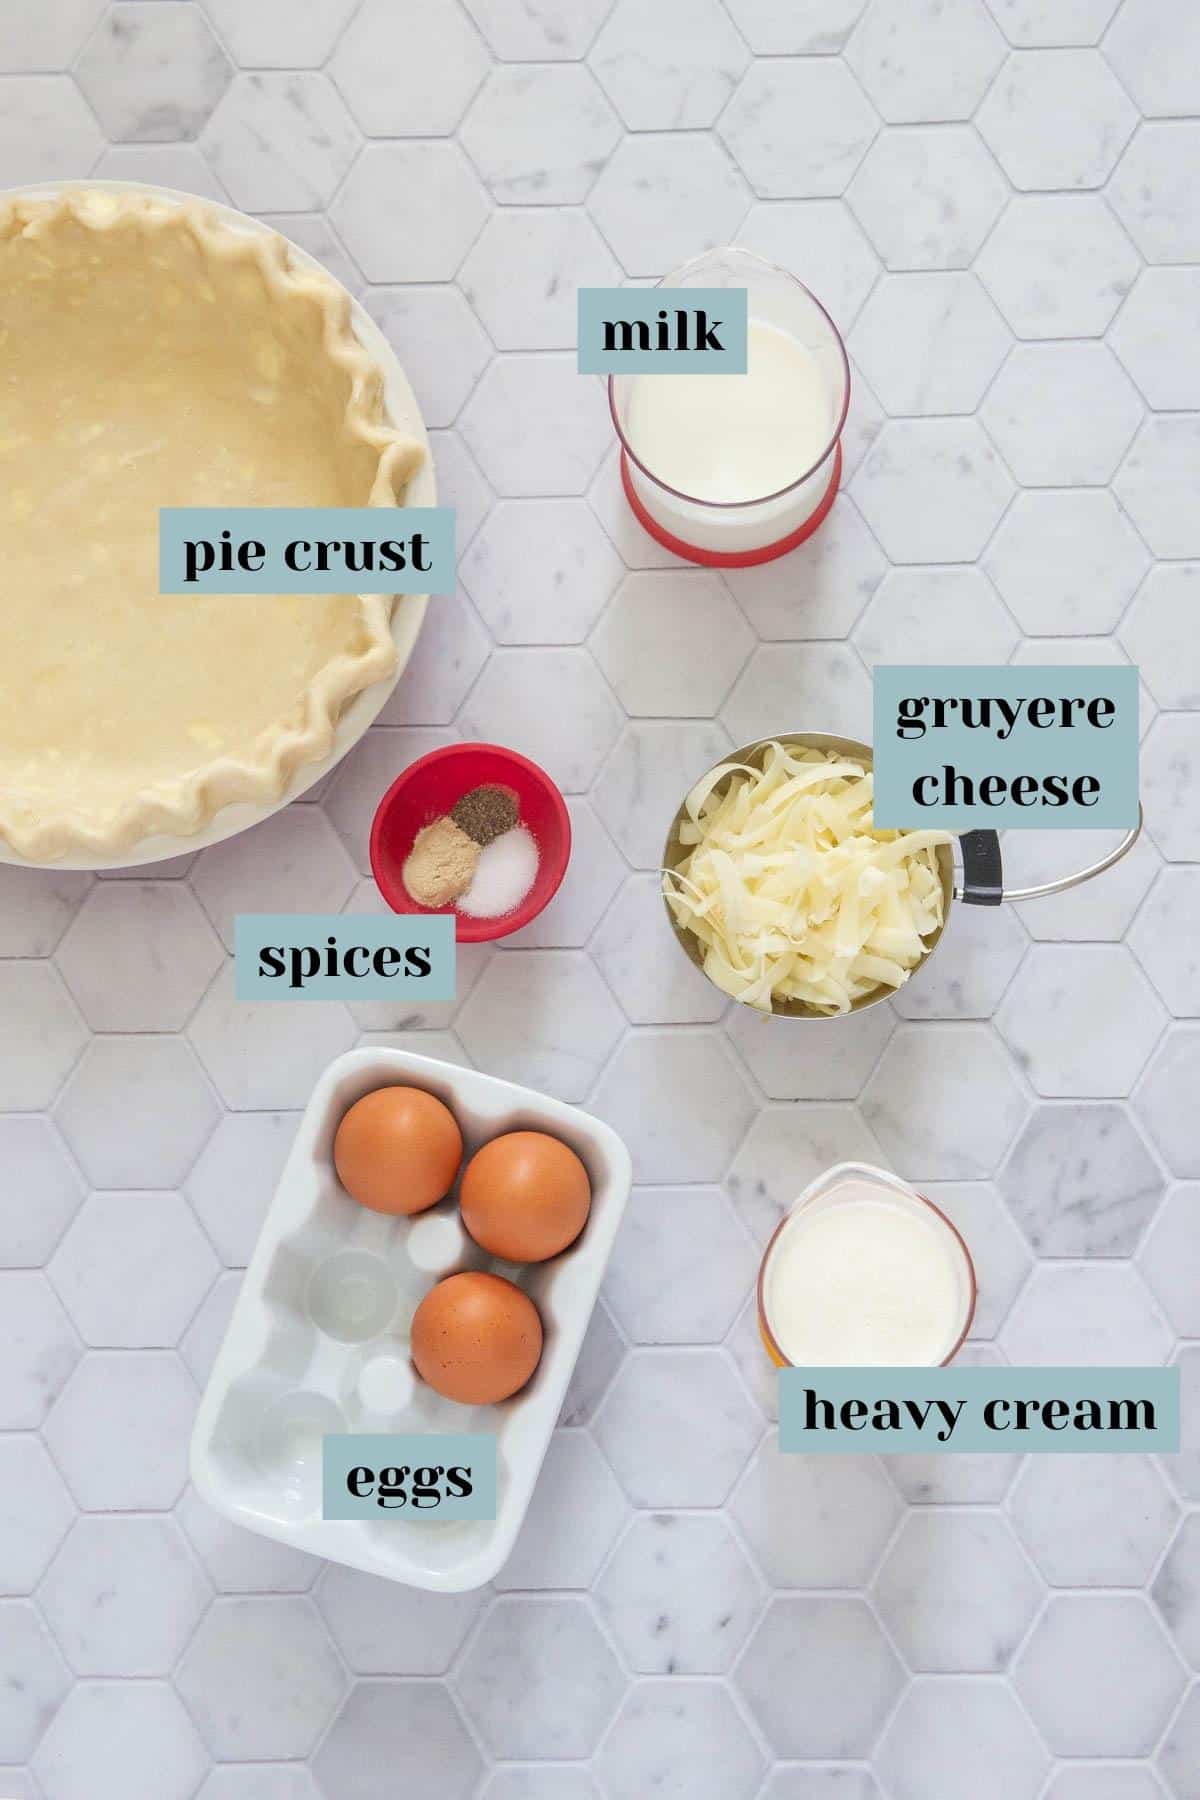
You’ll need:
Pie crust – I’ve included the recipe for my pie crust in the recipe card, but feel free to make your own favorite. Make sure it does not include sugar.
I like to make double batches of pie crust and freeze the remaining round for later.
If you’re pressed for time, store-bought pie crust will do the job just fine. Follow the package instructions for blind baking.
Eggs – Standard, large eggs are used in this recipe. They do not need to be room temperature.
Heavy cream – Also called heavy whipping cream, this adds extra richness to your quiche.
Milk – I use 2% milk in all of my recipes. You can use all milk instead of milk and cream, or a lower fat milk, but your quiche will have a slightly different texture.
This recipe has not been tested with nondairy alternatives. If you use one, make sure it is unsweetened and unflavored!
Cheese – Gruyere is classic for cheese quiche. It is a hard, Swiss-style cheese that is lightly sweet and salty. Smoked or aged gruyere will give a different flavor.
You can find it in the deli section of the grocery store as a small block.
Grated Swiss cheese or Alpine cheese can be substituted for gruyere.
You can also use cheddar cheese, but keep in mind it can overpower the other flavors.
Chives – For a burst of flavor, I add chopped fresh chives on top before baking.
Spices – Don’t forget the salt, pepper, and garlic powder!
Remember that not all garlic powders are the same. If you can get one from a local spice shop, you’ll be amazed at the difference between it and commercially packaged garlic powder.
How to make this cheese quiche recipe
First, take your pie crust (homemade or premade) and roll it out to fit a standard 9-inch pie plate. Place the crust in the pie plate and crimp the edges as desired.
Freeze the pie crust for about 30 minutes to re-firm up the fats. Meanwhile, preheat the oven to 400 degrees.
Line the inside of the crust with parchment paper or foil. Then, fill the crust with pie weights or dried beans. I have a jar of beans set aside just for making pies.
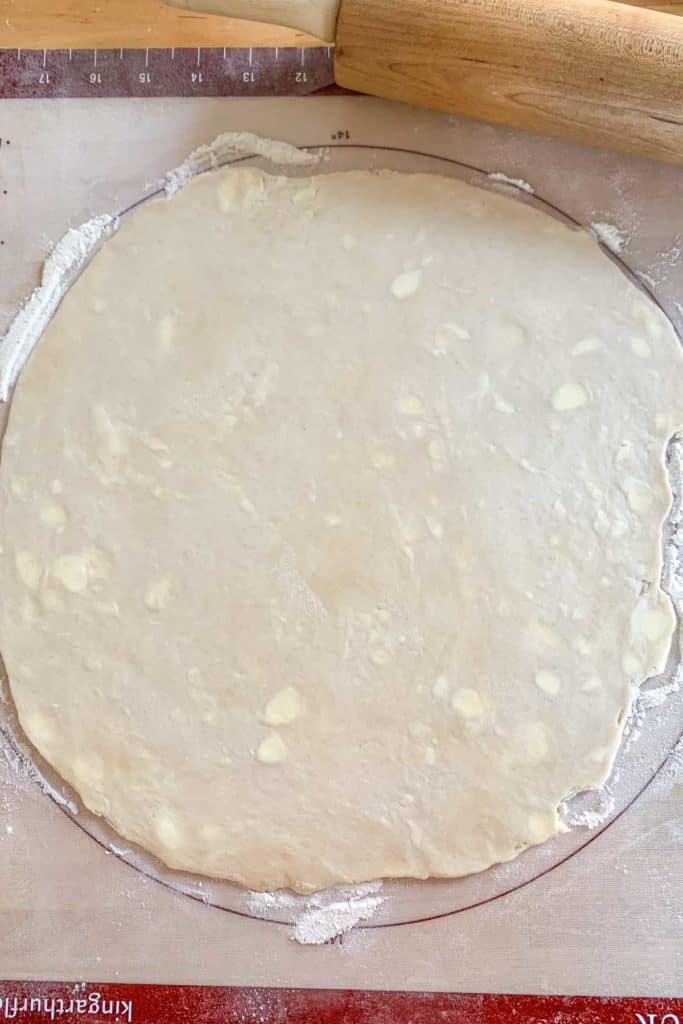
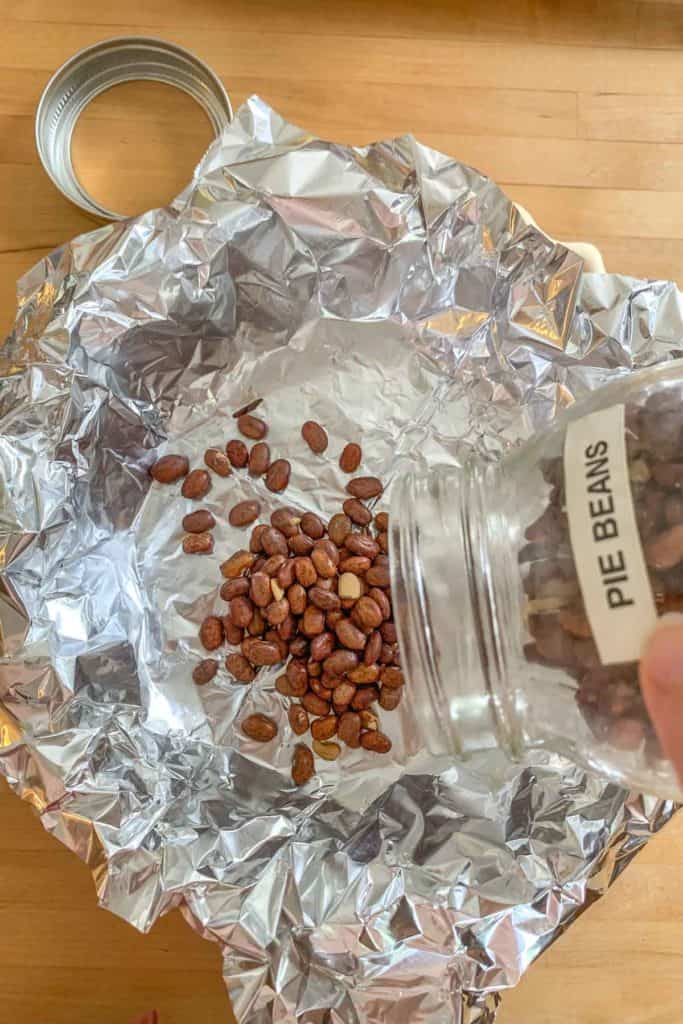
Bake the pie crust for 20 minutes, then carefully remove the foil and return the crust to the oven for another 5 minutes. Set aside to cool while you make the filling and reduce the oven to 350°F.
Blind Baking
Don’t skip pre-baking the crust! This method, known as blind baking, helps the crust keep its shape as well as a flaky texture. No soggy bottoms!
Grab a large bowl and crack the eggs into it. Whisk until just frothy. Add the cream, milk, salt, garlic powder, and pepper, and whisk again until blended.
Add a small amount of the egg mixture to the prepared crust, then add half the cheese. You can also add the cheese directly on top of the crust if you prefer.
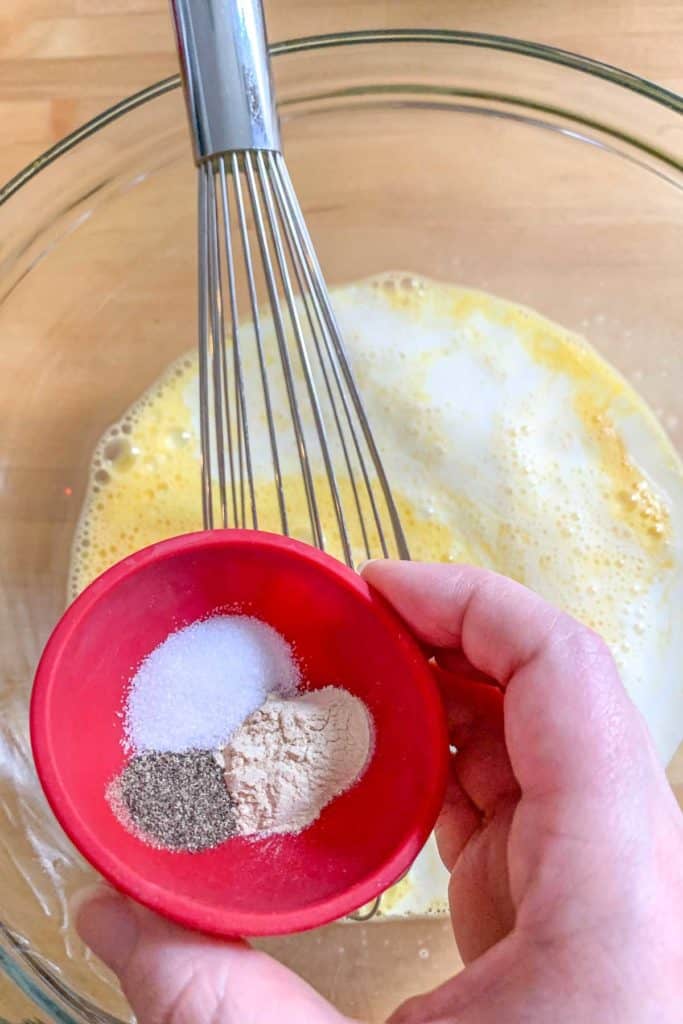
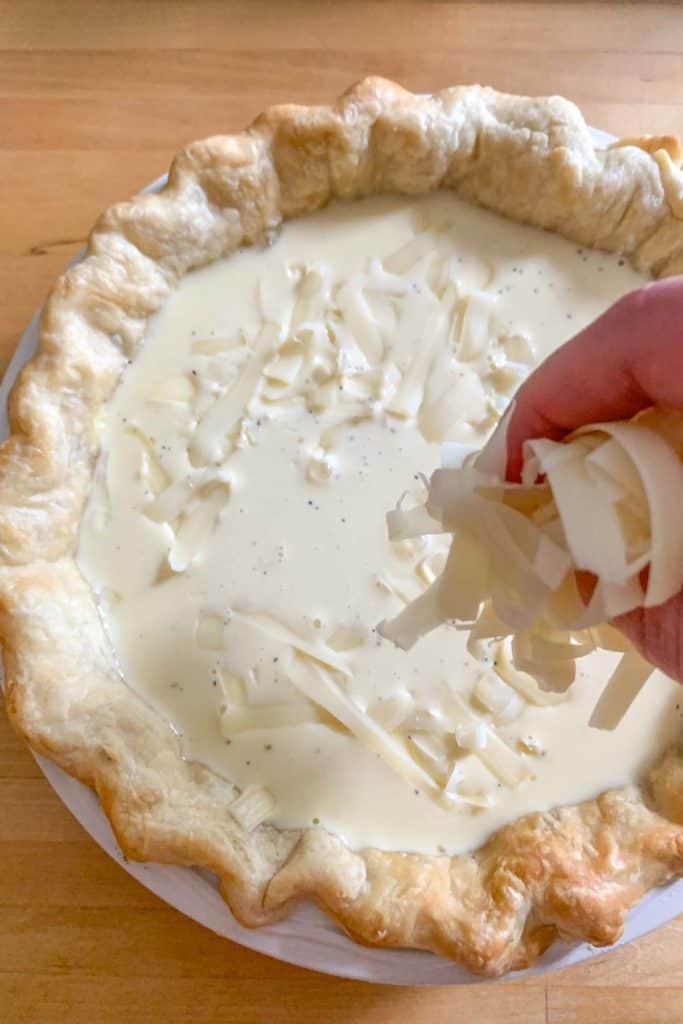
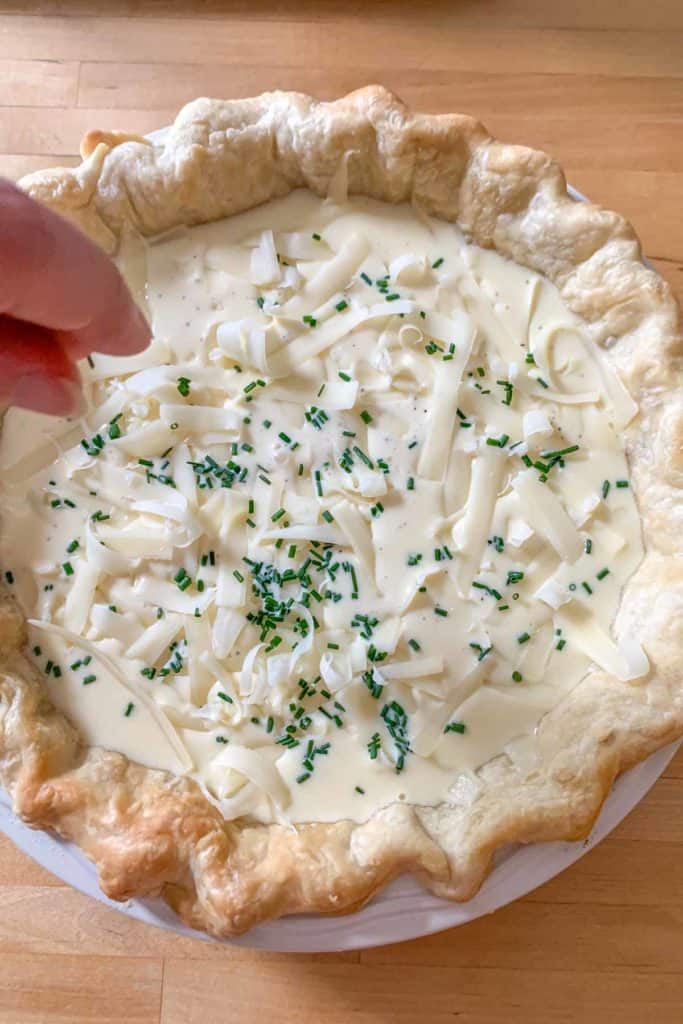
Pour in the rest of the quiche filling. Sprinkle on the remaining cheese evenly. Scatter the chopped chives over the top.
Place the quiche in the oven and bake at 350°F for 40-45 minutes, until puffed and golden brown.
To prevent any oven spills, I place my pie plate on a sheet pan for baking.
I also use a pie shield so the pie crust edges do not overbake. You can create your own pie shield with strips of foil, but be sure to place them on before putting the quiche in the oven. It will be too hot to add them later!
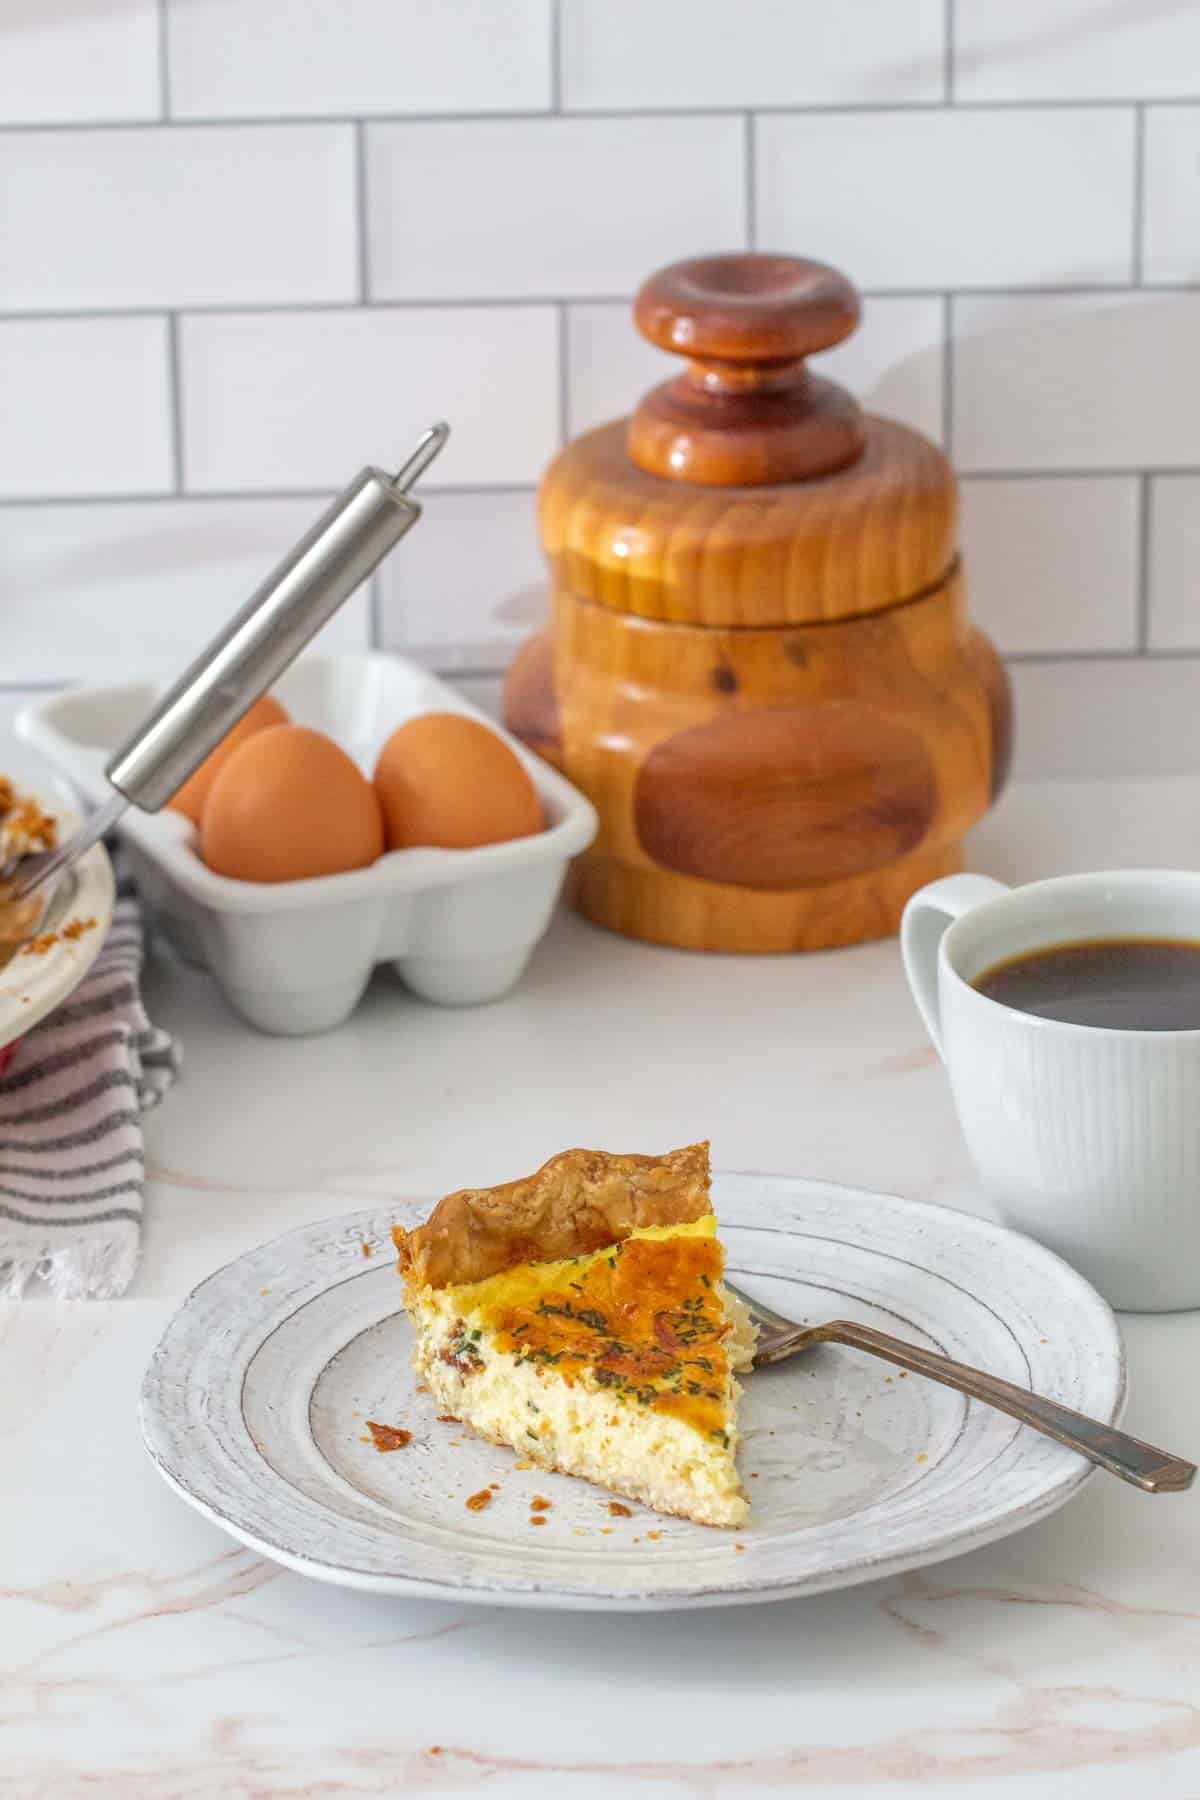
Let the quiche cool at least 15 minutes before cutting to set the insides. Serve warm, at room temperature, or chilled.

Recipe additions
Once you’ve made cheese quiche, you can easily swap or add your favorite ingredients.
Cheeses: mozzarella cheese, goat cheese, pepper jack, smoked gouda
Meat: cooked bacon crumbles, cubed ham, chopped chicken
Vegetables: spinach, broccoli, green onions, red peppers, tomatoes
Storage tips
Leftover quiche should be stored in the refrigerator. Well wrapped, it will last for 3-5 days.
Let the quiche cool to room temperature before transferring to the fridge. Wrap the quiche tightly in foil or plastic wrap, or store in an airtight container.
Quiche can be eaten cold, or warmed slightly in the microwave.
What to serve with quiche
This cheese quiche is wonderful for any meal of the day, paired with your favorite dishes. Looking for some ideas for what to serve with quiche?
At breakfast or brunch, go sweet with a stack of buttermilk pancakes or caramel apple muffins. Or hit more savory notes with sweet-spicy million dollar bacon or grilled ham steaks.
For lunch, serve with a green salad topped with homemade garlic dressing.
At dinner, have alongside Brussels sprouts with walnuts and cranberries, or kale and quinoa stuffed squash.
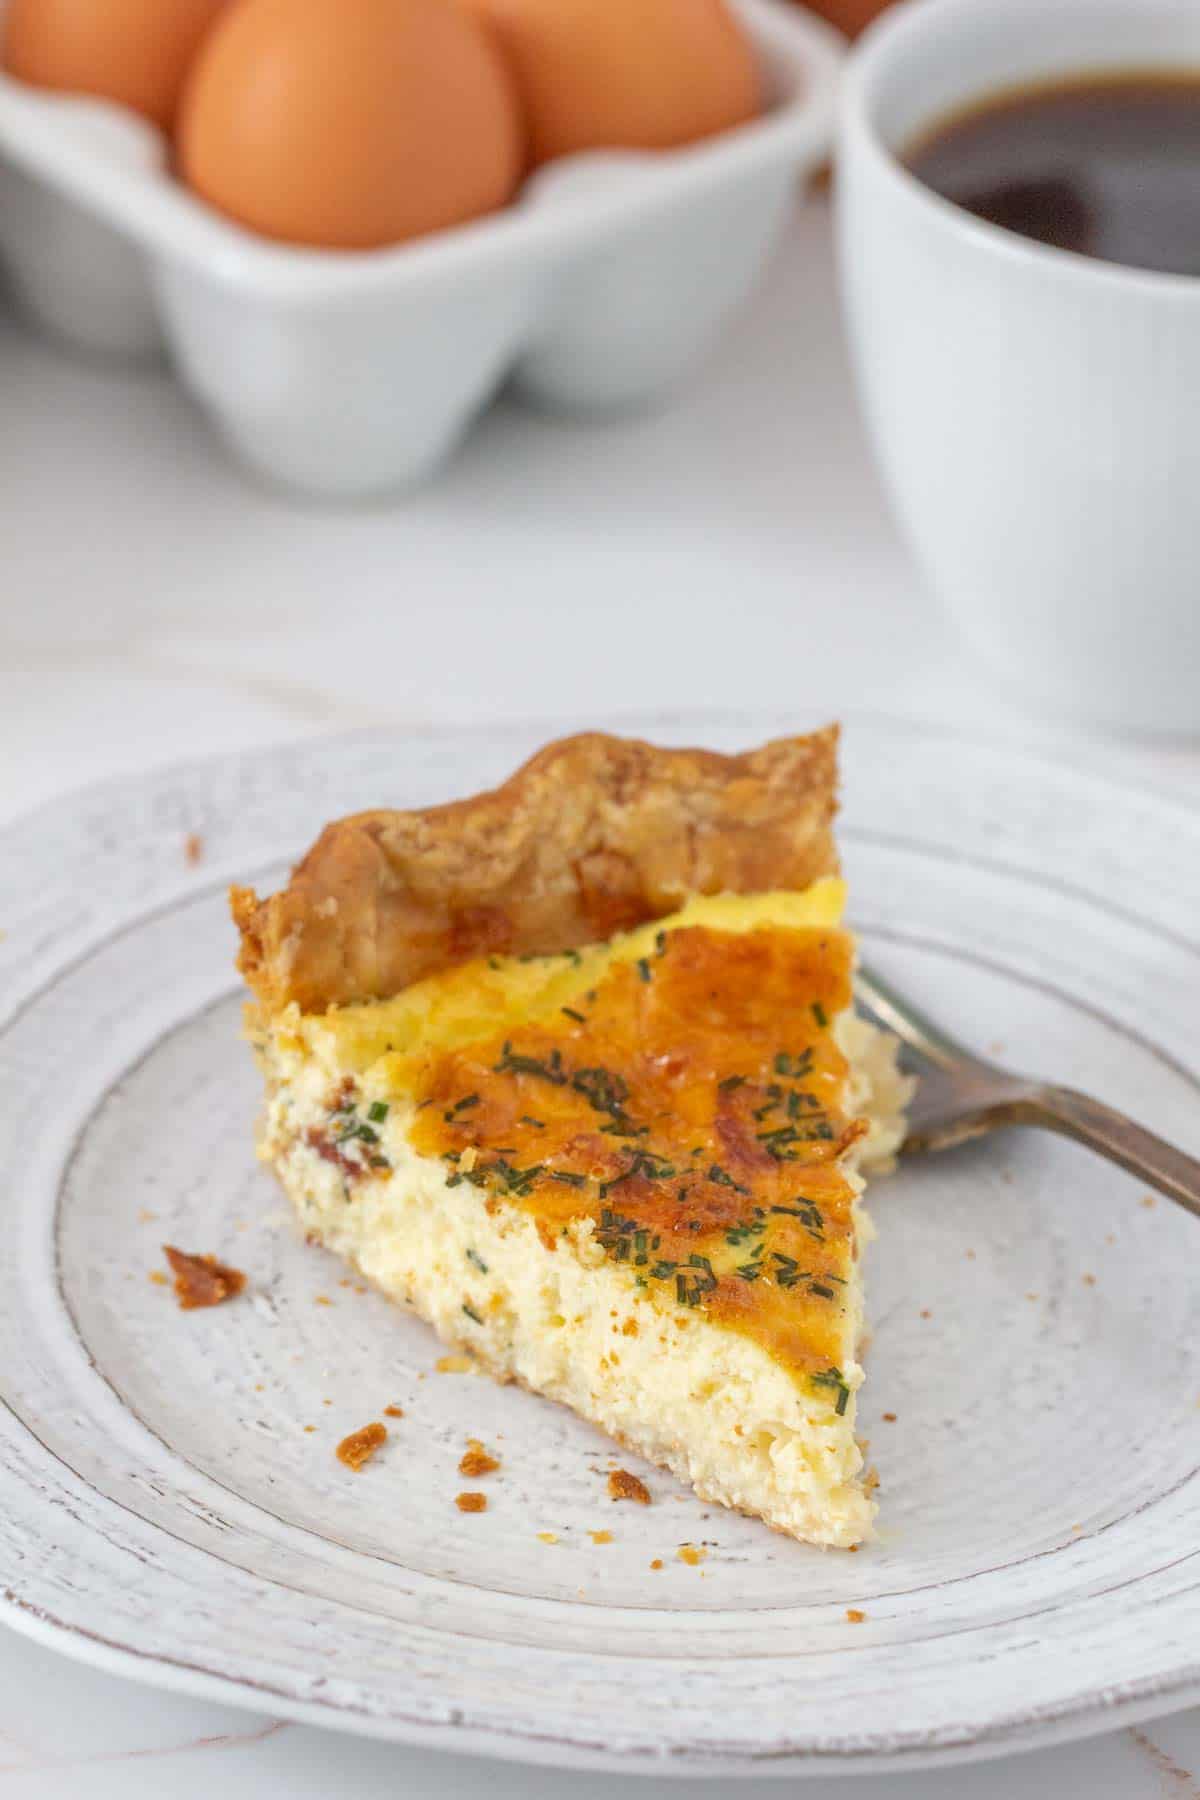
Whatever you serve it with, cheese quiche will be the star of the table.
Love this recipe? Please leave a 5-star review below!
It means so much when you enjoy my recipes, so let me know how it goes and leave a comment if you have any questions.

Cheese Quiche
Ingredients
Pie crust
- 1 1/3 cup all-purpose flour
- 1/2 teaspoon fine sea salt
- 4 tablespoons shortening, cold
- 4 tablespoons unsalted butter, cold
- 4 to 6 tablespoons ice water
Quiche filling
- 3 eggs
- 3/4 cup heavy cream
- 3/4 cup milk
- 1/2 teaspoon fine sea salt
- 1/2 teaspoon garlic powder
- 1/4 teaspoon ground black pepper
- 1 cup shredded gruyere cheese
- 2 tablespoons chopped fresh chives
Instructions
Pie crust
- In a bowl, stir together flour and salt. Cut in shortening and butter using a pastry cutter, two knives, or your fingers.
- Sprinkle water over the top, starting with 4 tablespoons, mixing to combine. Add more cold water a little at a time just until the dough comes together.
- Turn out onto a lightly floured surface and knead a few seconds to bring all the dough together. Shape into a flat disc and chill until ready to use, or roll out immediately.
Quiche
- Roll pie dough out to fit a 9-inch pie plate. Transfer dough to pie plate and crimp edges as desired. Place in the freezer for 30 minutes. Meanwhile, preheat the oven to 400°F.
- Once the crust is chilled, line with foil or parchment and fill with pie weights or dried beans. Bake the crust for 20 minutes, then carefully remove foil and return crust to oven for 5 minutes more. Set aside to cool while you prepare the filling. Reduce oven to 350°F.
- In a large bowl, whisk eggs until lightly frothy. Whisk in cream, milk, salt, garlic powder, and pepper.
- Add a small amount of quiche filling to the crust and top with half of the shredded cheese. (You can also put the cheese directly on top of the crust.) Pour on remaining quiche filling and top with remaining cheese, then sprinkle on chopped chives.
- Bake the quiche for 40-45 minutes, until puffed and golden. Let cool at least 15 minutes before cutting and serving.
Notes
- To prevent oven spills, set the quiche on a sheet pan for baking.
- Use a pie shield to prevent the edges of the crust from over-baking. You can make your own with strips of foil, wrapped over the crust edges before baking.
Recommended Products
Nutrition
Nutrition information is provided as a courtesy and is an estimate based on online calculators. Any nutritional information found on Stetted should be used as a general guideline only.

About Megan
I learned how to cook by exploring seasonal ingredients, and you can too! Meal time shouldn’t be stressful or complicated, and with fresh ingredients and easy methods, I’m here to help you enjoy the time spent in the kitchen. Read more…




Baked this for brunch this morning and we absolutely loved it.
This quiche is absolutely gourmet! I just loved this perfect filling over my buttery crust.