This post contains affiliate links and may earn commissions on recommended products. As an Amazon Associate, I earn from qualifying purchases.
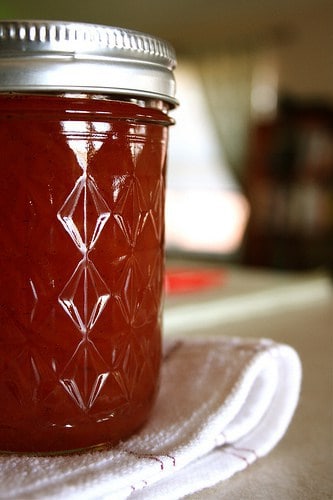
Easy blackberry jam comes together with just a few ingredients, including a pop of herbal flavor from fresh basil. No pectin or canning needed!
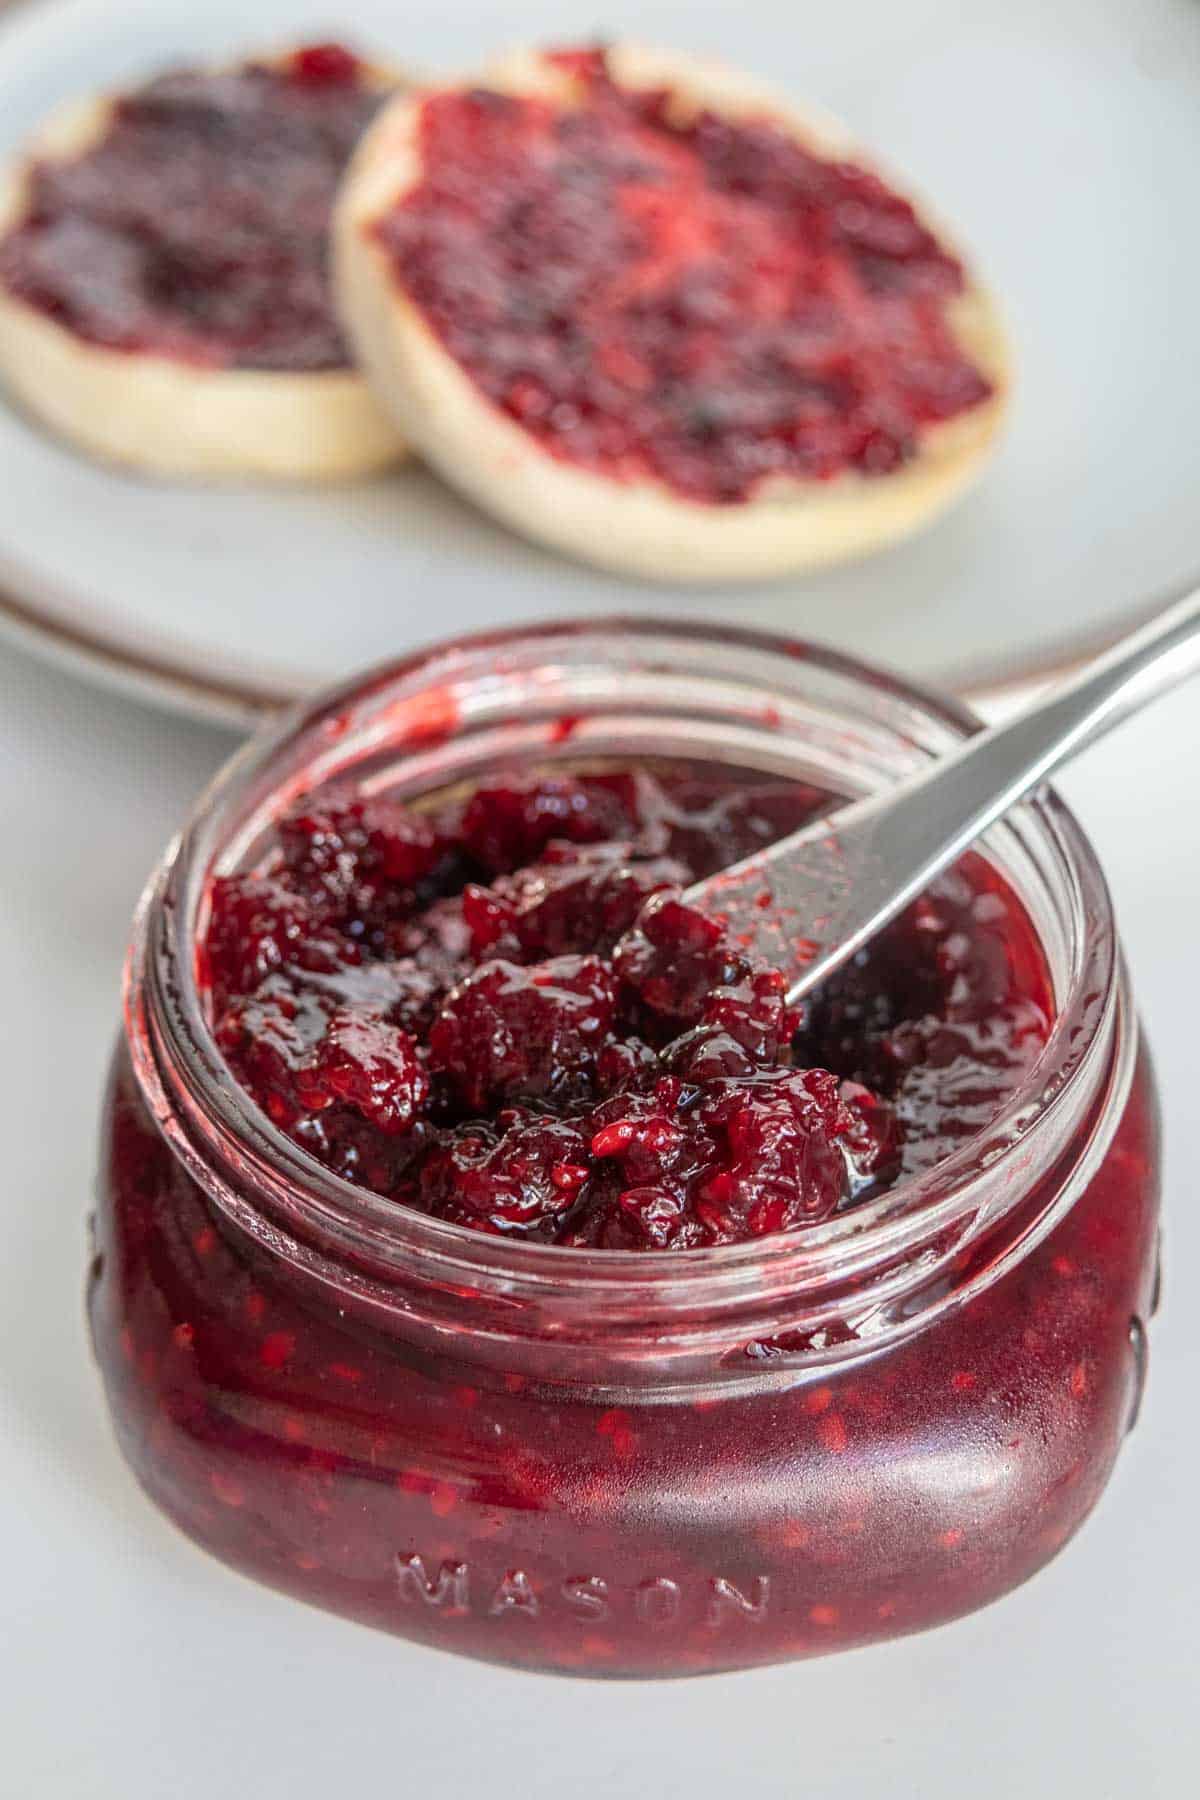
This recipe has been retested and updated since first publishing June 2010.
Summer has always been when I get deep into jam-making. Once I made that first batch of vanilla strawberry jam years ago, I was hooked.
These days I try to stick to small batch jams, which allows me to make a wider variety of flavors and doesn’t overwhelm the fridge or pantry.
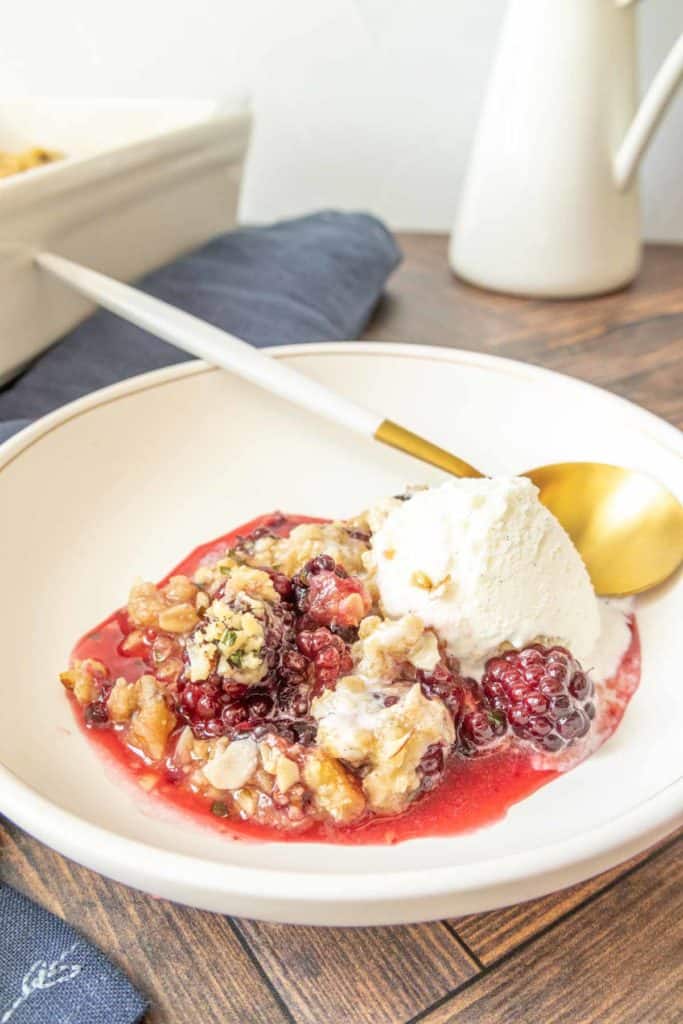
One version I love to make is this blackberry jam with basil. It might sound strange to add basil to jam, but I really love how basil and blackberry work together. I even had to make a blackberry crisp with basil to keep the pairing going!
I recently remade this recipe thanks to a blackberry haul from our nearby Refuge Food Forest, a learning orchard that is free to the public. I had so much fun exploring the forest and knew it was the perfect opportunity to make some jam.
This recipe makes just two jars of jam and needs no pectin or canning. If you’re new to making jam, this is a delicious way to get started!
Ingredients for blackberry jam
Full list of ingredients including quantities is located in the recipe card.
You’ll need:
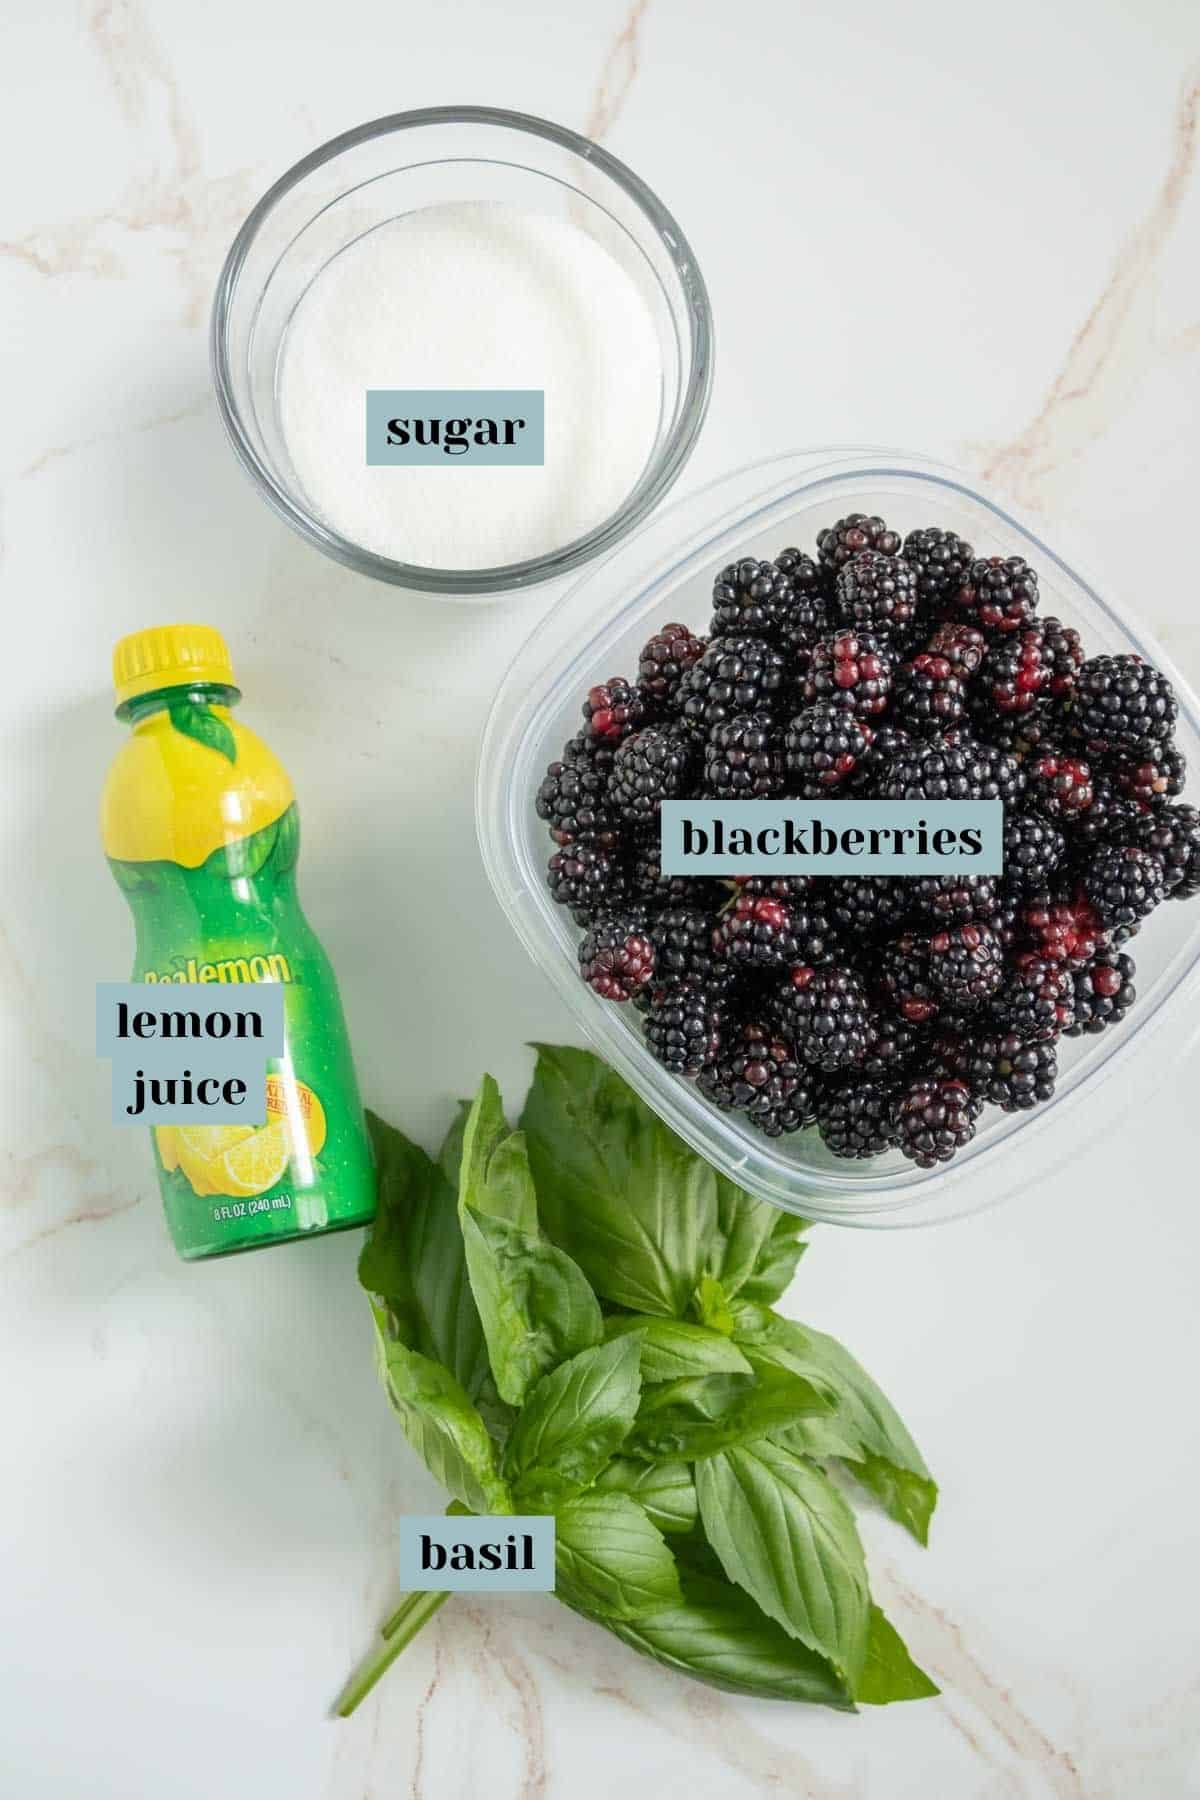
Blackberries – This recipe uses about 24 ounces of blackberries. Blackberries can vary a lot in size, so I recommend weighing them rather than using a cup measure.
Frozen blackberries can also be used. Make sure to thaw completely and drain before using.
Sugar – I use granulated sugar in my jams. If you swap in an alternative sweetener like honey, keep in mind that the jam might not set as well.
Lemon juice – Lemon helps cut the sweetness and boosts the natural pectin levels in the blackberries to create a set jam.
Basil – I love adding a boost of herbal flavor to this jam. You can leave it out if you prefer.
How to make this recipe
You’ll need 2 8-ounce jars or 1 16-ounce jar. You can also use another airtight container, but if you want to process the jam for pantry storage, you do need to use proper canning jars.
Wash the blackberries, remove any stems, and pat dry. If you would like a seedless blackberry jam, press the berries through a food mill or medium sieve. I personally leave the seeds in to make this recipe easier.
Combine the blackberries, sugar, and lemon juice in a bowl, stirring to dissolve the sugar and break up the berries a bit.
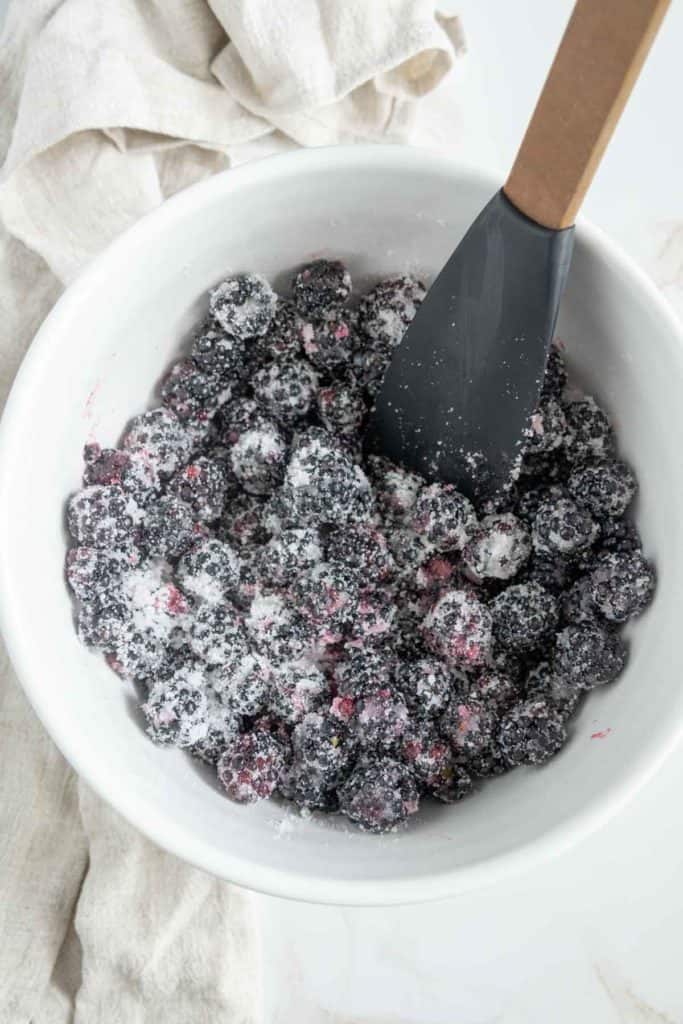
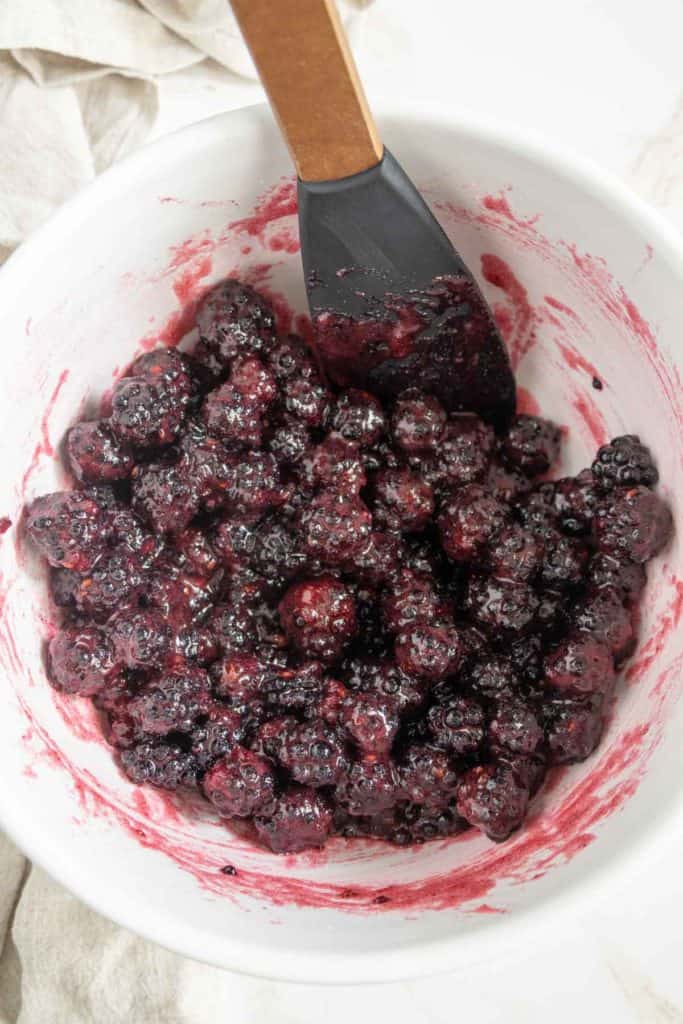
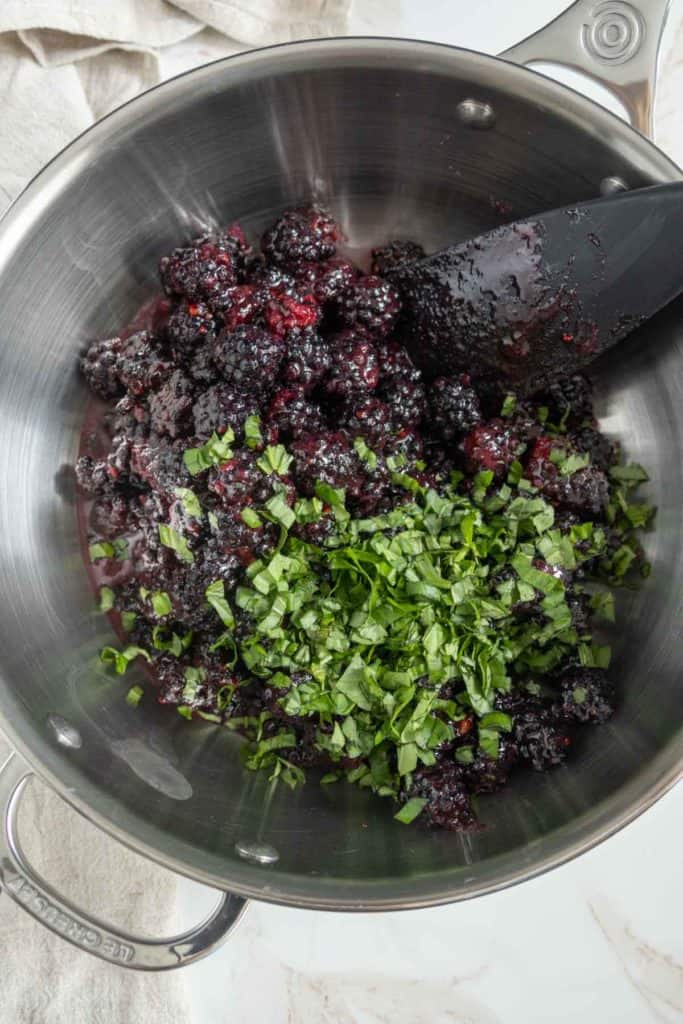
Scrape the mixture, including any accumulated juices, into a large saucepan or high-sided skillet. Stir in the basil, if using.
Bring to a boil over medium-high heat, stirring constantly with a wooden spoon or silicone spatula. As you stir, press the berries to help break them up.
A potato masher will help break down the berries quickly once they are warmed.
Continue cooking and stirring the jam until the juices are visibly thickened. This will take about 20 minutes. If your jam is splattering too much, reduce the heat to medium.
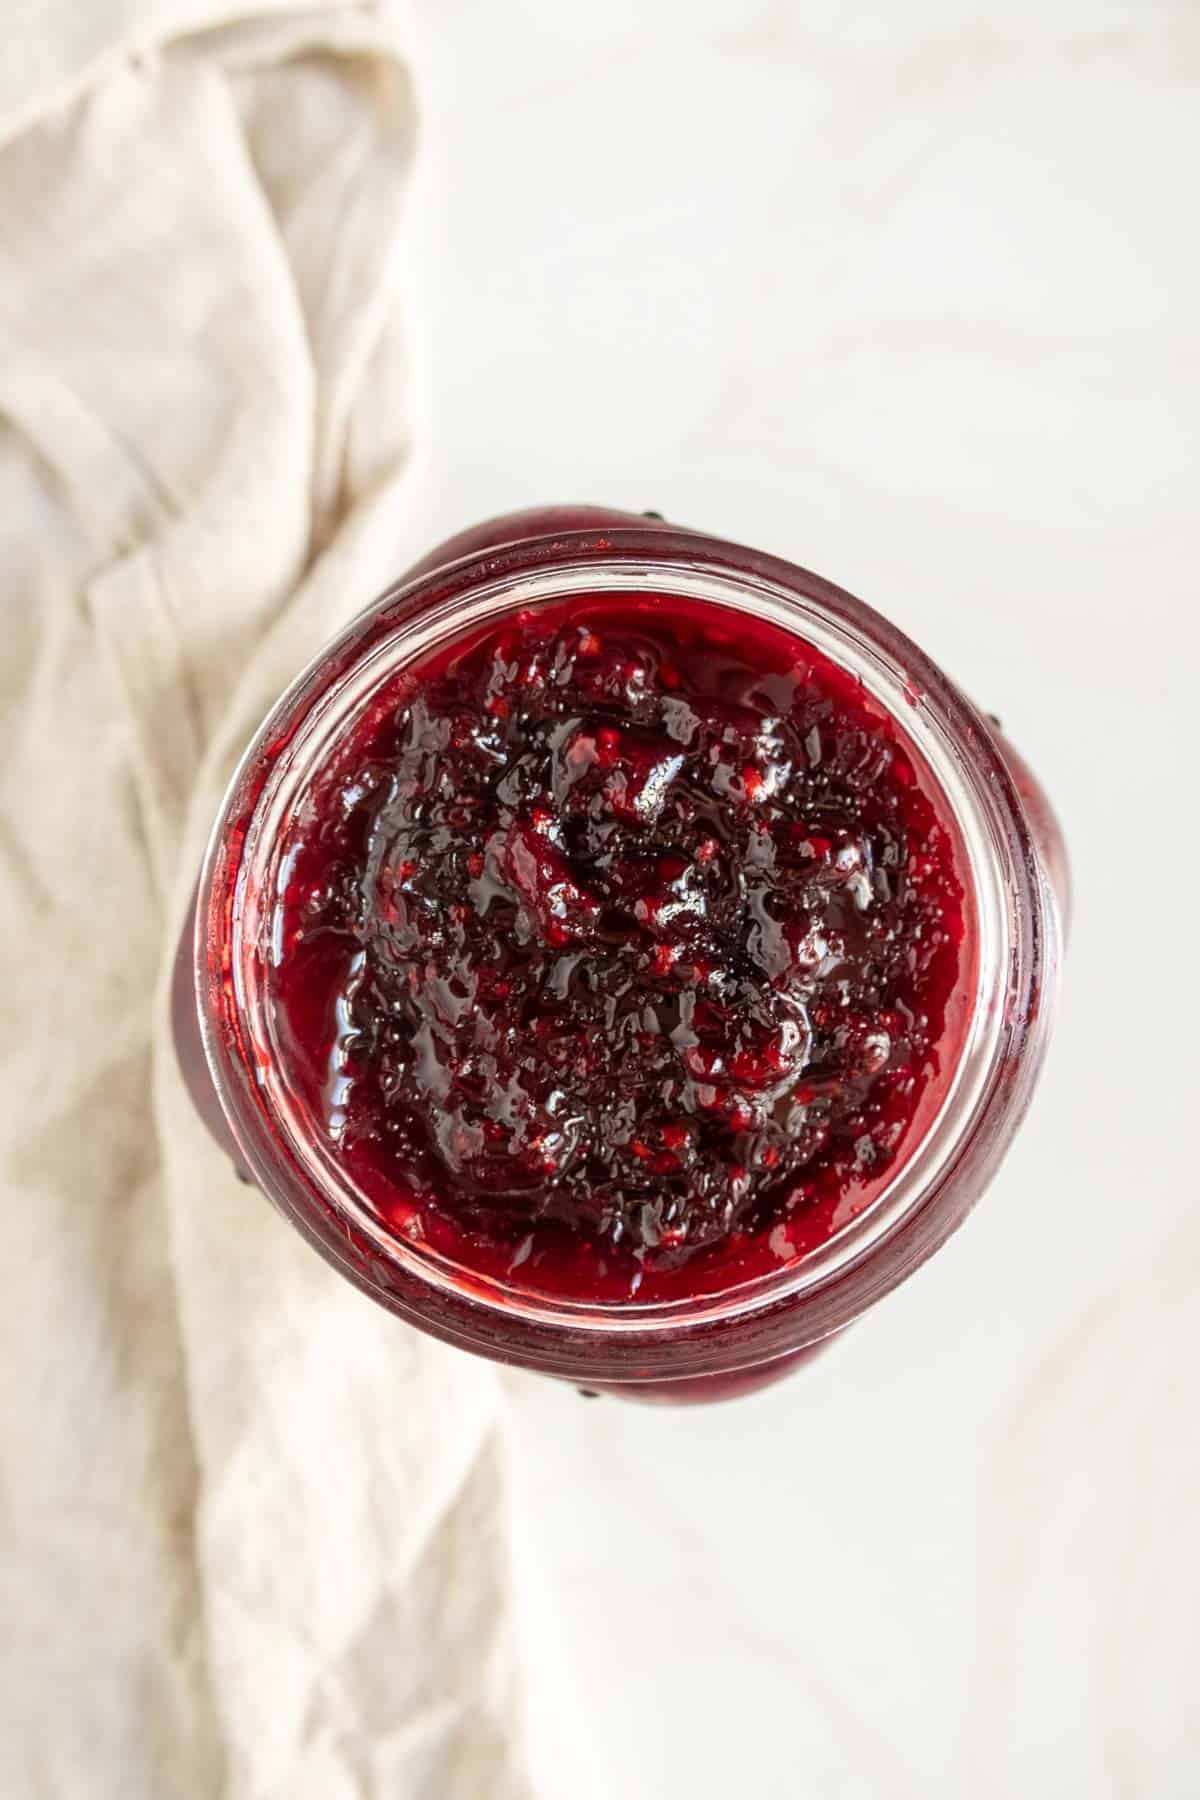
The jam is ready when it evenly coats the back of your spoon and is visibly reduced. It will not immediately run back to fill the space when a spoon is pulled through the center.
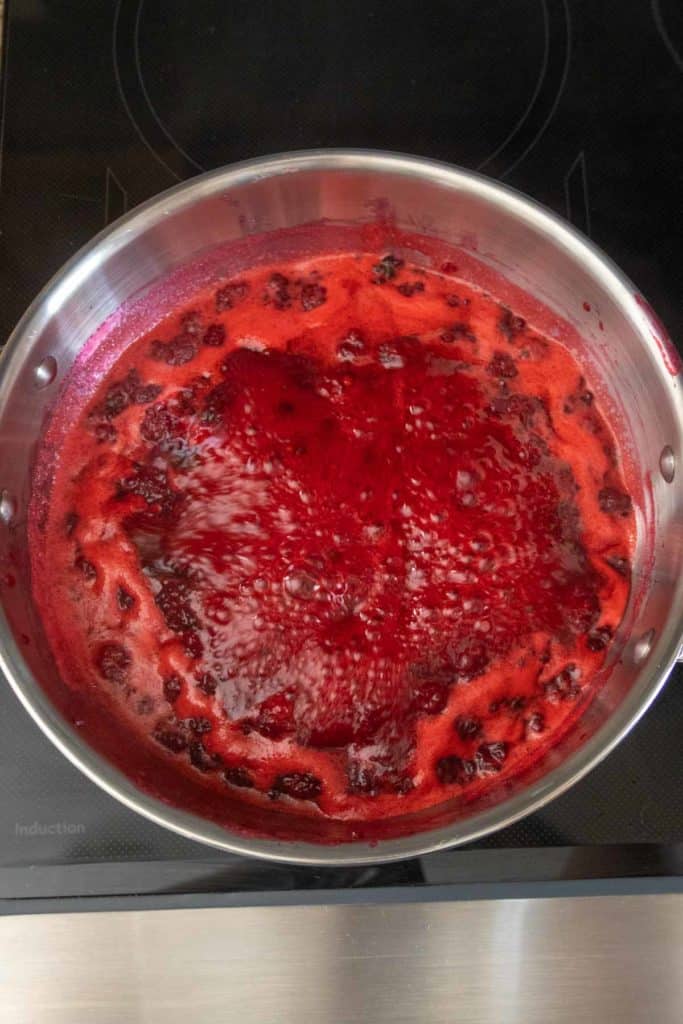
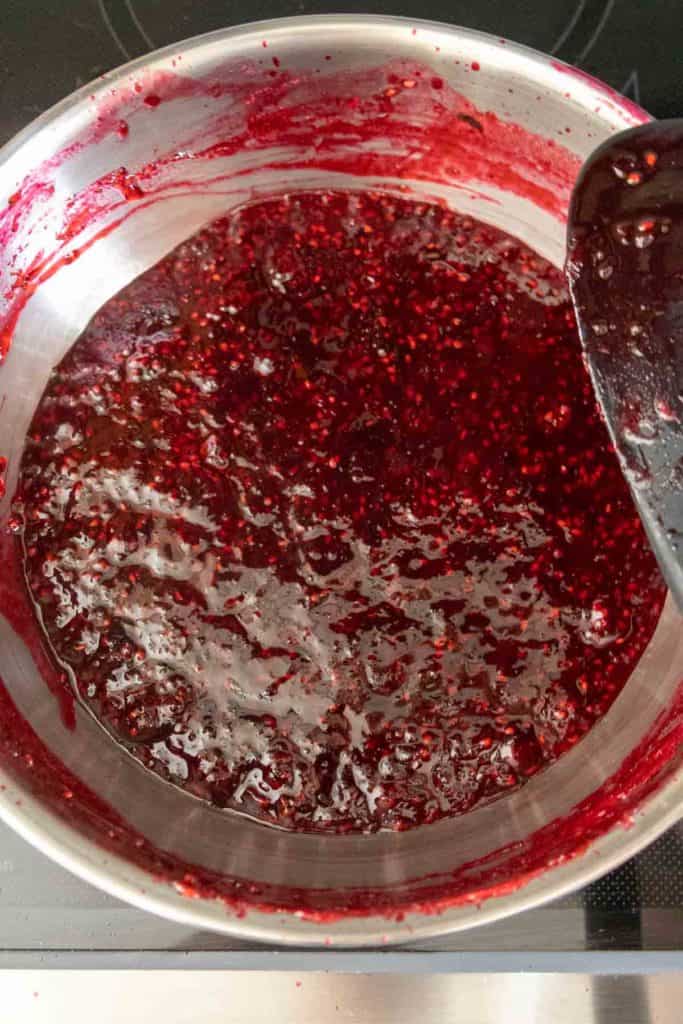
The jam will continue to thicken as it cools, so take care to not overcook.
Pour the jam into clean jars. Loosely place lids and let cool to room temperature, then store in the refrigerator.
Jam will keep in the refrigerator for 1 month or more.
Water bath canning blackberry jam
If you want to store your jam in the pantry, it needs to be processed in a water bath canner.
Before you start cooking the jam, fill a large pot with water. The water needs to come to at least 1 inch above the filled jars, so a stock pot or canning pot are best.
Set the water to boil while you make the jam.
Before filling the jars, using tongs, quickly dip them into the hot water to warm. Fill the jars, leaving 1/2 inch of space from the top. Use a damp paper towel to wipe the rims of any spilled jam, then apply lids and screw on lids fingertip tight.
Using a jar lifter, carefully transfer the jars to the boiling water bath. Place the lid on the pot and boil jars for 10 minutes.
Turn off heat and let rest for 5 minutes, then use the jar lifter to remove jars and place on a towel-lined counter. Let the jars cool for 24 hours before checking for seals, labeling, and storing.
Sealed jars will keep for up to 18 months. Unsealed jars must be stored in the refrigerator.
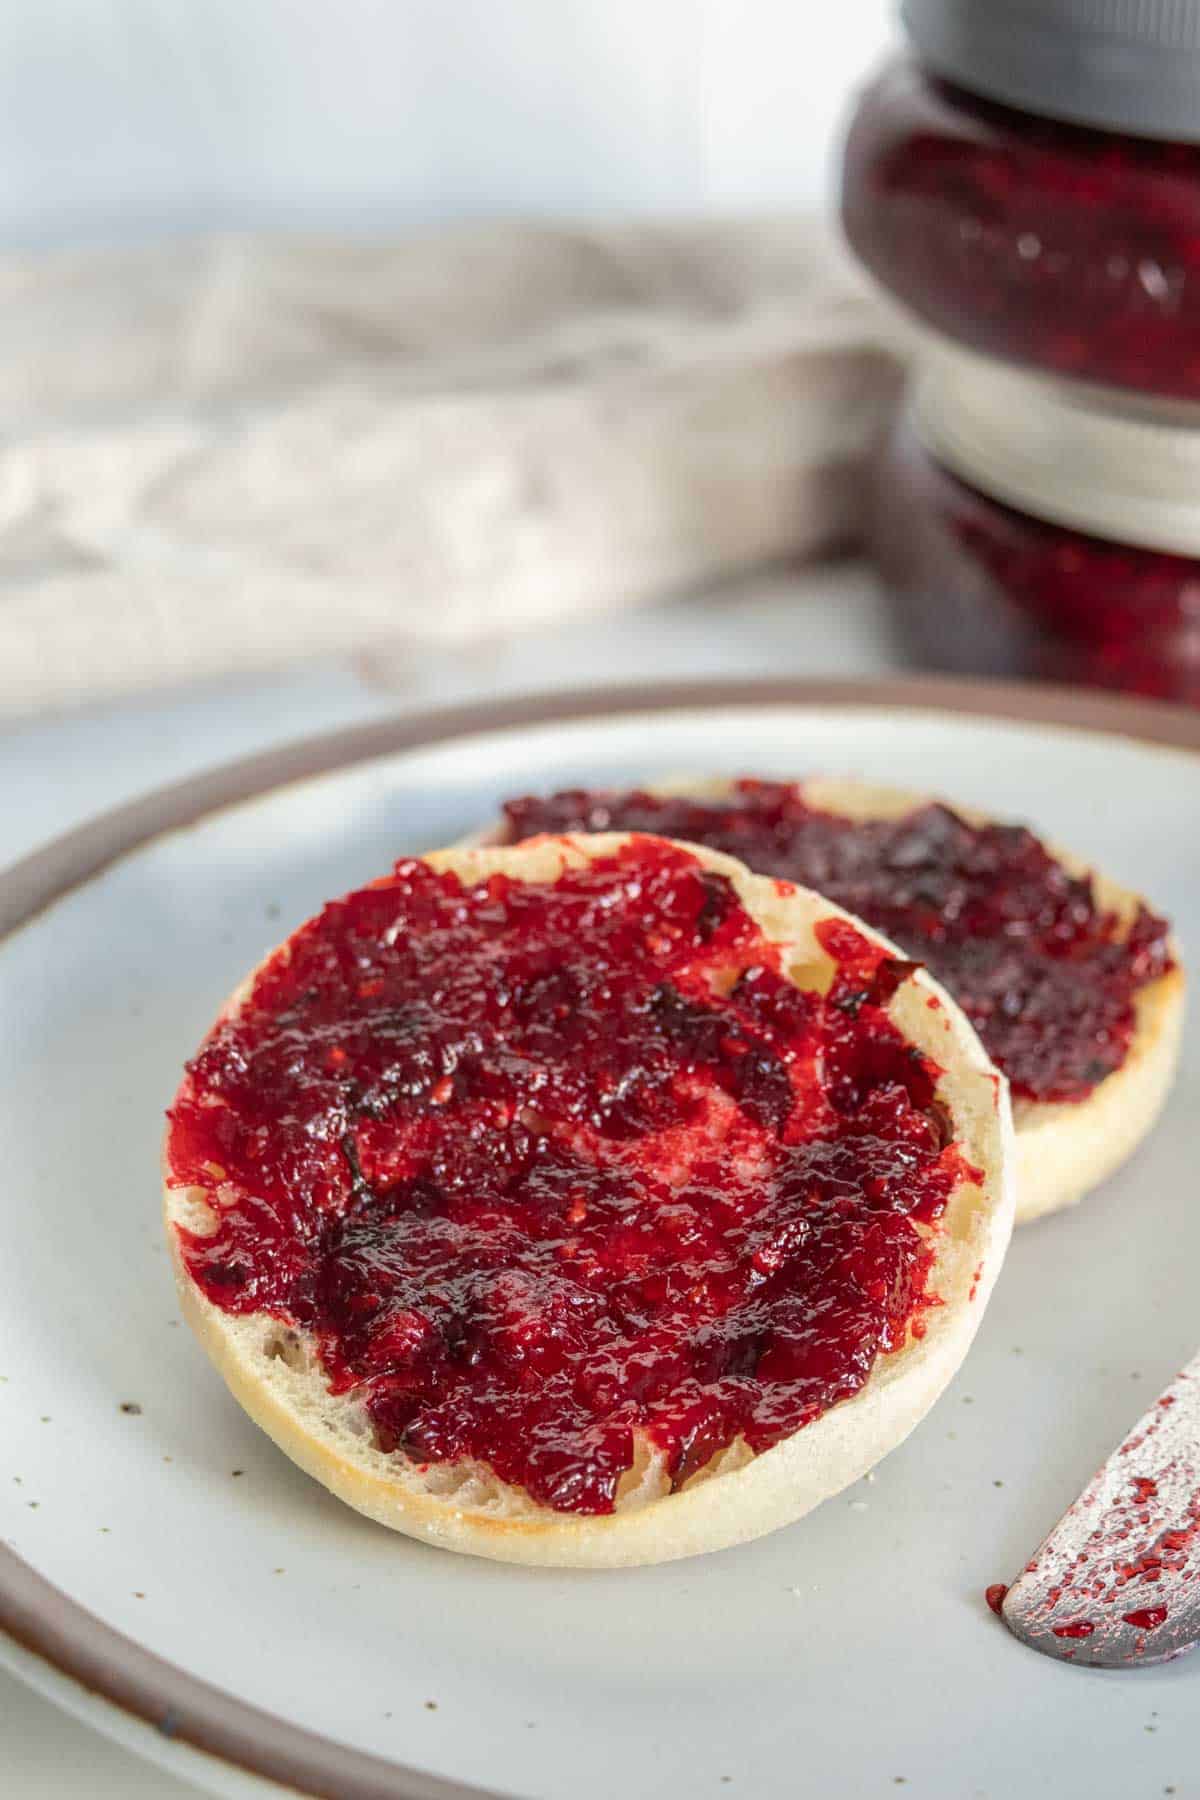
More small-batch jam recipes
Inspired to make more jams?
Try my raspberry jam, peach jam, or plum jam. They are all quick and easy!
I also love tart cranberry jam and vibrant strawberry rhubarb jam, perfect for making in fall and spring.
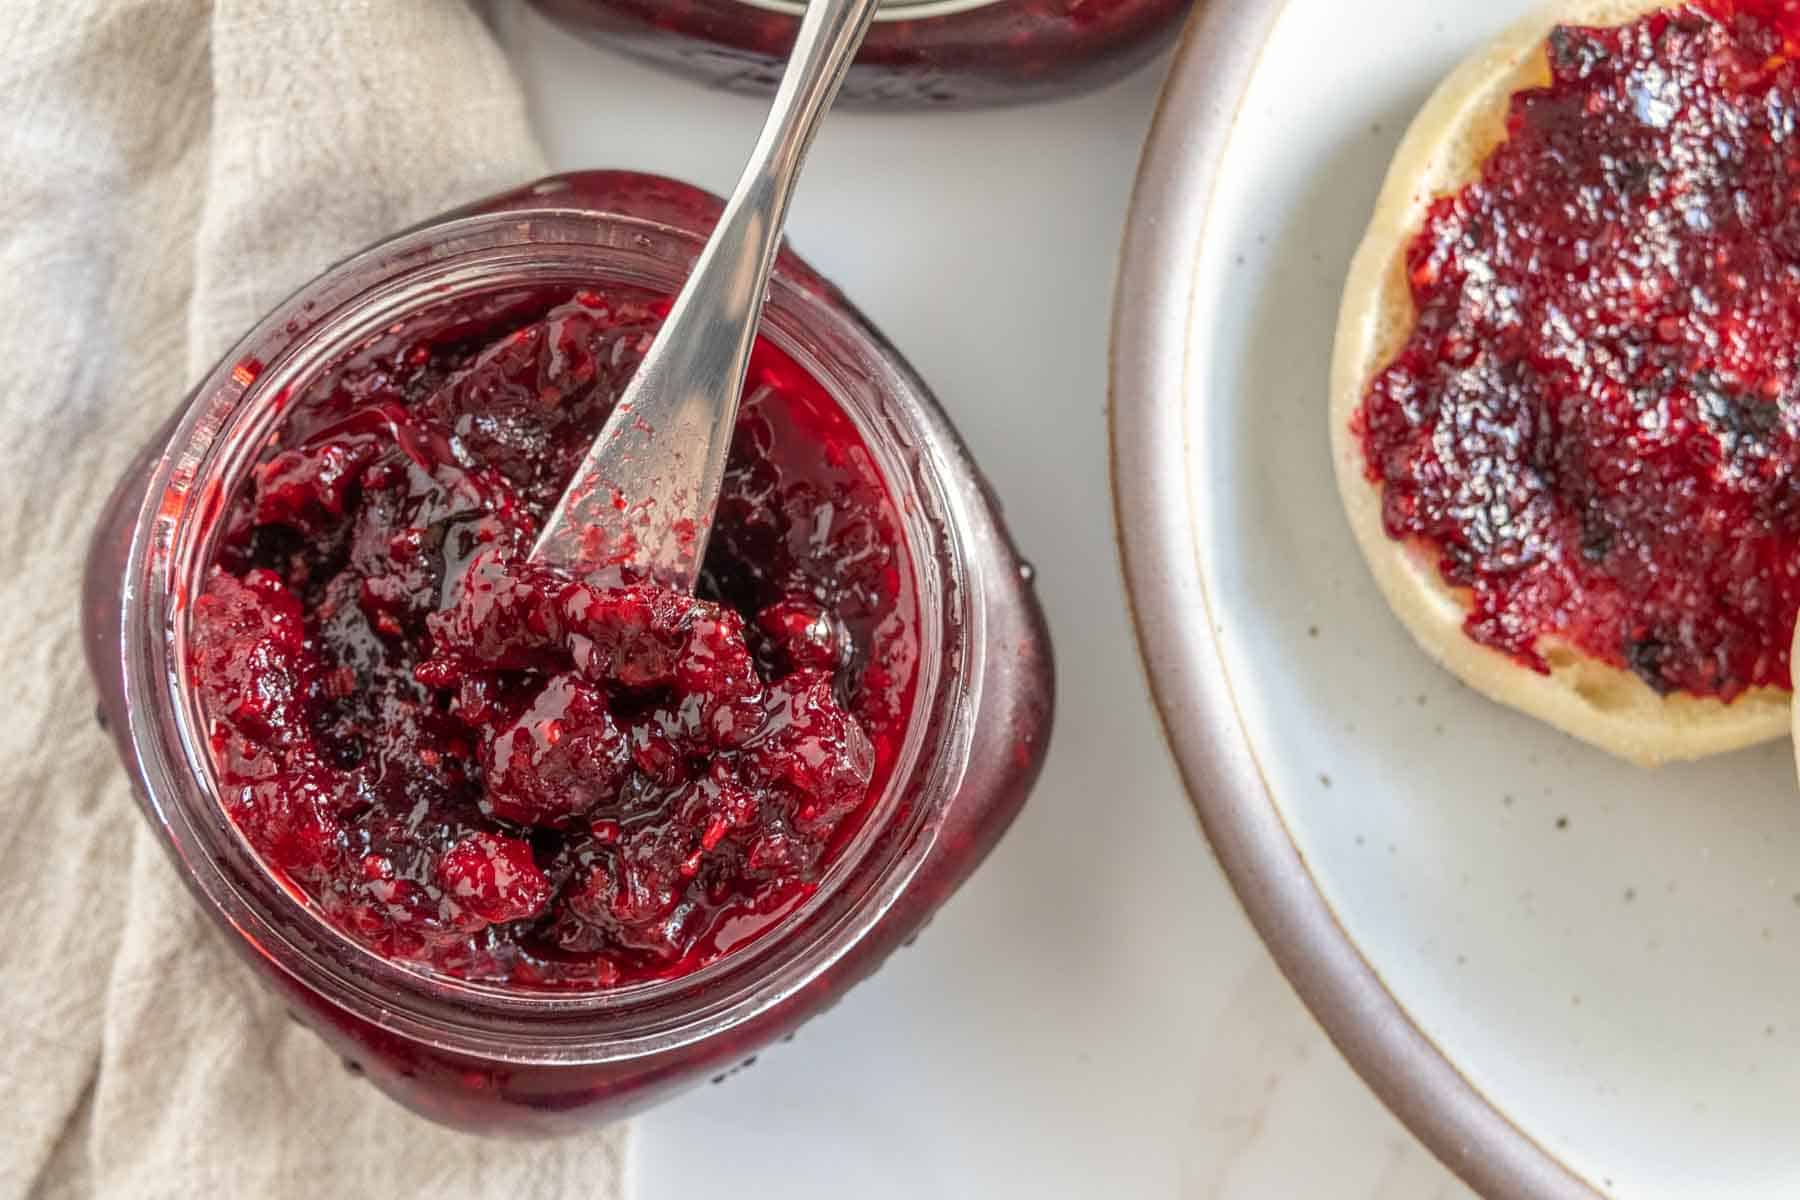
Enjoy homemade jam over toast, waffles, in a PB&J, or as filling for homemade pop tarts.
Blackberry jam is one of my favorite summer spreads. You’ll love it too!
Love this recipe? Please leave a 5-star review below!
It means so much when you enjoy my recipes, so let me know how it goes and leave a comment if you have any questions.
Blackberry Jam with Basil
Ingredients
- 1 1/2 pounds blackberries
- 1 cup granulated sugar
- 1 1/2 tablespoons lemon juice
- 1/3 cup finely chopped fresh basil
Instructions
- Combine blackberries, sugar, and lemon juice in a bowl. Stir to mix and dissolve sugar, mashing the berries a bit as your stir.
- Pour the berries and any accumulated juices into a saucepan. Stir in the basil. Bring to a boil over medium-high heat, stirring constantly. Use your spoon or a potato masher to break down the blackberries.
- Cook the jam until reduced and thickened, about 20 minutes. If the jam is splattering too much as you cook, reduce heat to medium. The jam is ready when it does not immediately pool back into the space after running a spoon through.
- Remove from heat and pour into jars. Let the jars cool to room temperature, then store in the refrigerator.
To water bath can
- If you want to water bath can this jam, bring a large pot of water to a boil before making the jam. Sterilize jars and set aside. Cook jam.
- Pour jam into jars, leaving ½-inch headspace. Apply lids and rings, then transfer jars to boiling water bath with a jar lifter. Process for 10 minutes, then turn off heat and let jars rest for 5 minutes. Remove to a towel-lined counter and let jars sit for 24 hours before checking for seals, labeling, and storing. Any unsealed jars must be stored in the refrigerator.
Notes
- Makes about 2 cups.
Recommended Products
Nutrition
Nutrition information is provided as a courtesy and is an estimate based on online calculators. Any nutritional information found on Stetted should be used as a general guideline only.

About Megan
I learned how to cook by exploring seasonal ingredients, and you can too! Meal time shouldn’t be stressful or complicated, and with fresh ingredients and easy methods, I’m here to help you enjoy the time spent in the kitchen. Read more…




Crazy jam lady.
You know, it could be worse. It doesn’t take up space in your freezer, it doesn’t spoil, and people love getting it as a present. Much better than being a crazy cat lady.
This doesn’t seem like it would be very sweet. How do you use it? It might be good on a pork tenderloin.
You are not crazy, I have been trying to decide with to do with all the fruit I have in the freezer. This is the best season to make jams and jellies with all the different fresh fruits and veggies out there.
I did blackberries this weekend too! GREG
See, now — I tend not to make jam because I’m afraid we won’t eat it. But, this looks fabulous. I would totally make up excuses to eat blackberry jam with BASIL in it. Yum.
I have the silliest question. Are you measuring out 5 cups of berries then crushing them, or is it a full 5 cups of berries that are already crushed? 🙂
@Valerie, It’s 5 cups already crushed. It’s not a silly question; I had it often when I started canning!
Hi Valerie, sorry for the delay in getting back to you. It is 5 cups of berries that are already crushed. What I do is crush the berries in small batches and measure as I go so I don’t end up with more crushed than I need. (Although crushed berries are a great addition to scones!)